
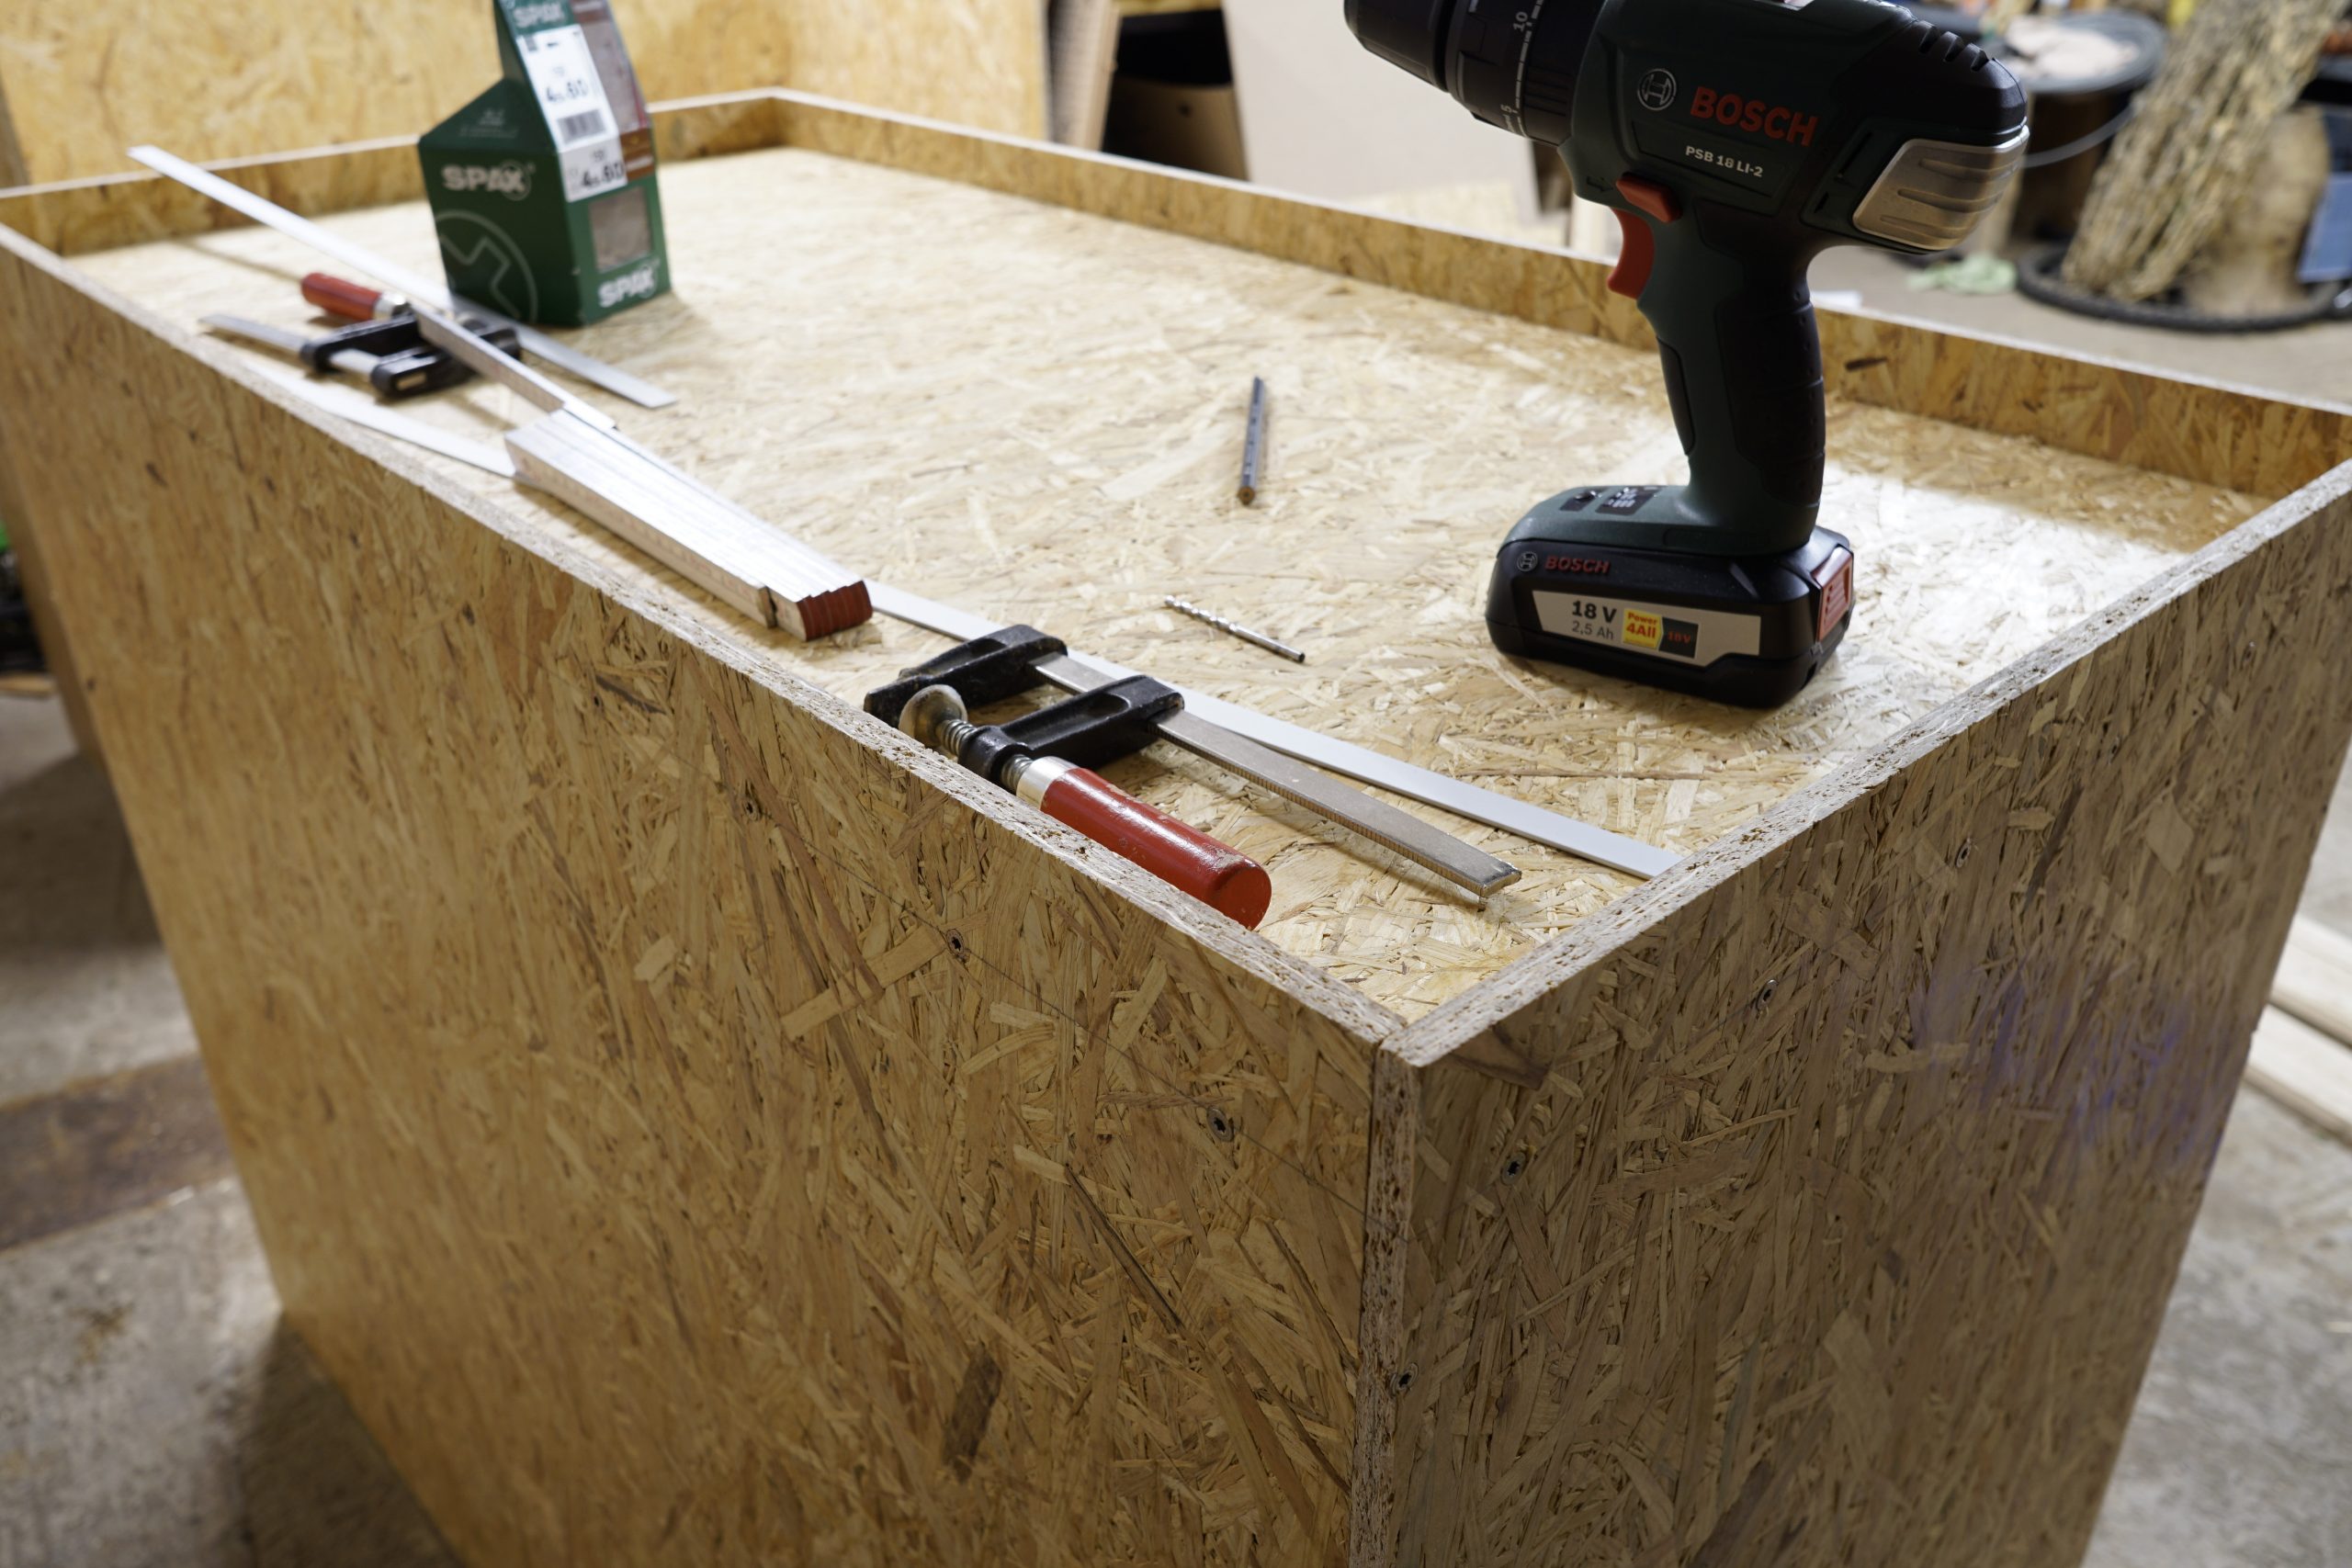
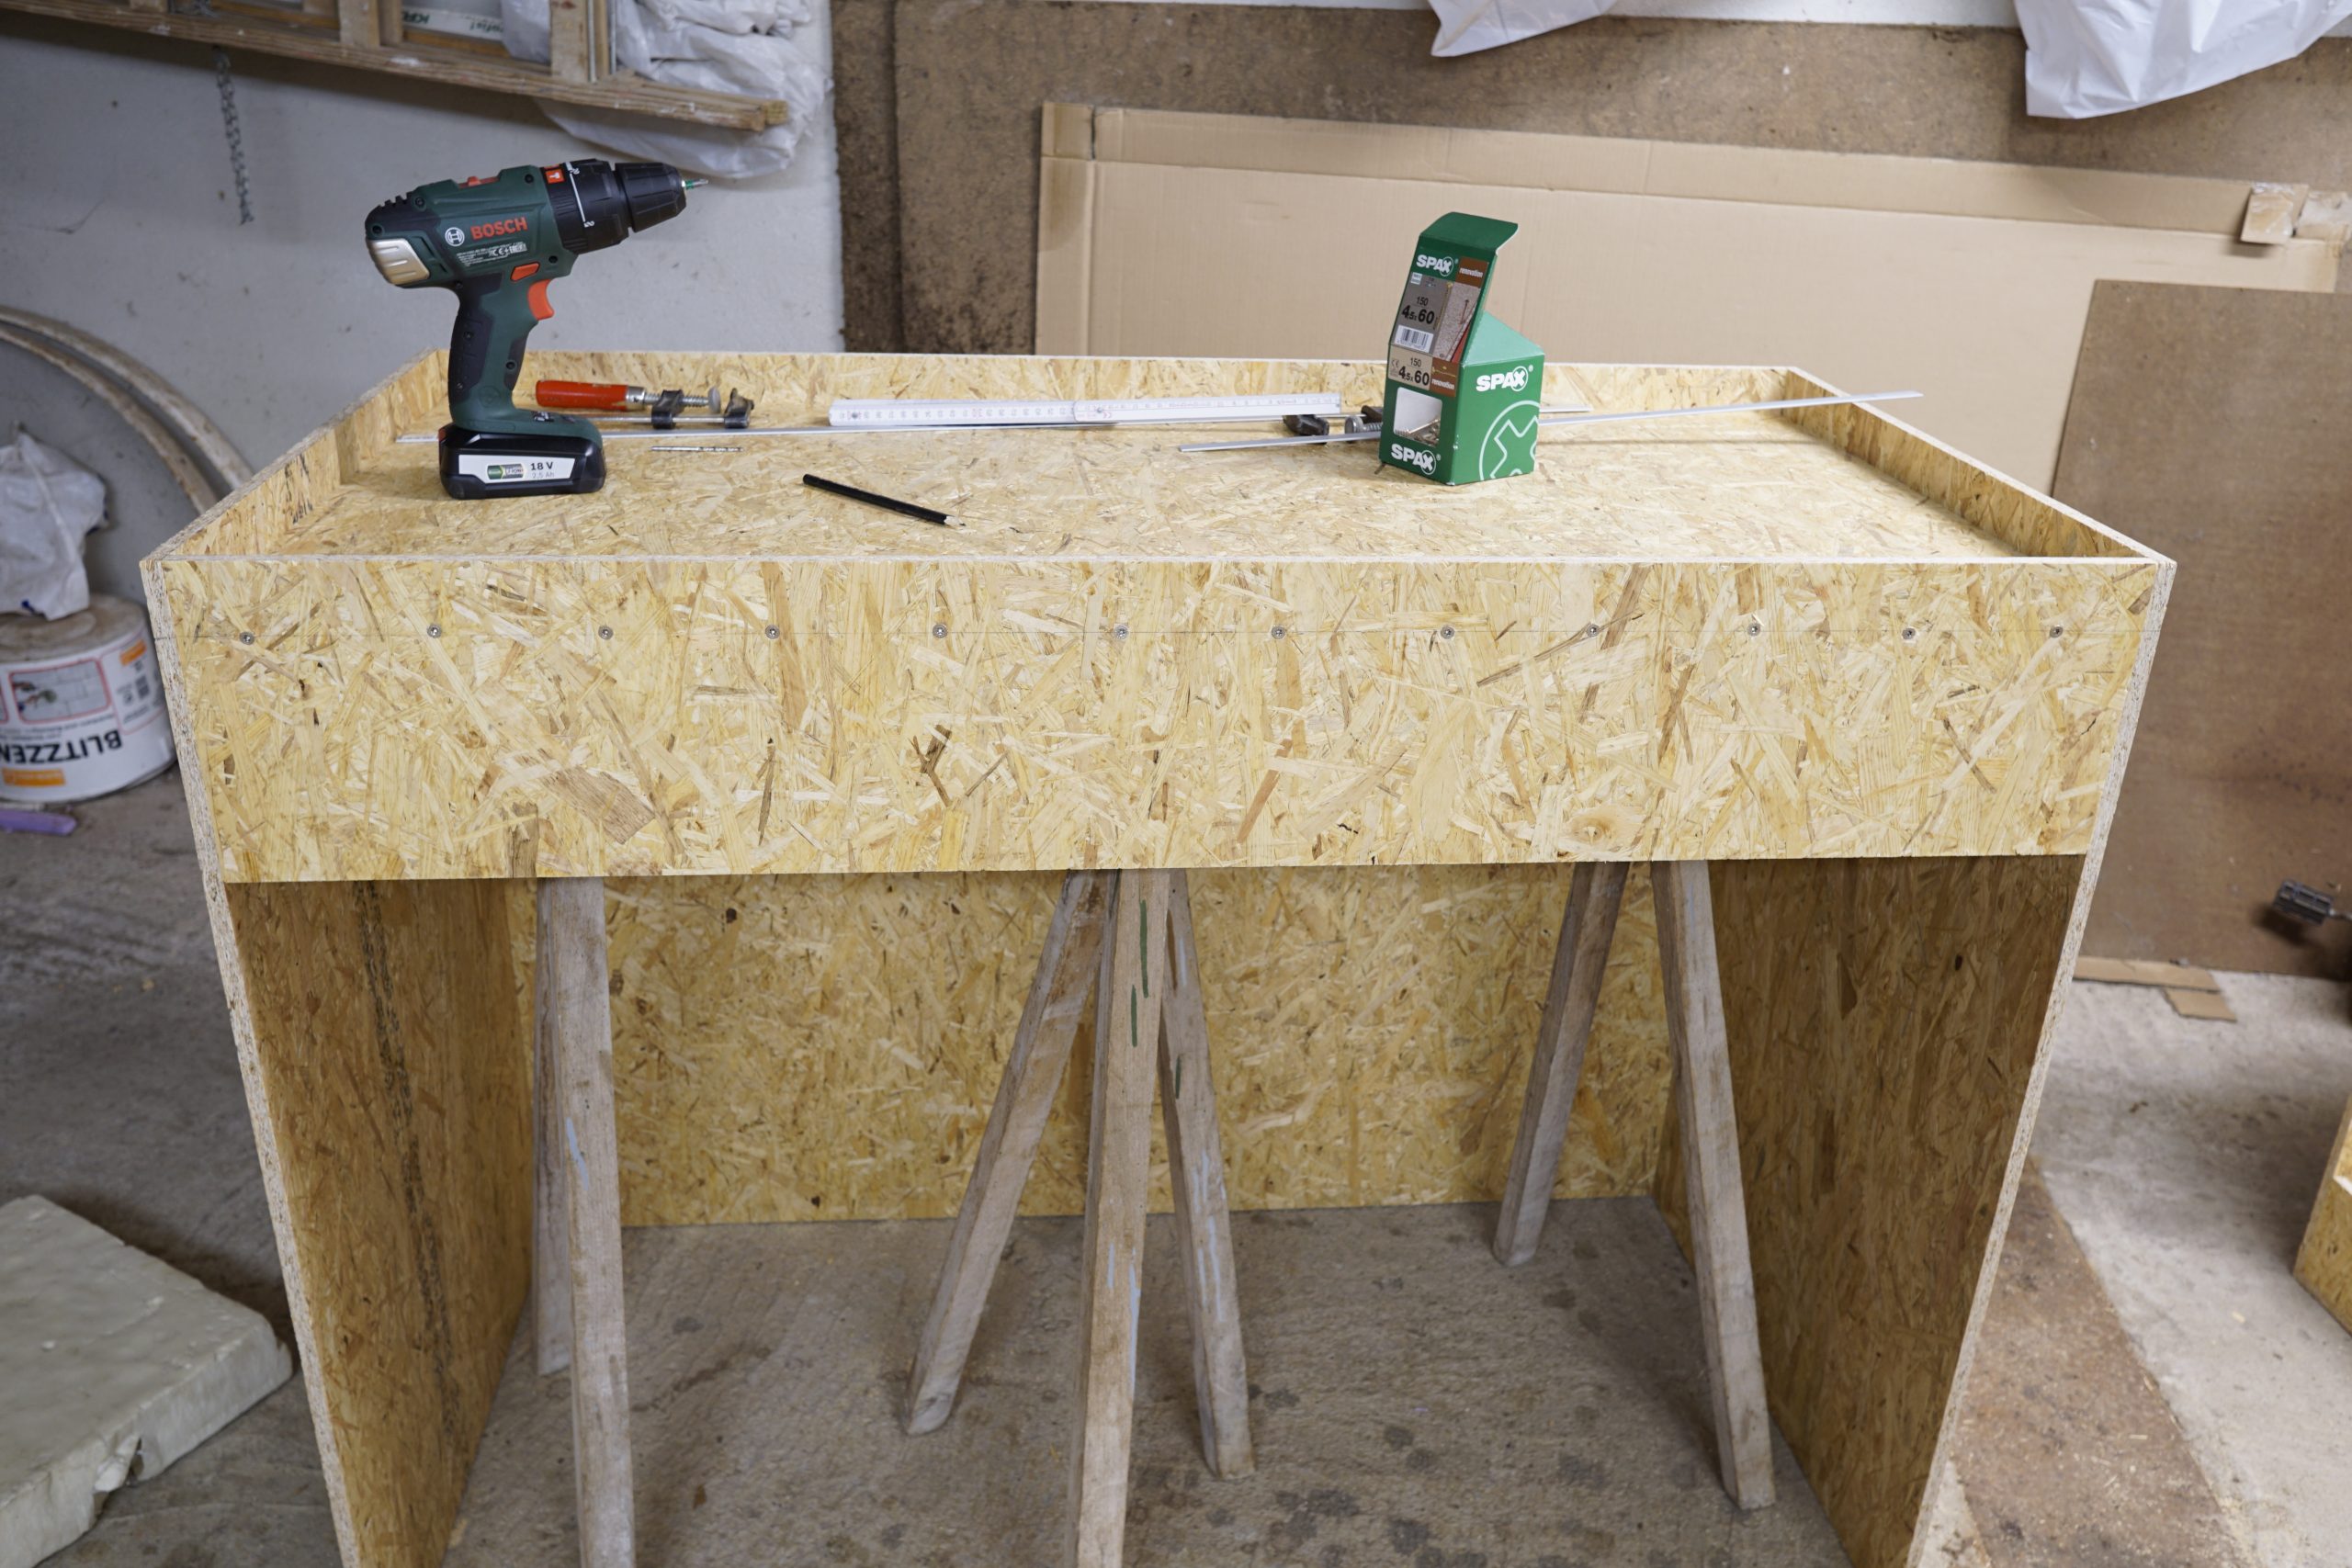
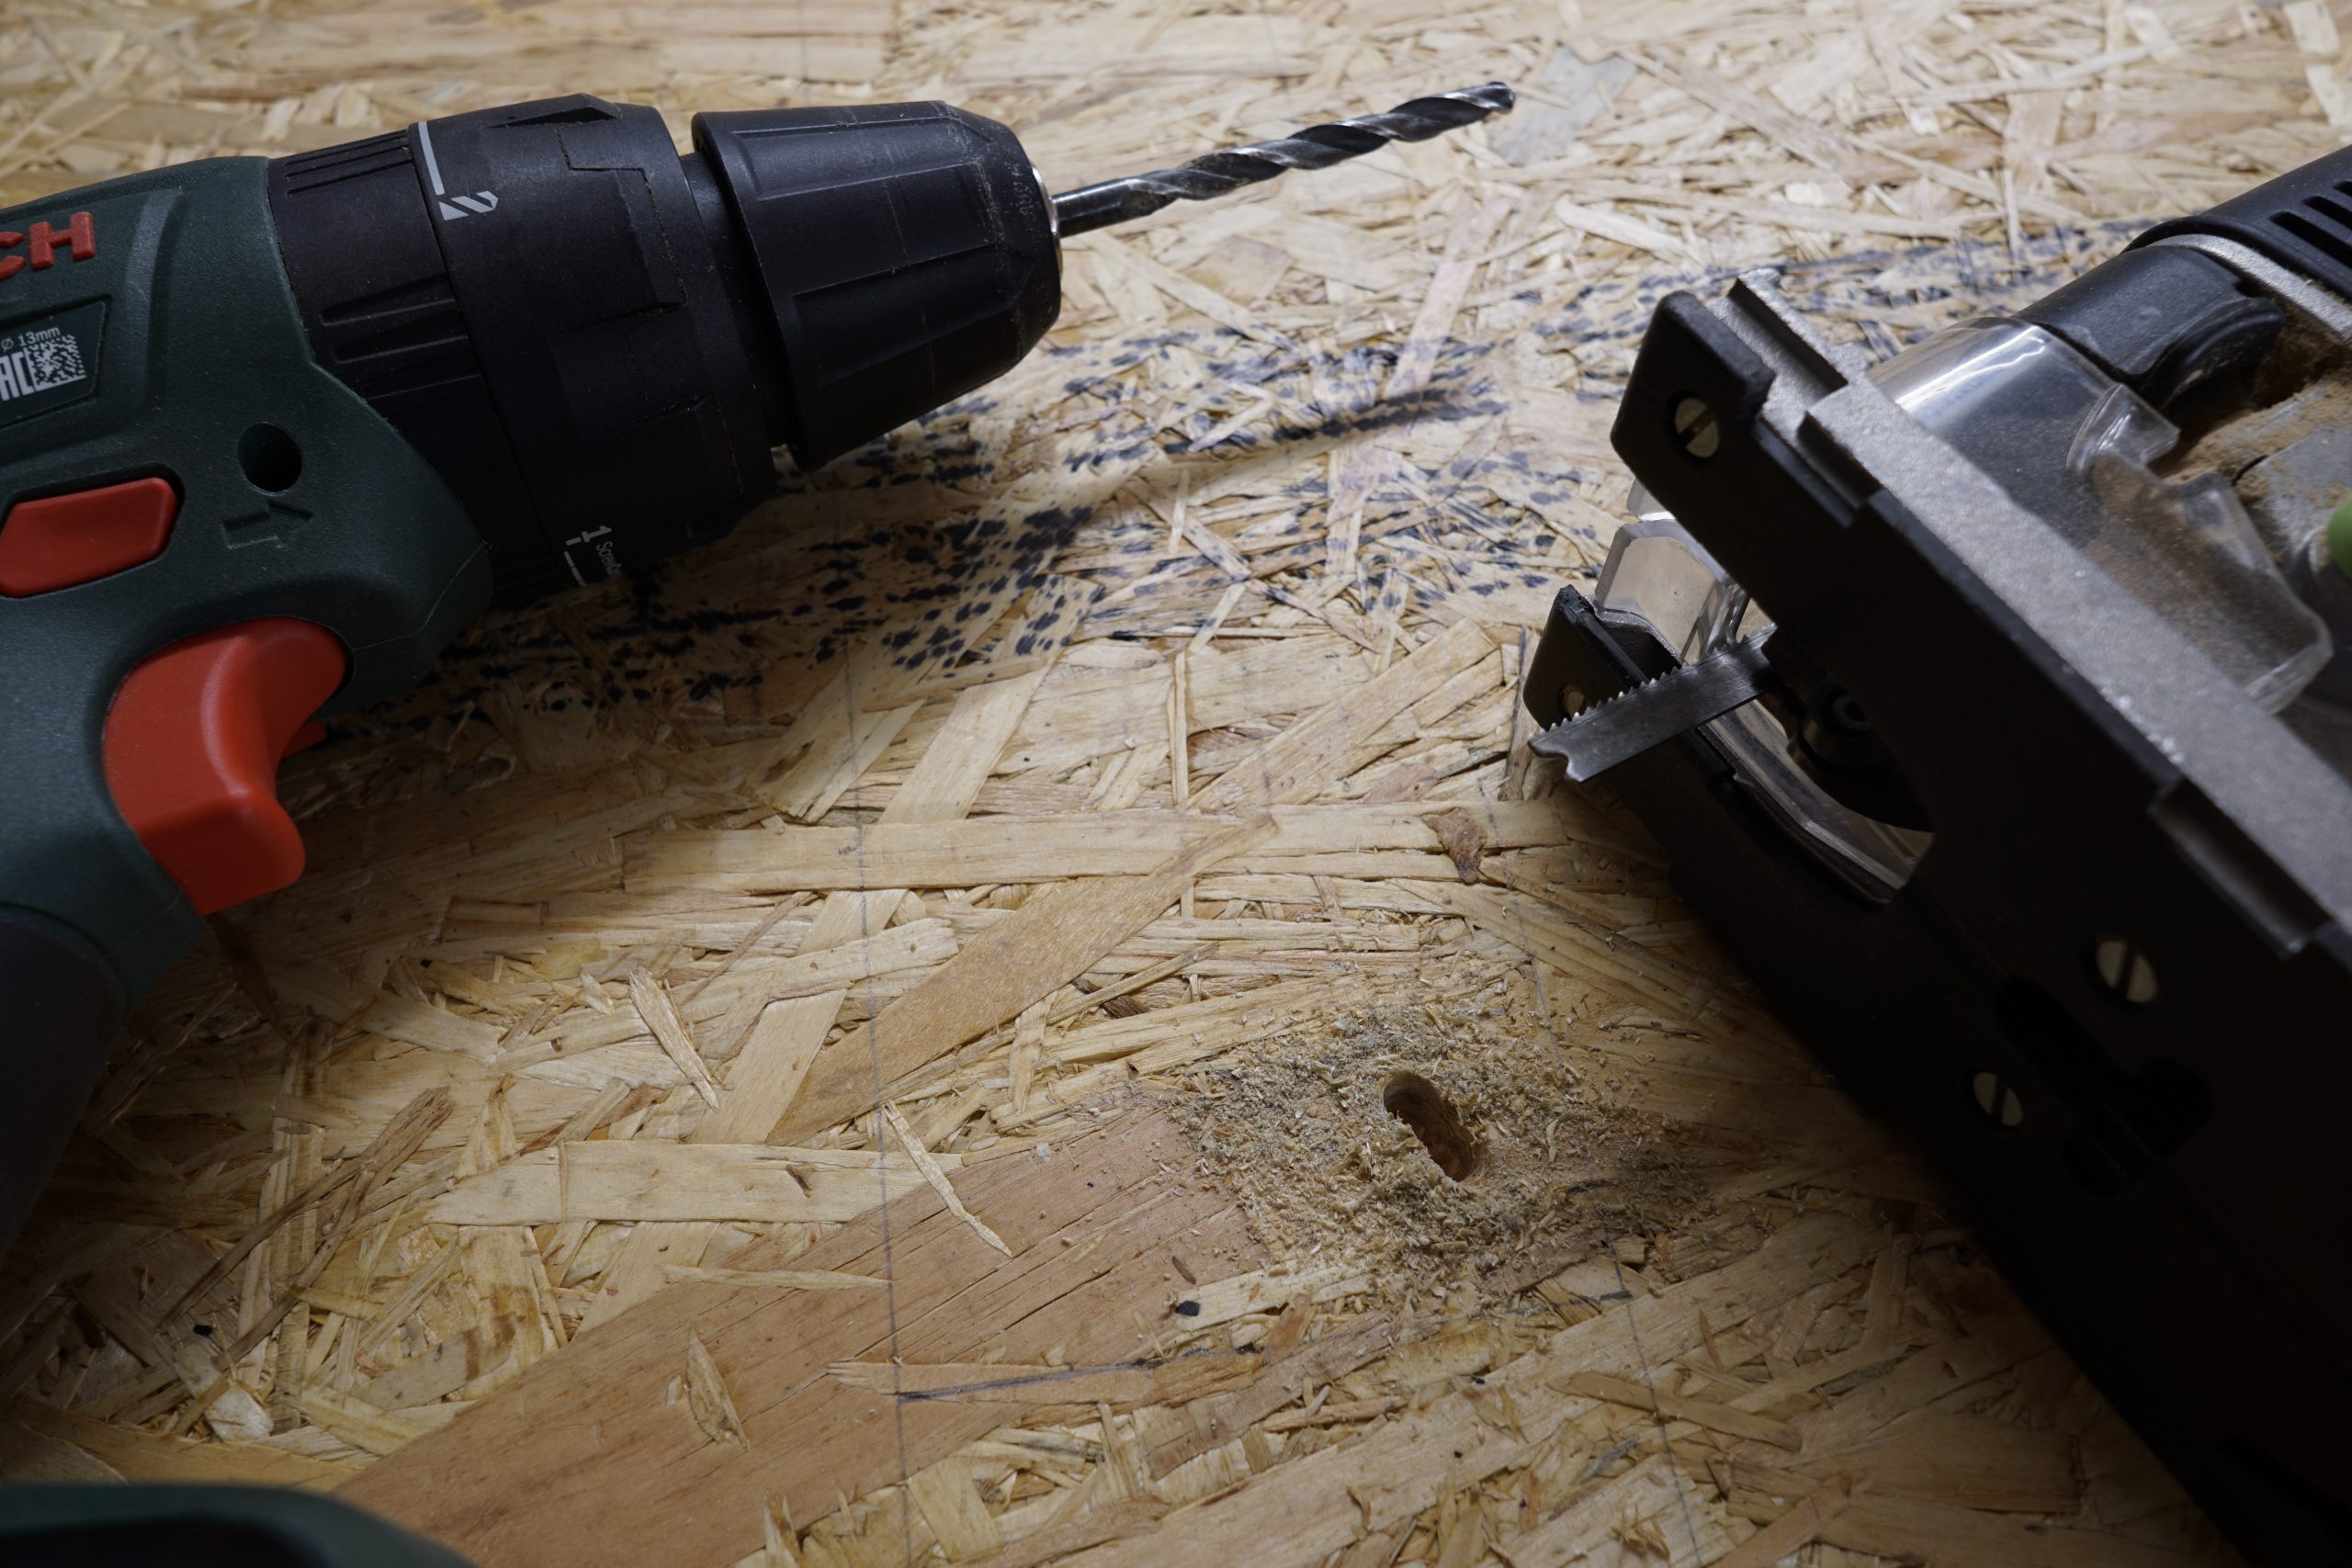
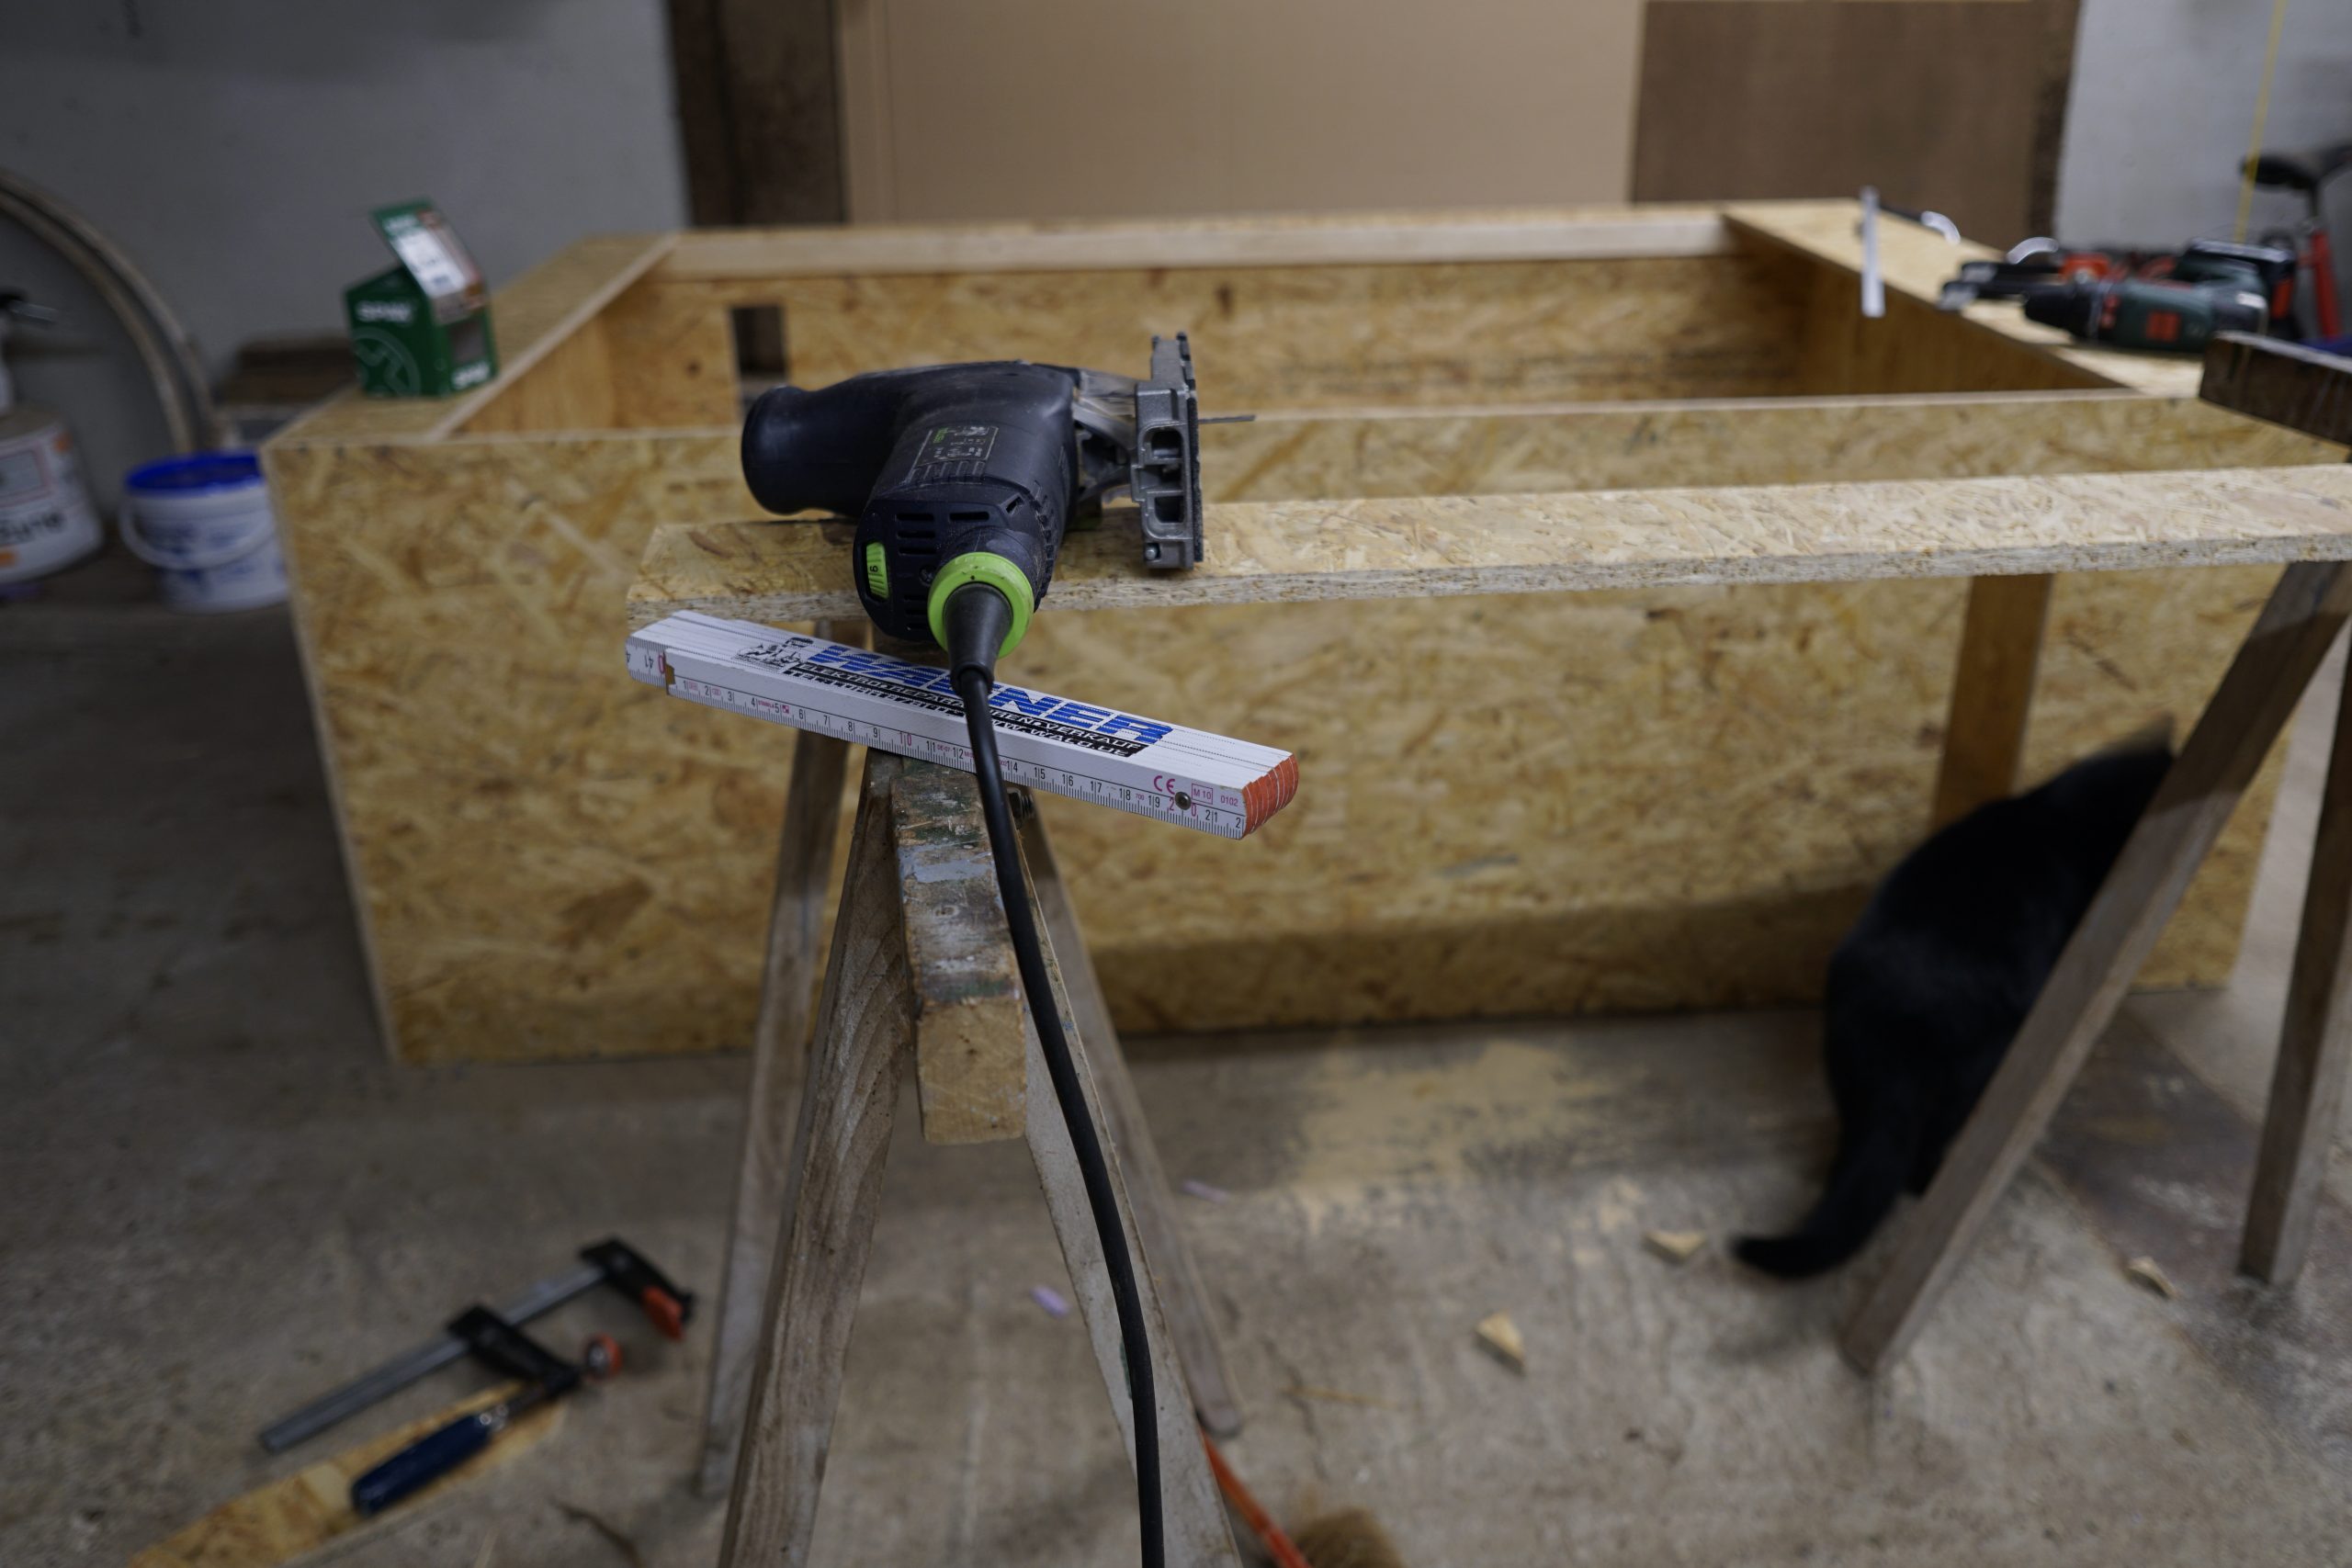
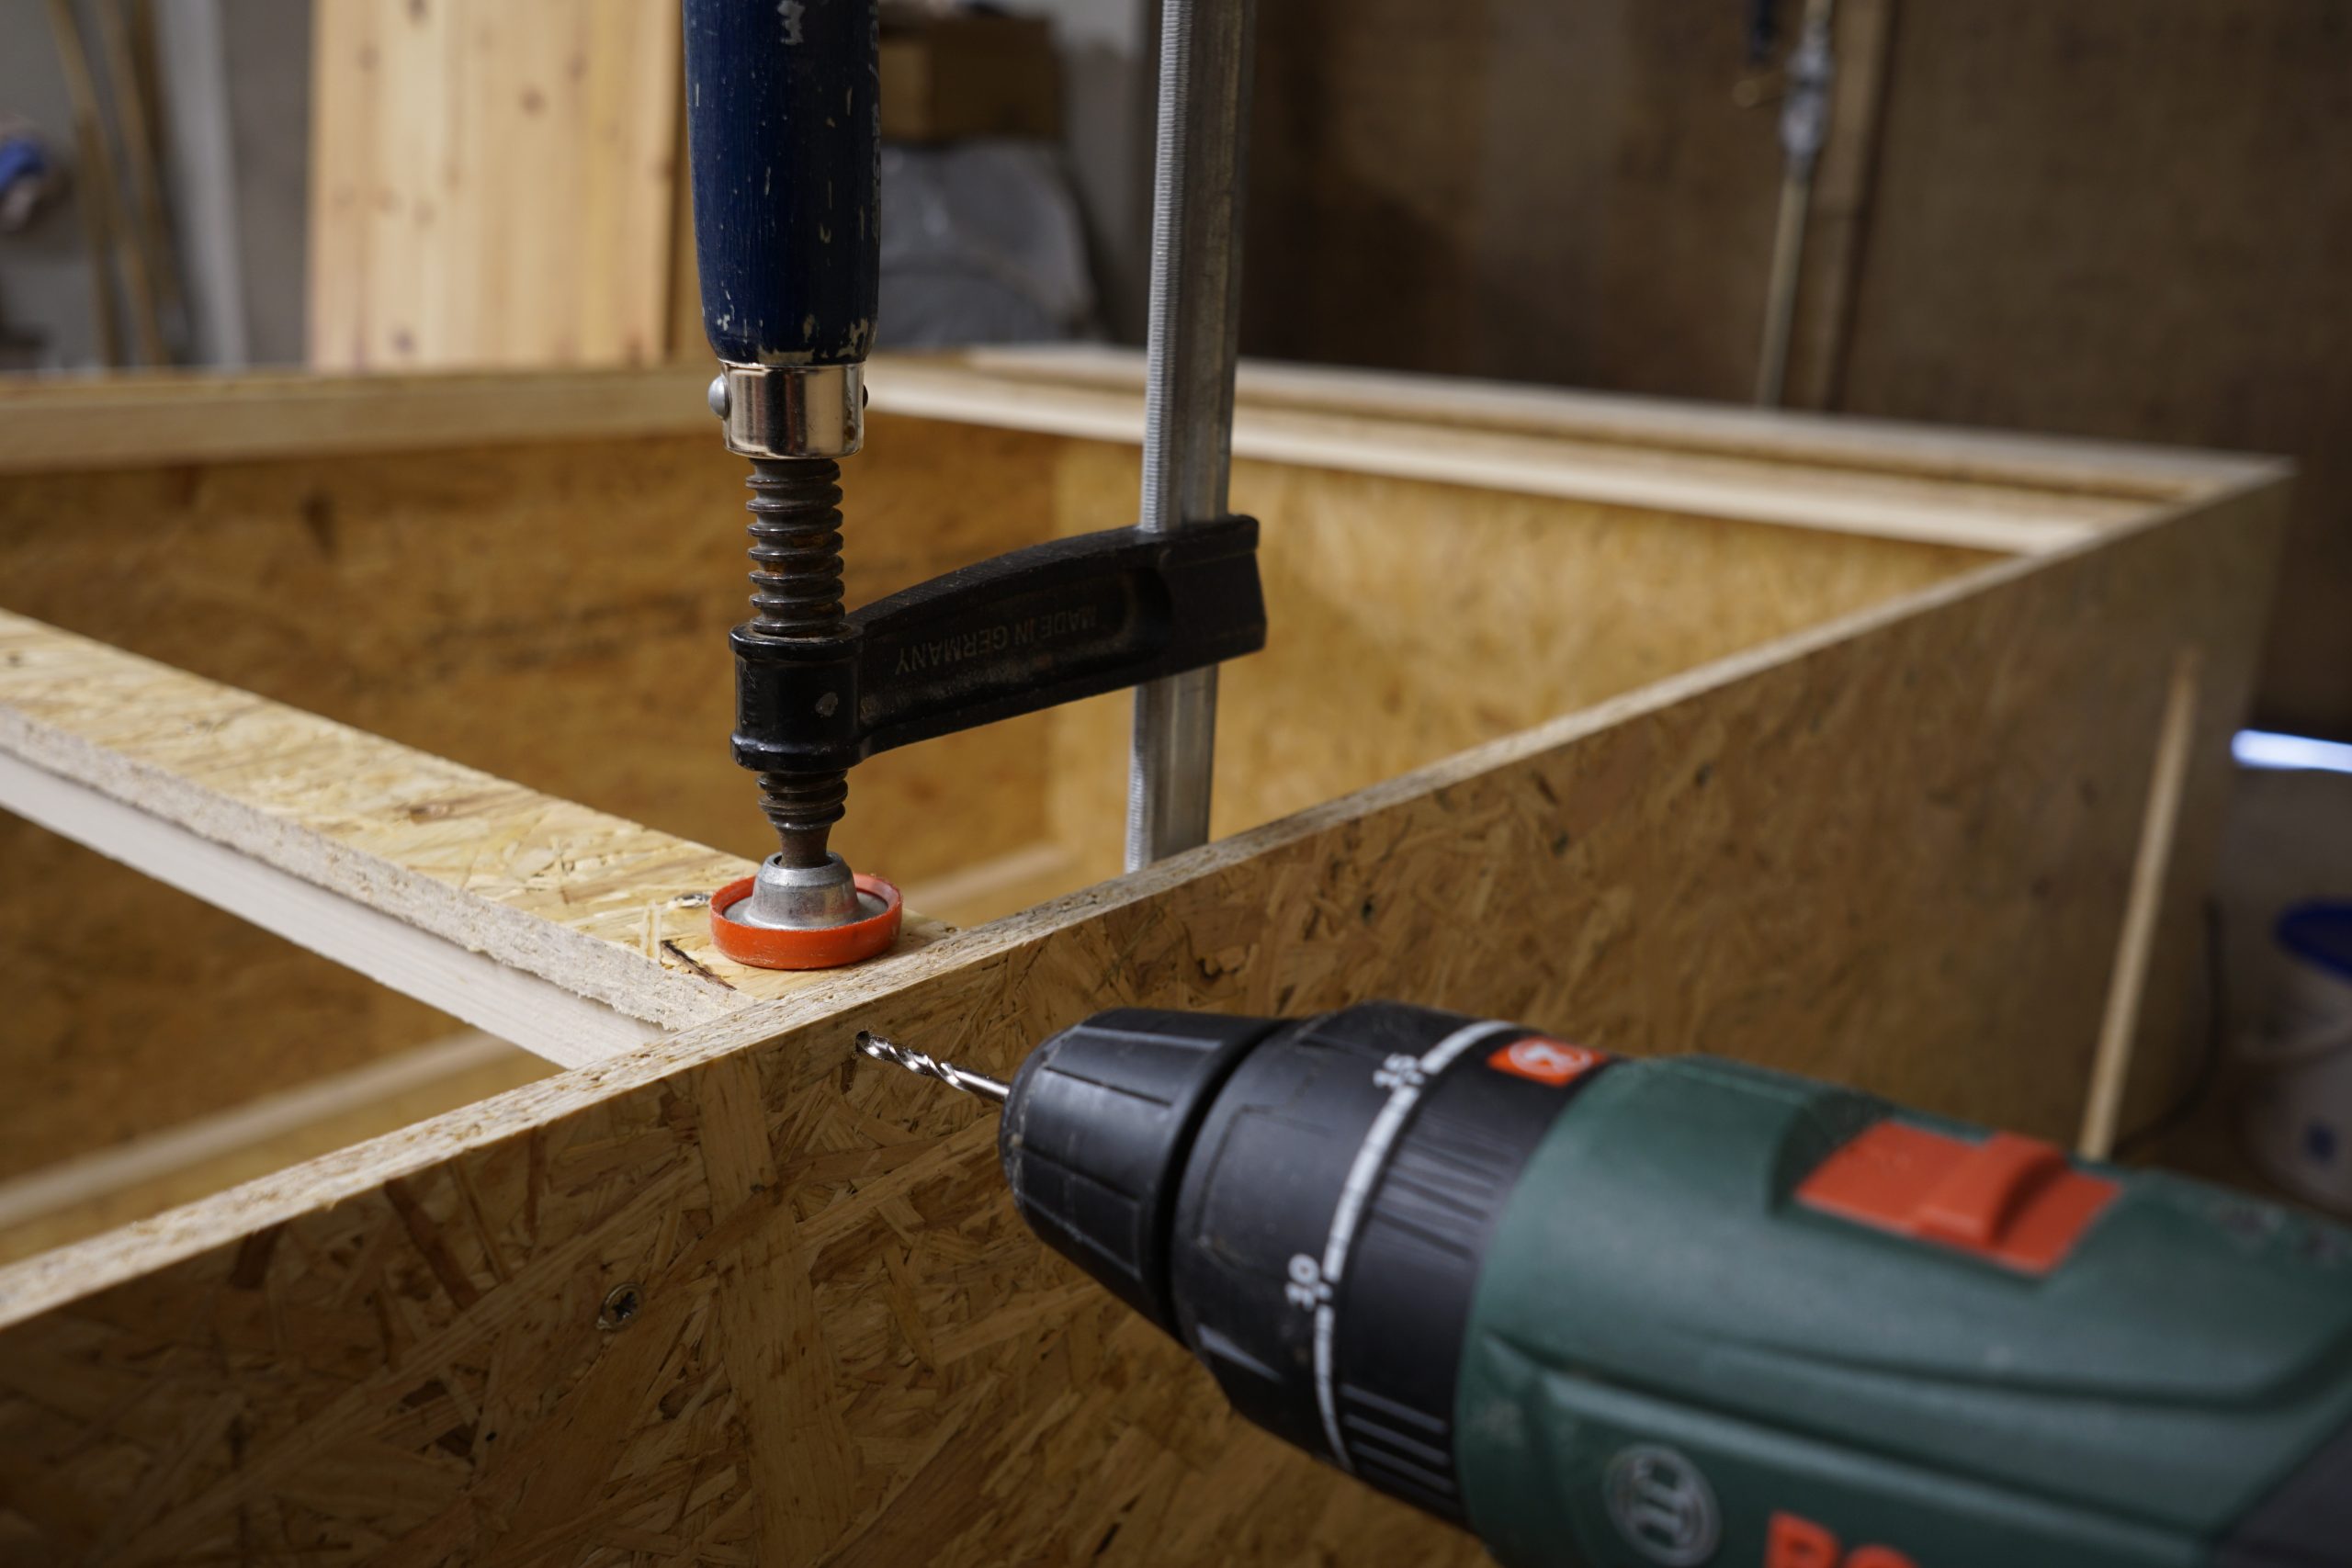
Cordless screwdriver
for drilling and screwing.

Torx-Bit
for screws in T20.

Wood drill
to pre-drill for the screws, otherwise the OSB panels could crack (~3 mm)

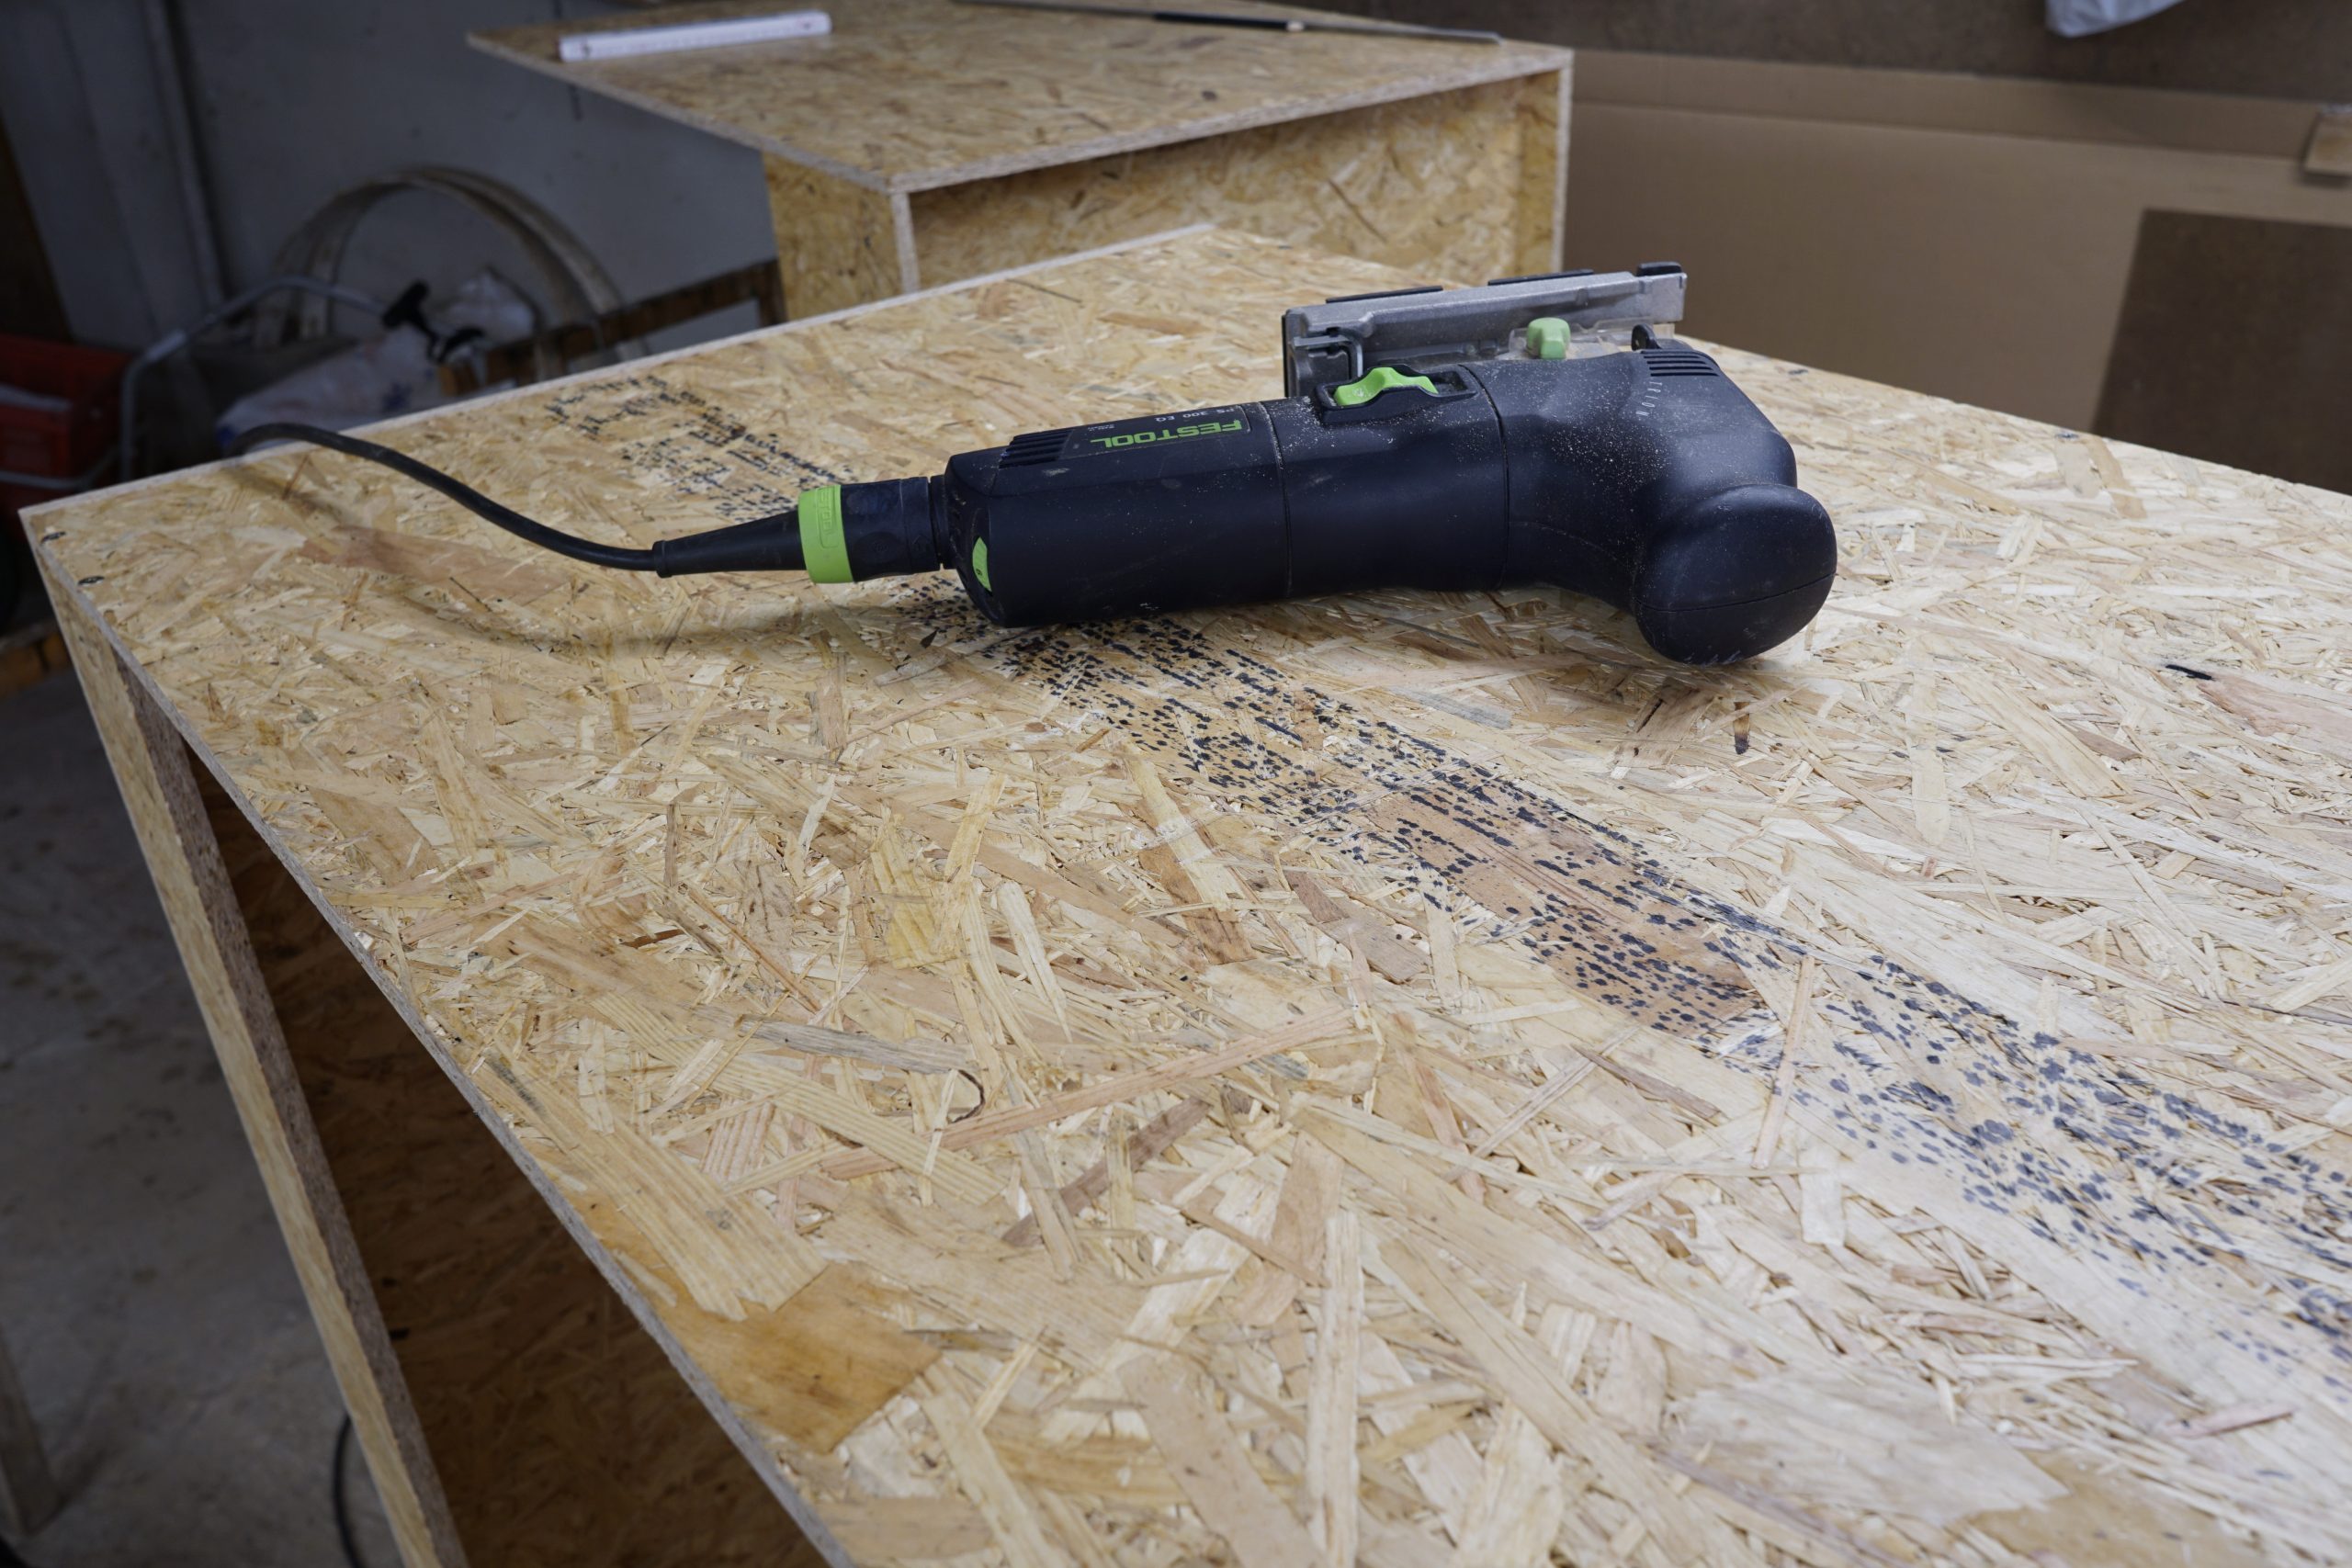
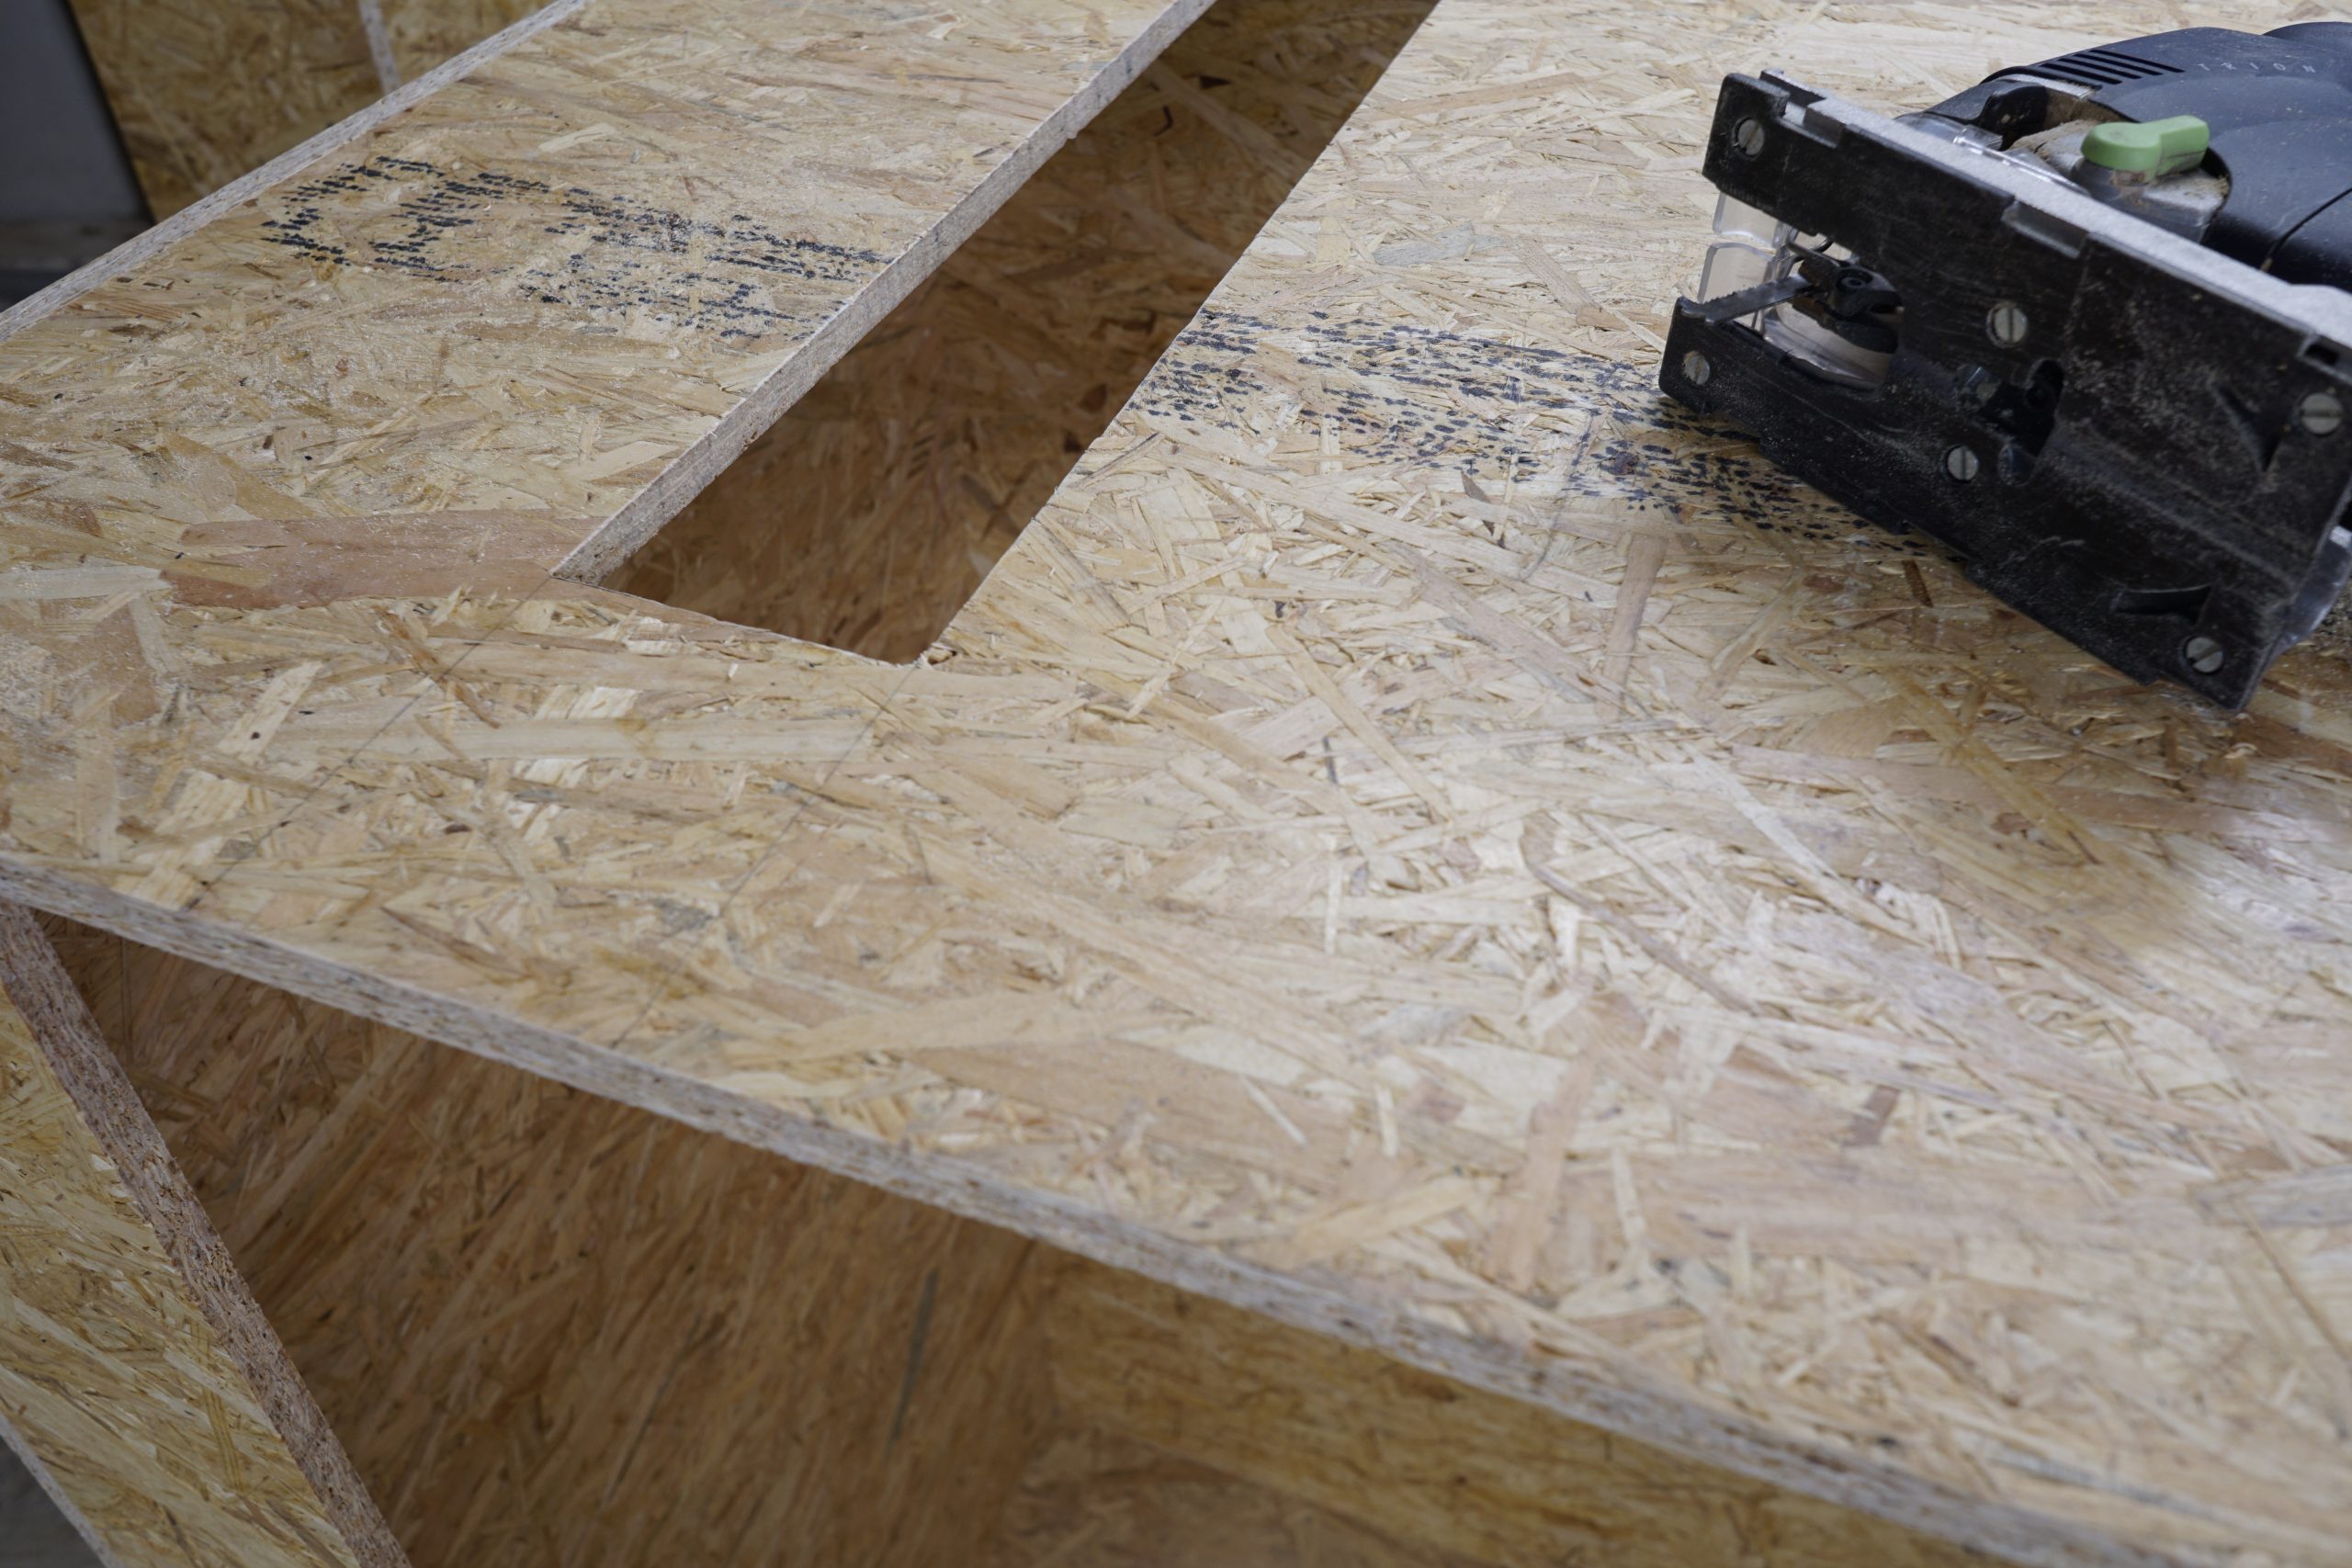
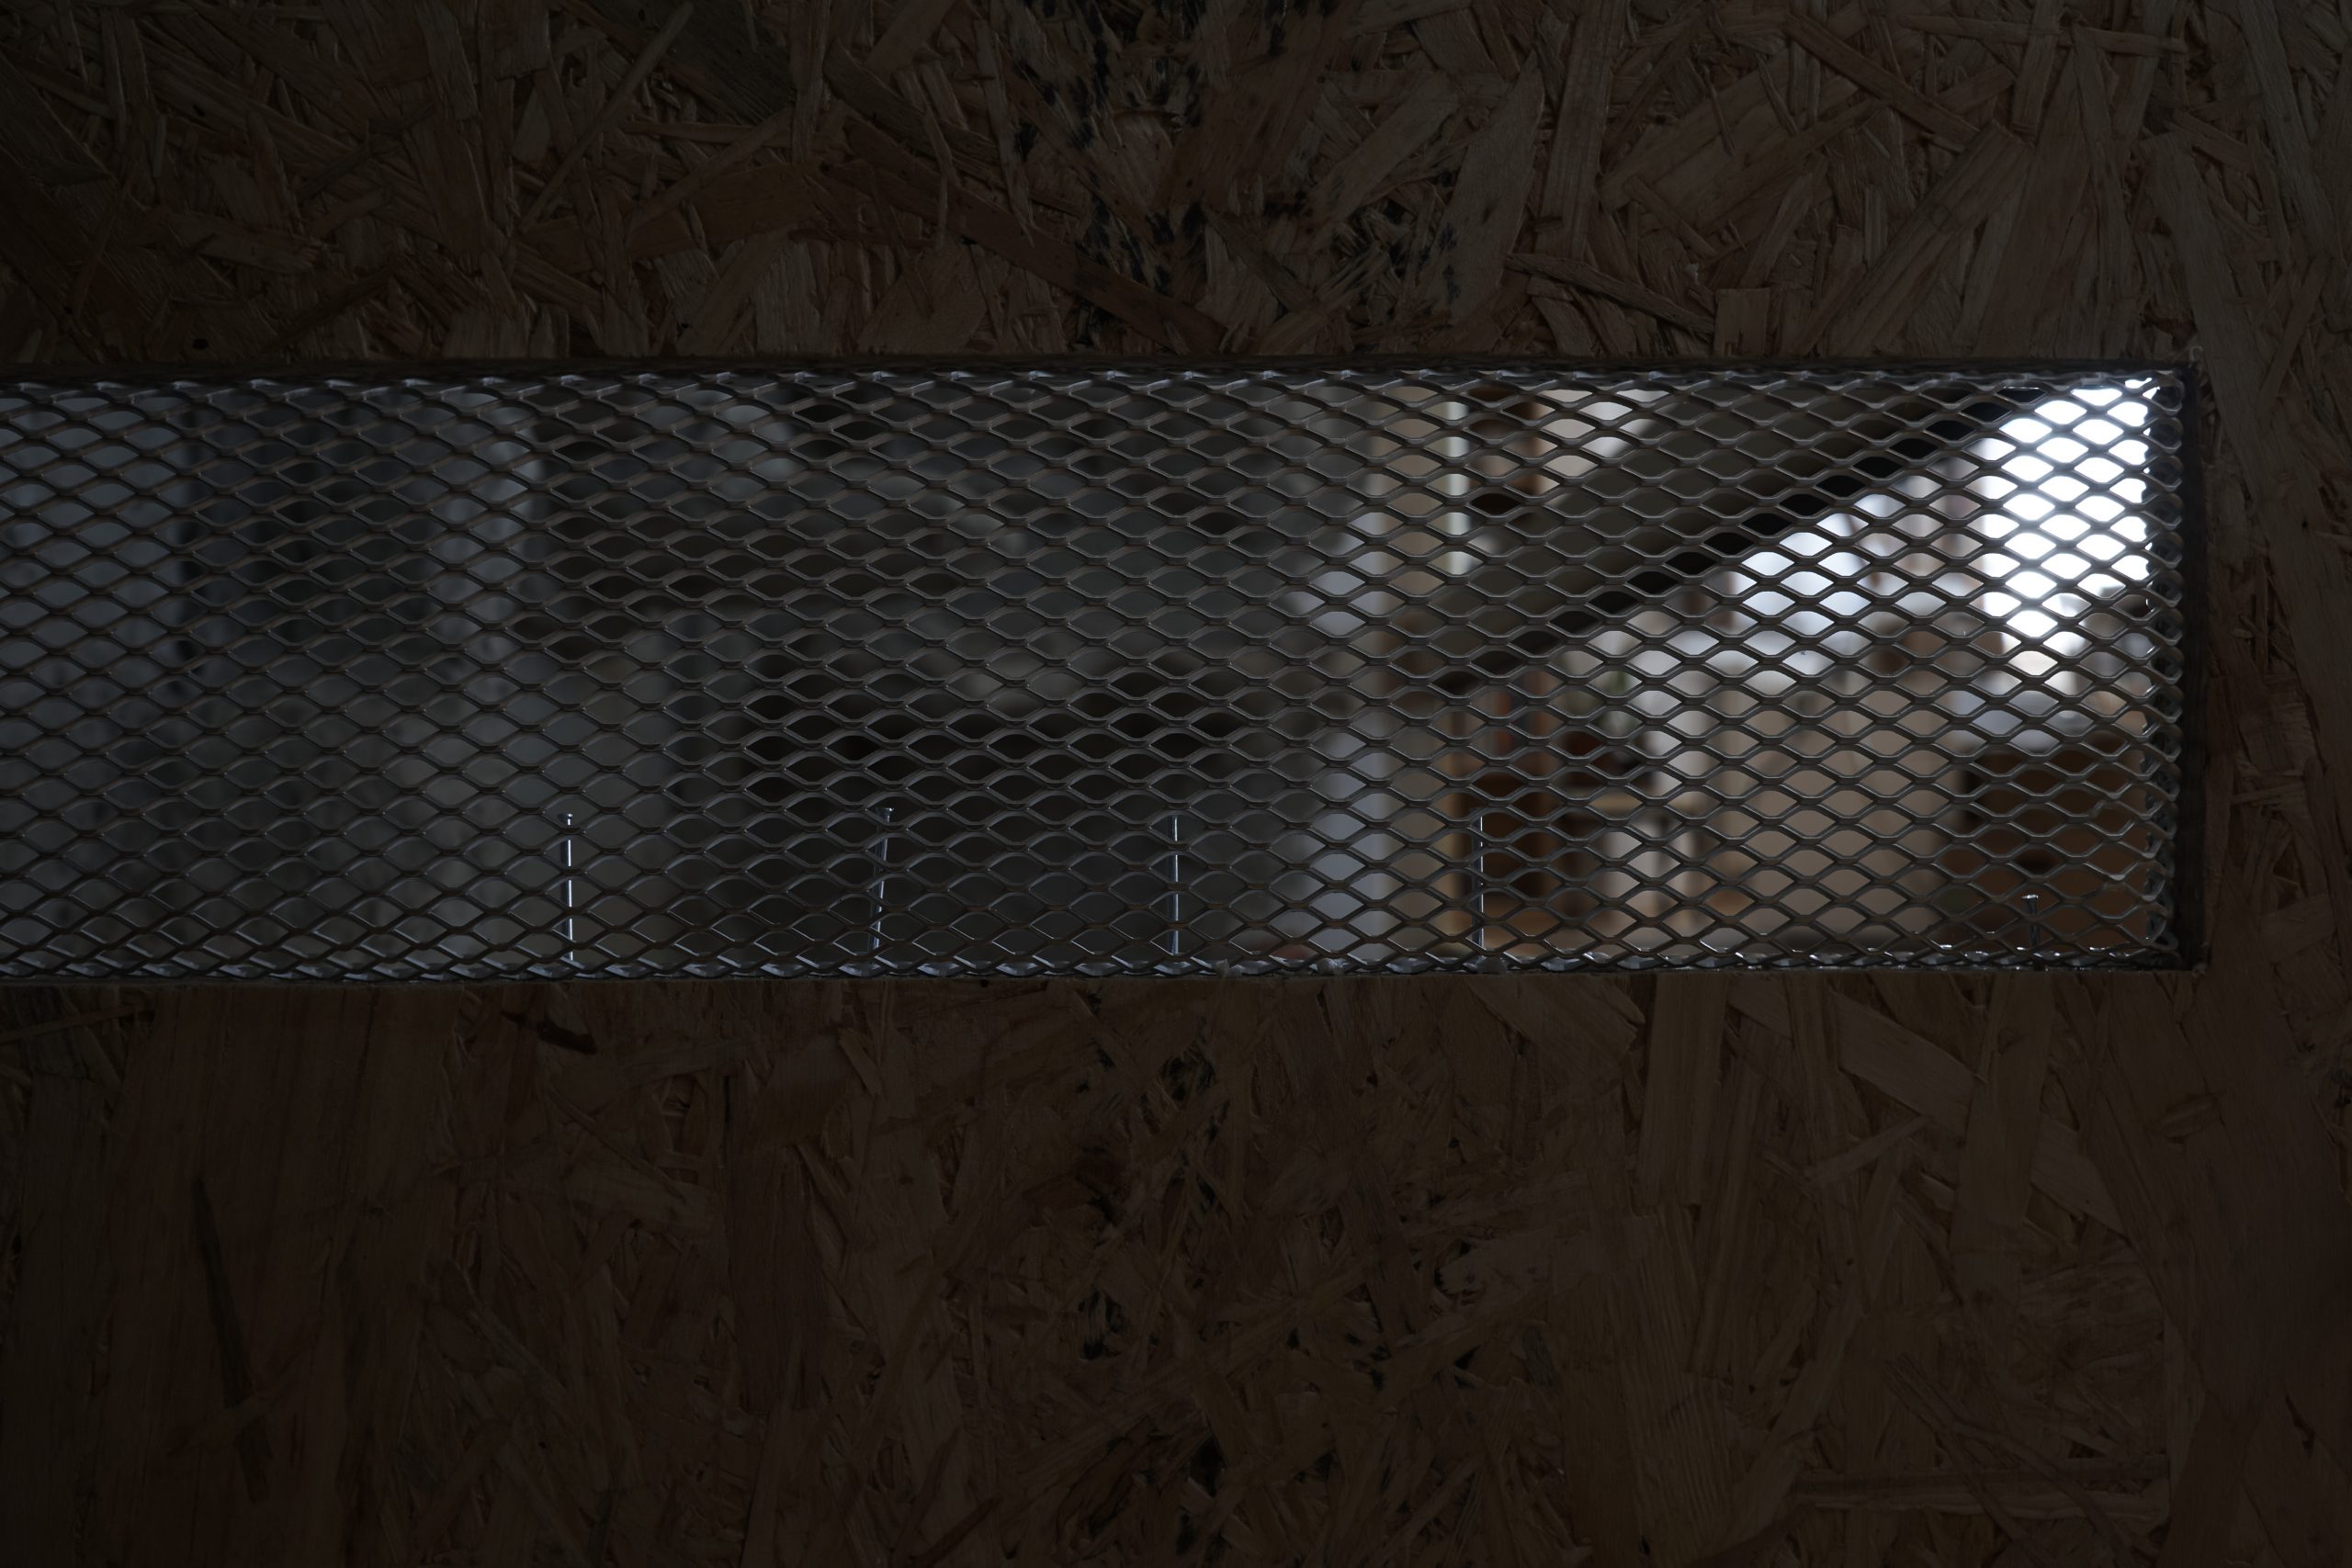
Jigsaw
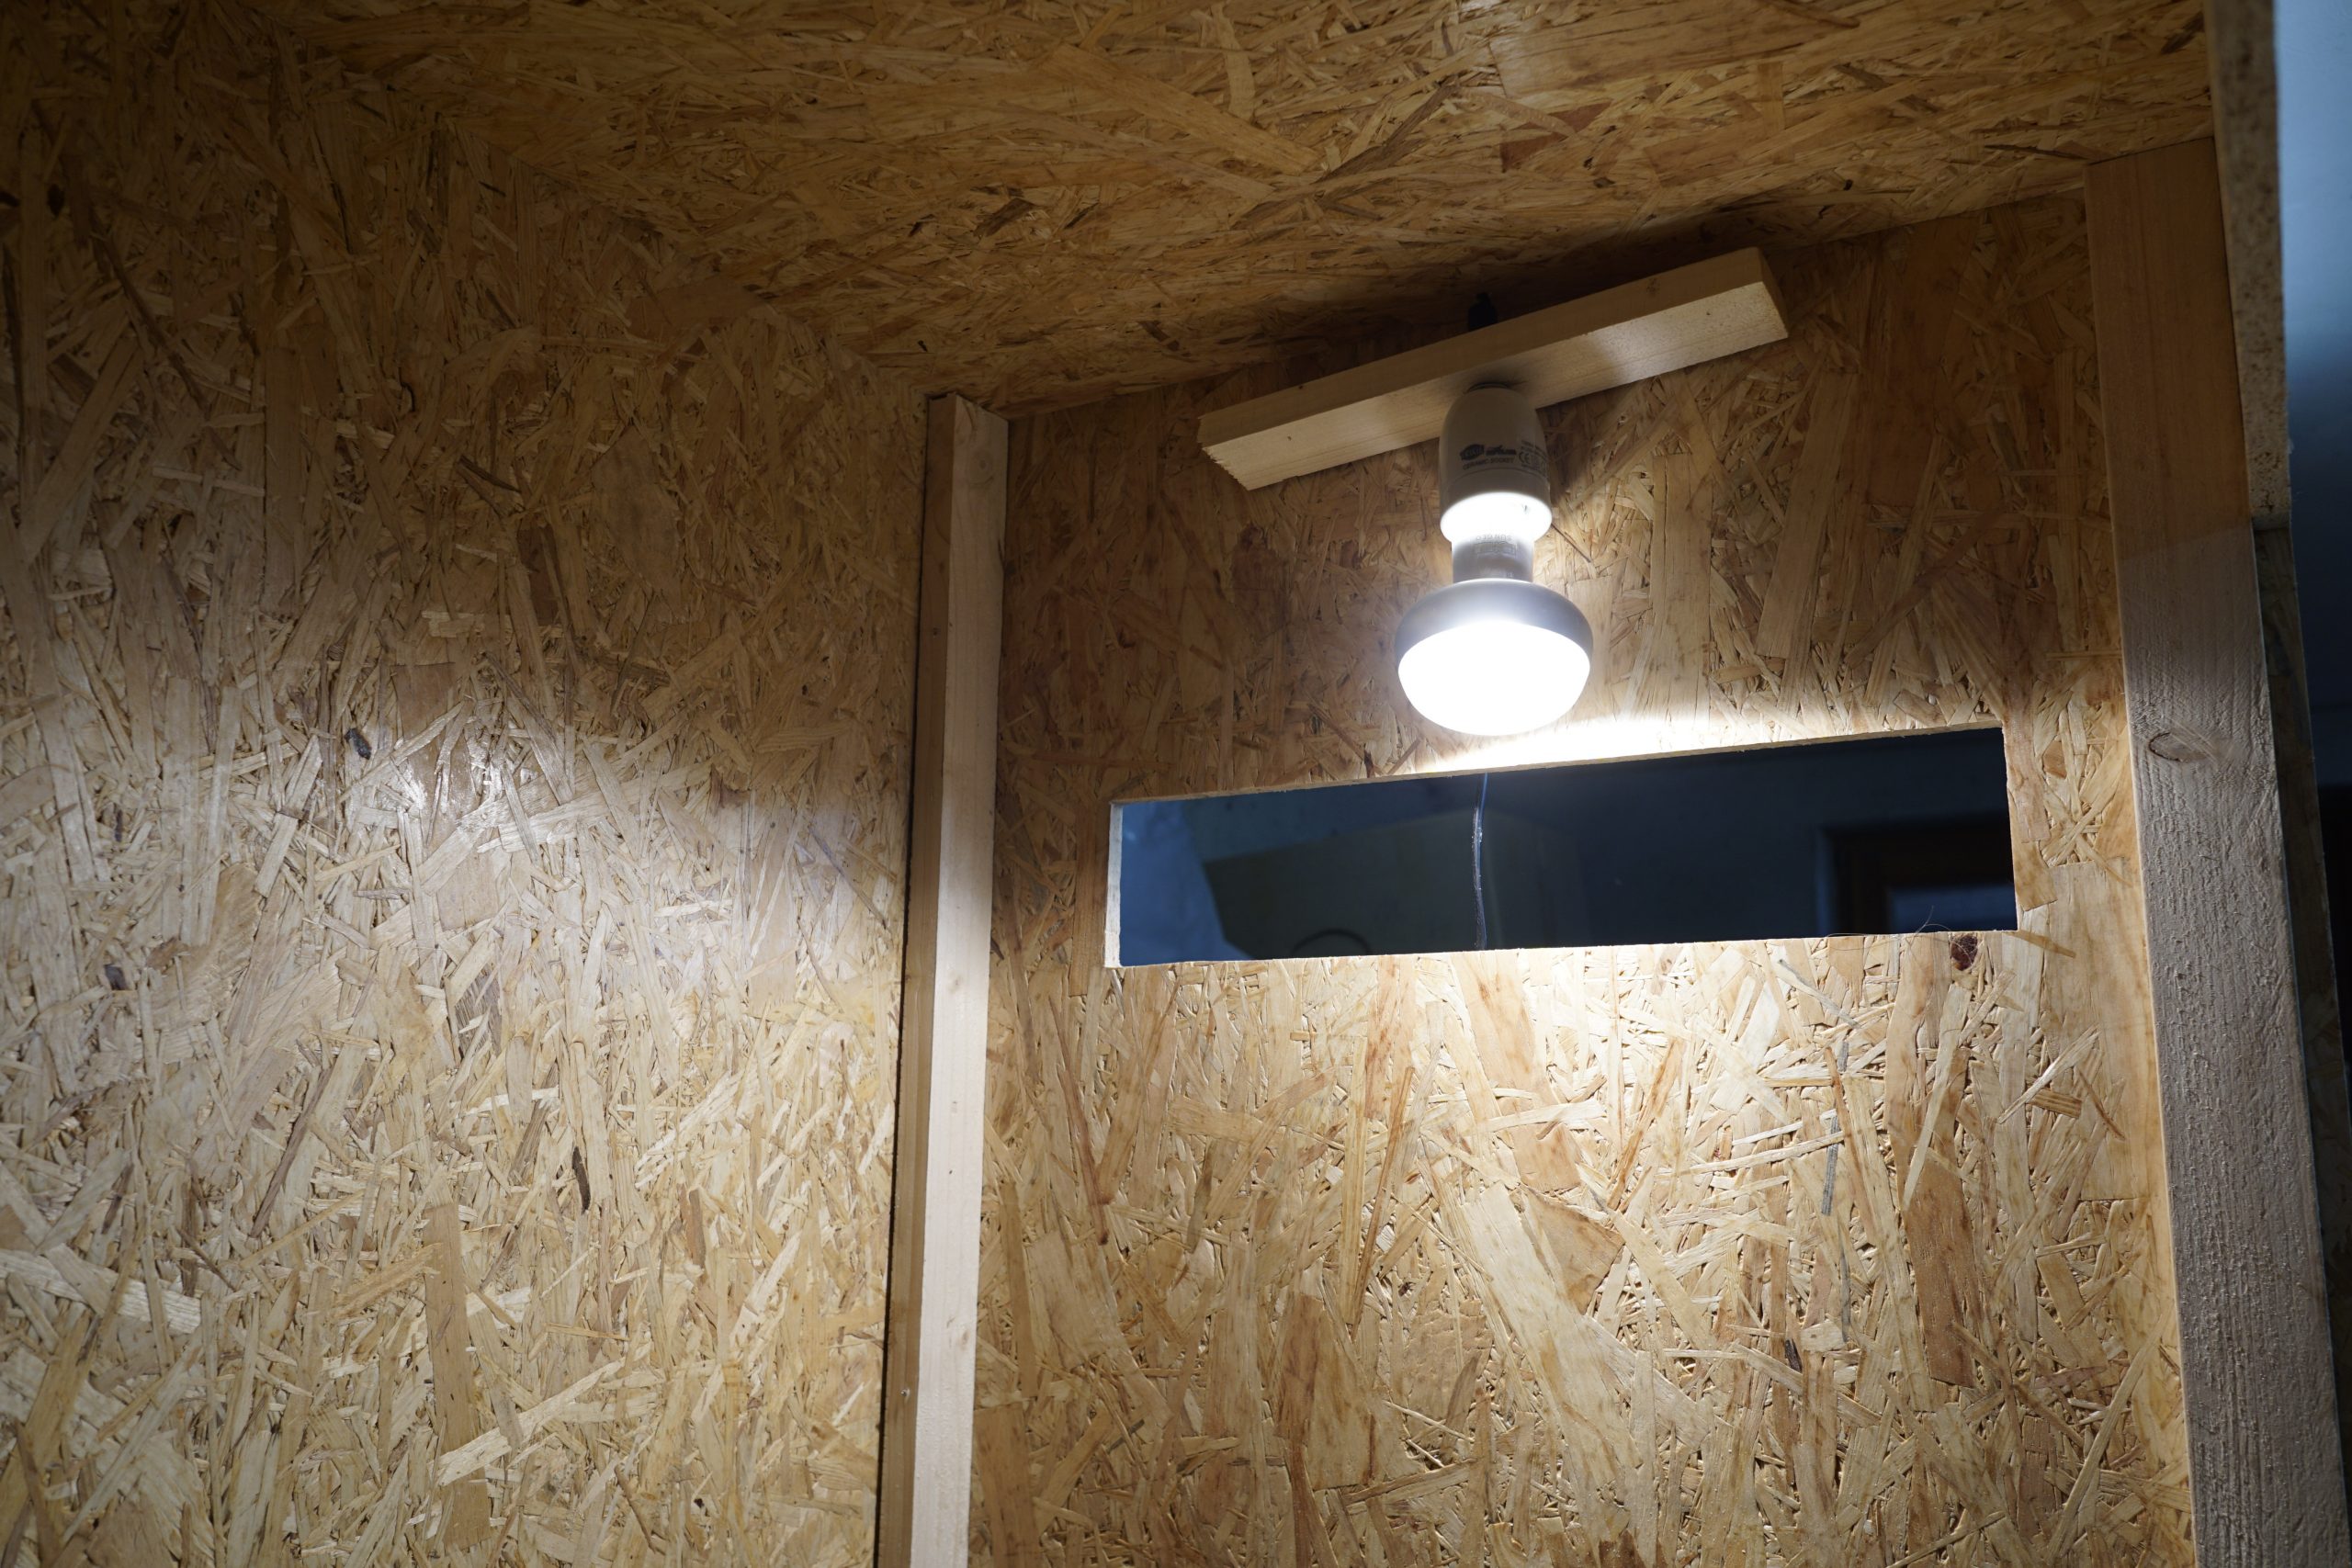
to cut out the air openings.

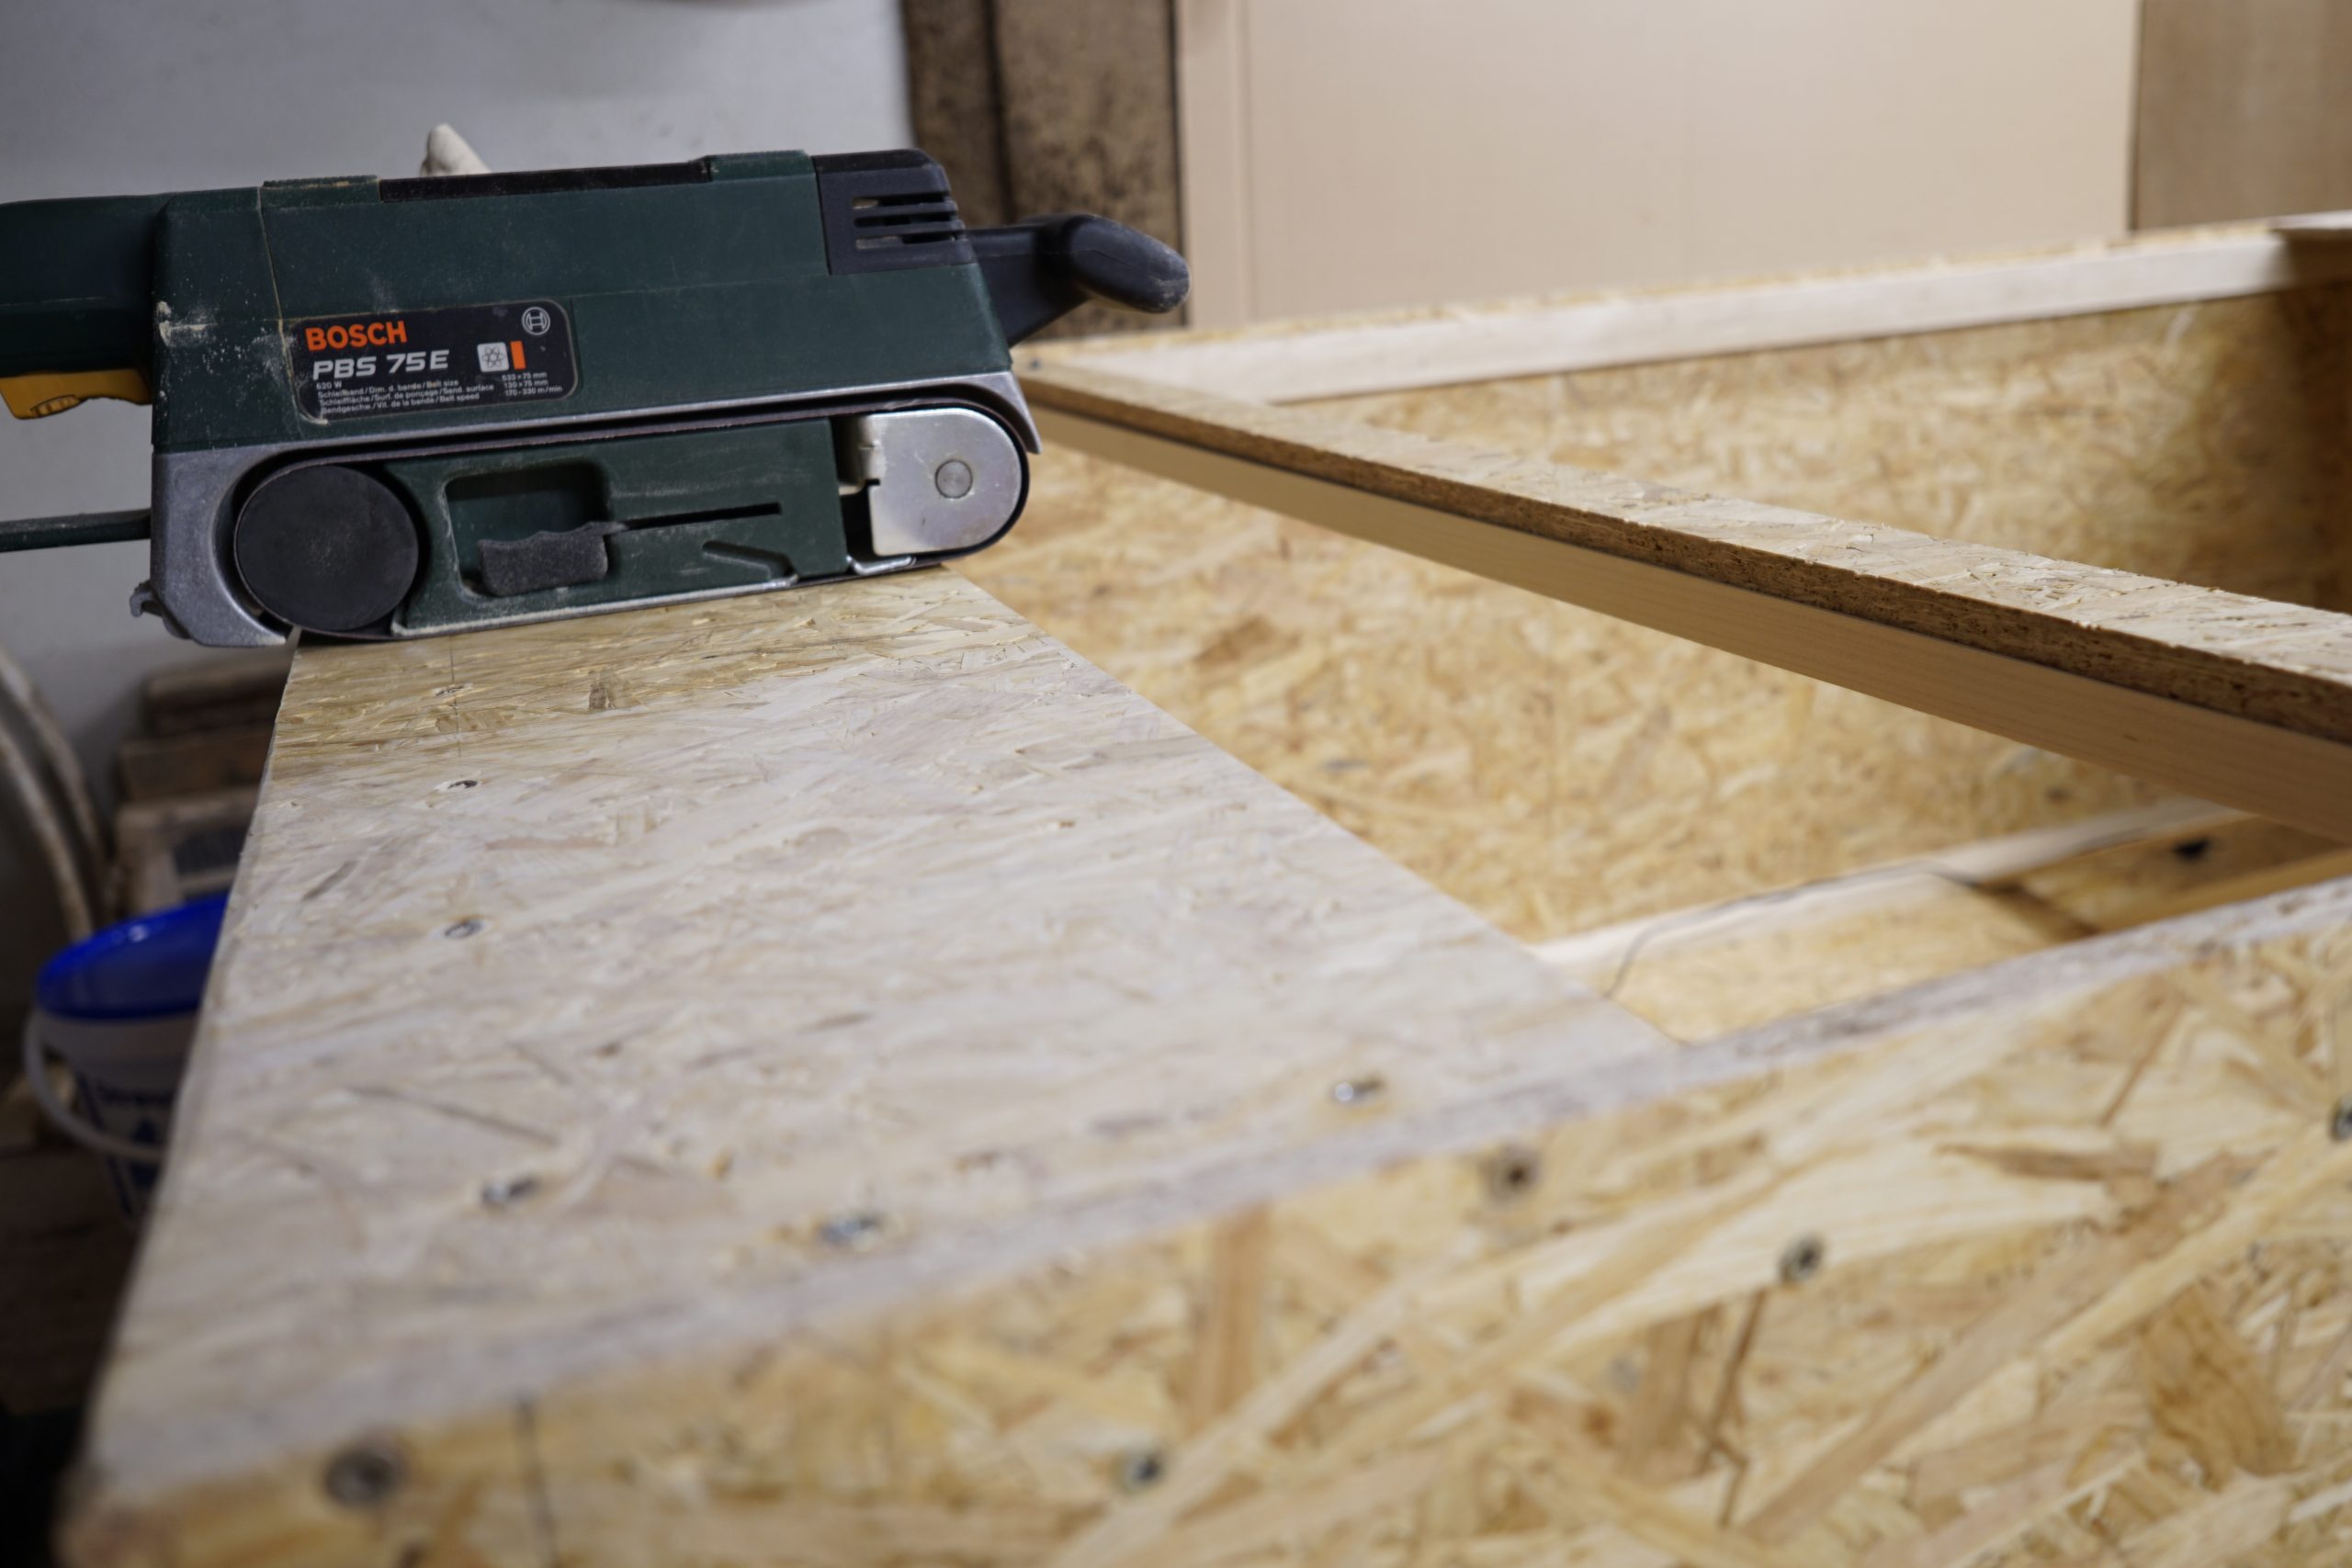
Sanding machine
I had a belt sander. This is used to grind the OSB boards outside (avoid splinters) and the edges (very sharp edges).

Hammer
for the nails on the grids.

Side cutters
for cutting to size for the grids.

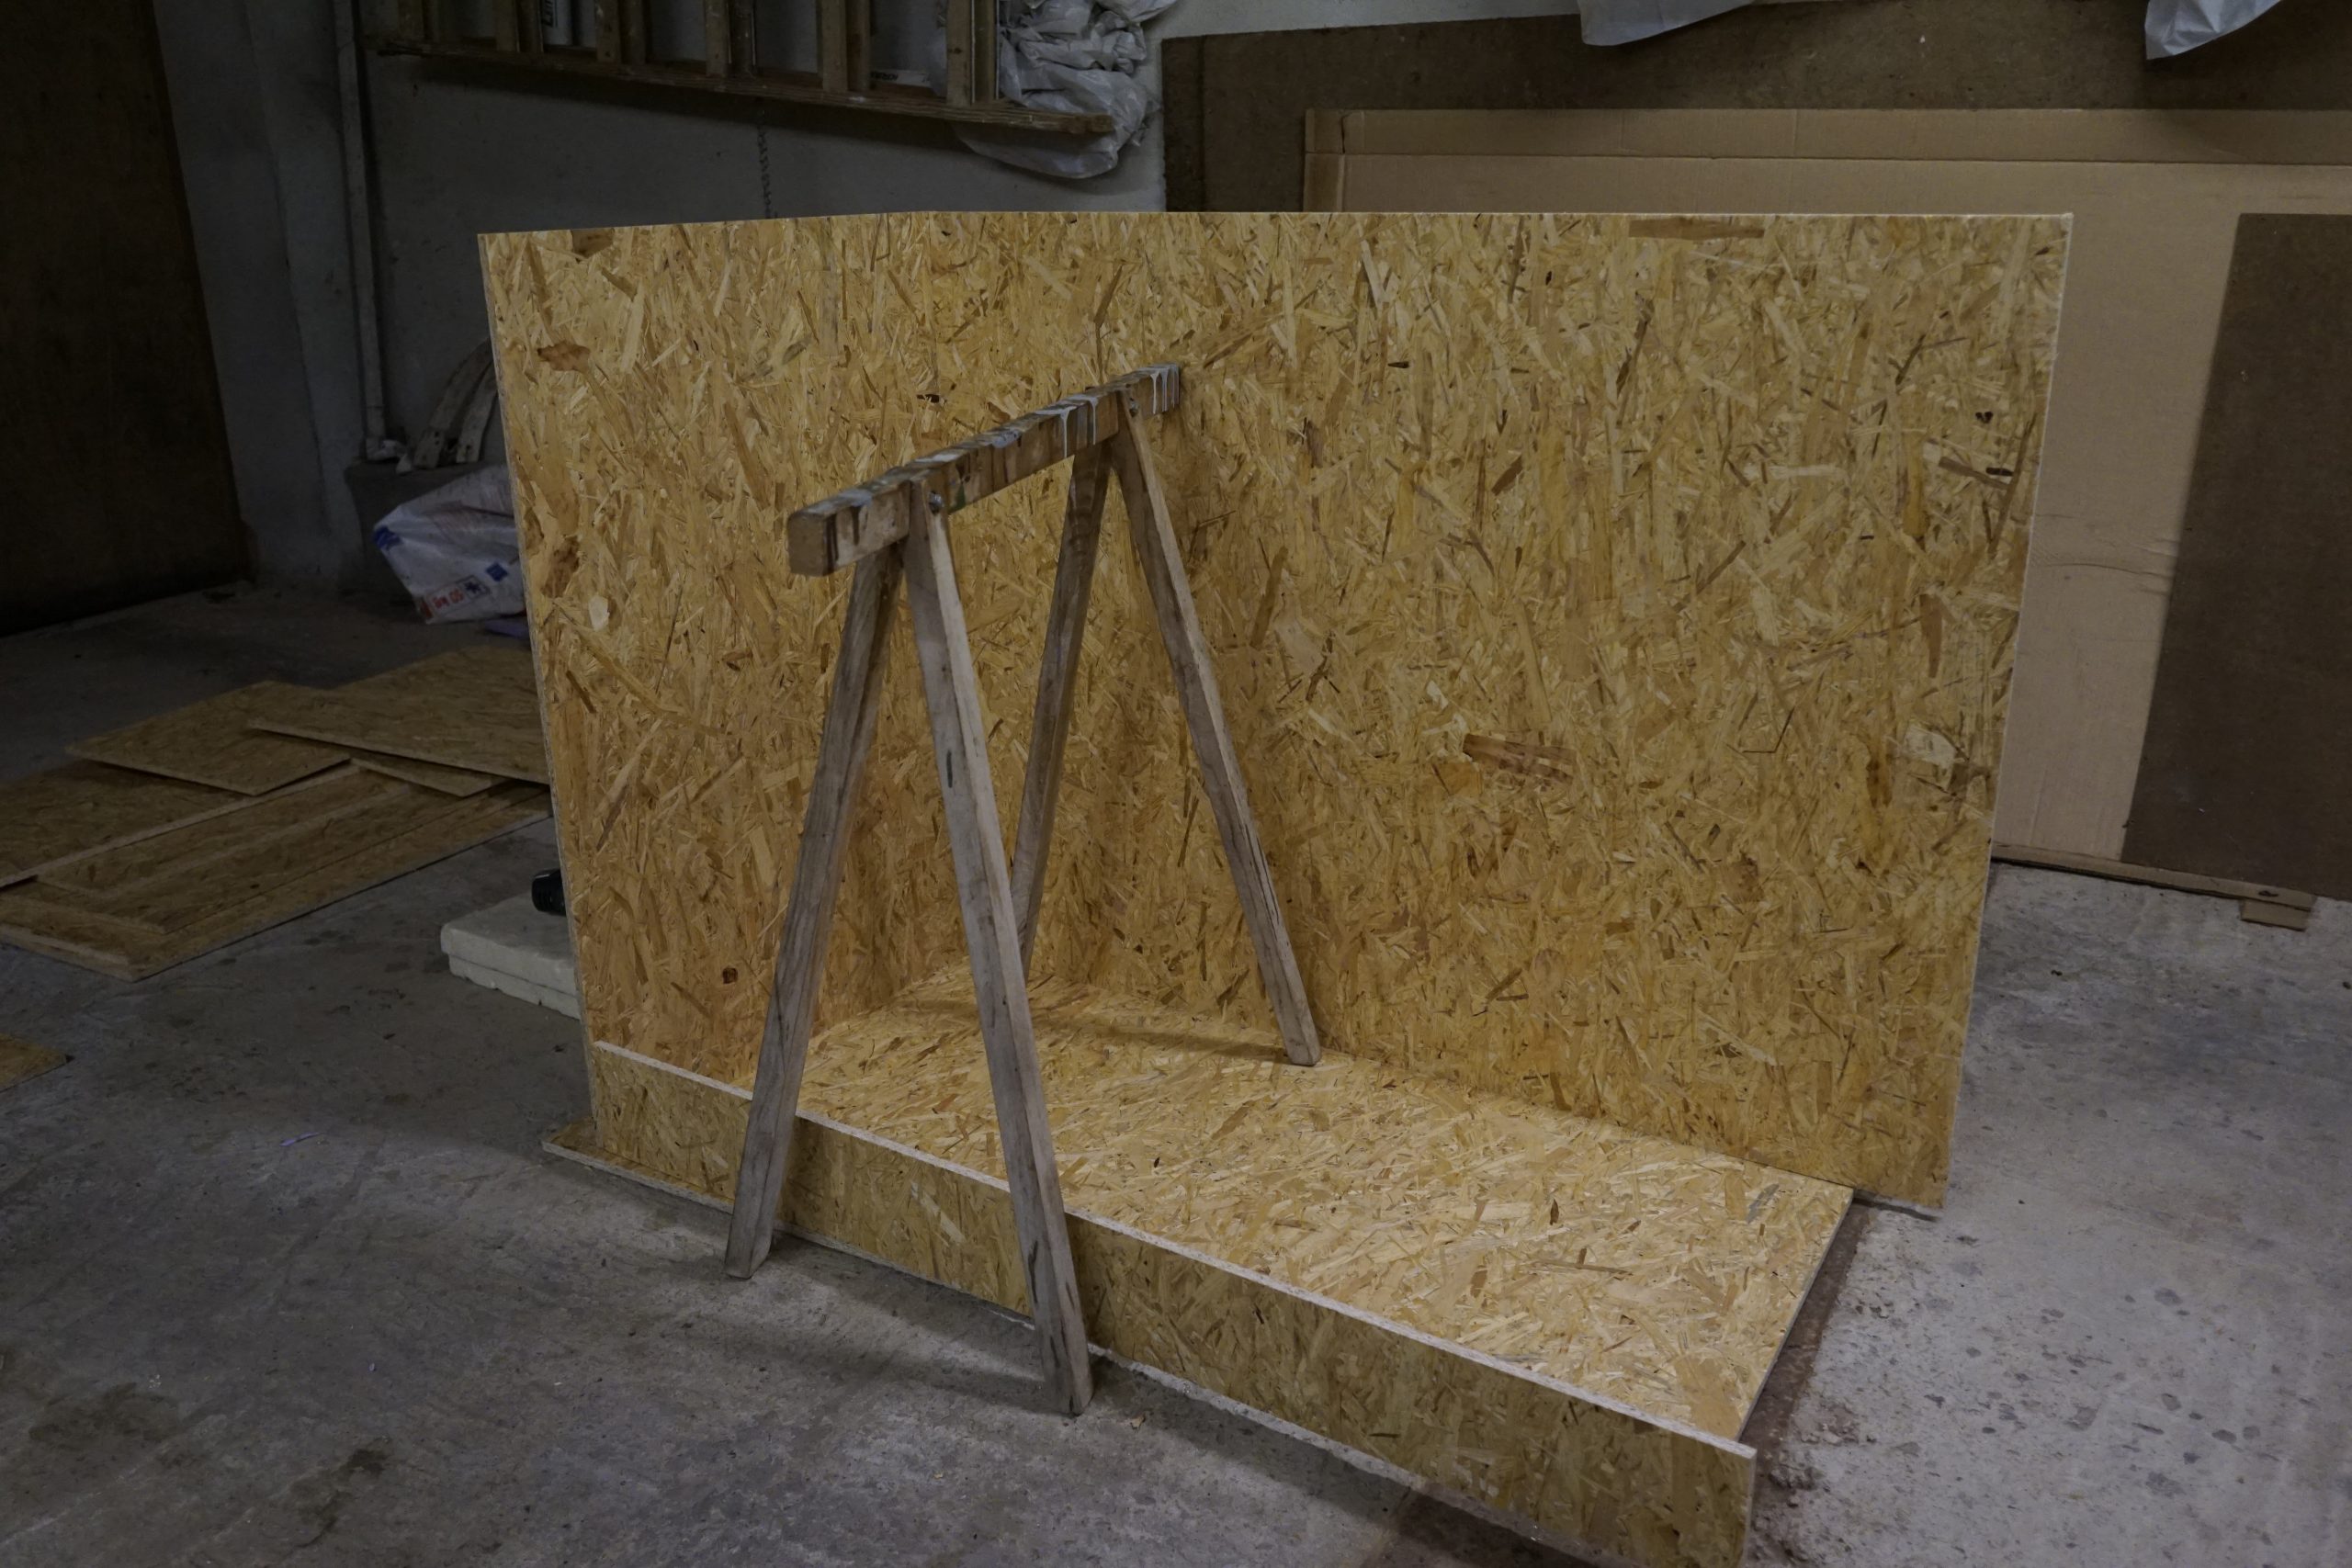
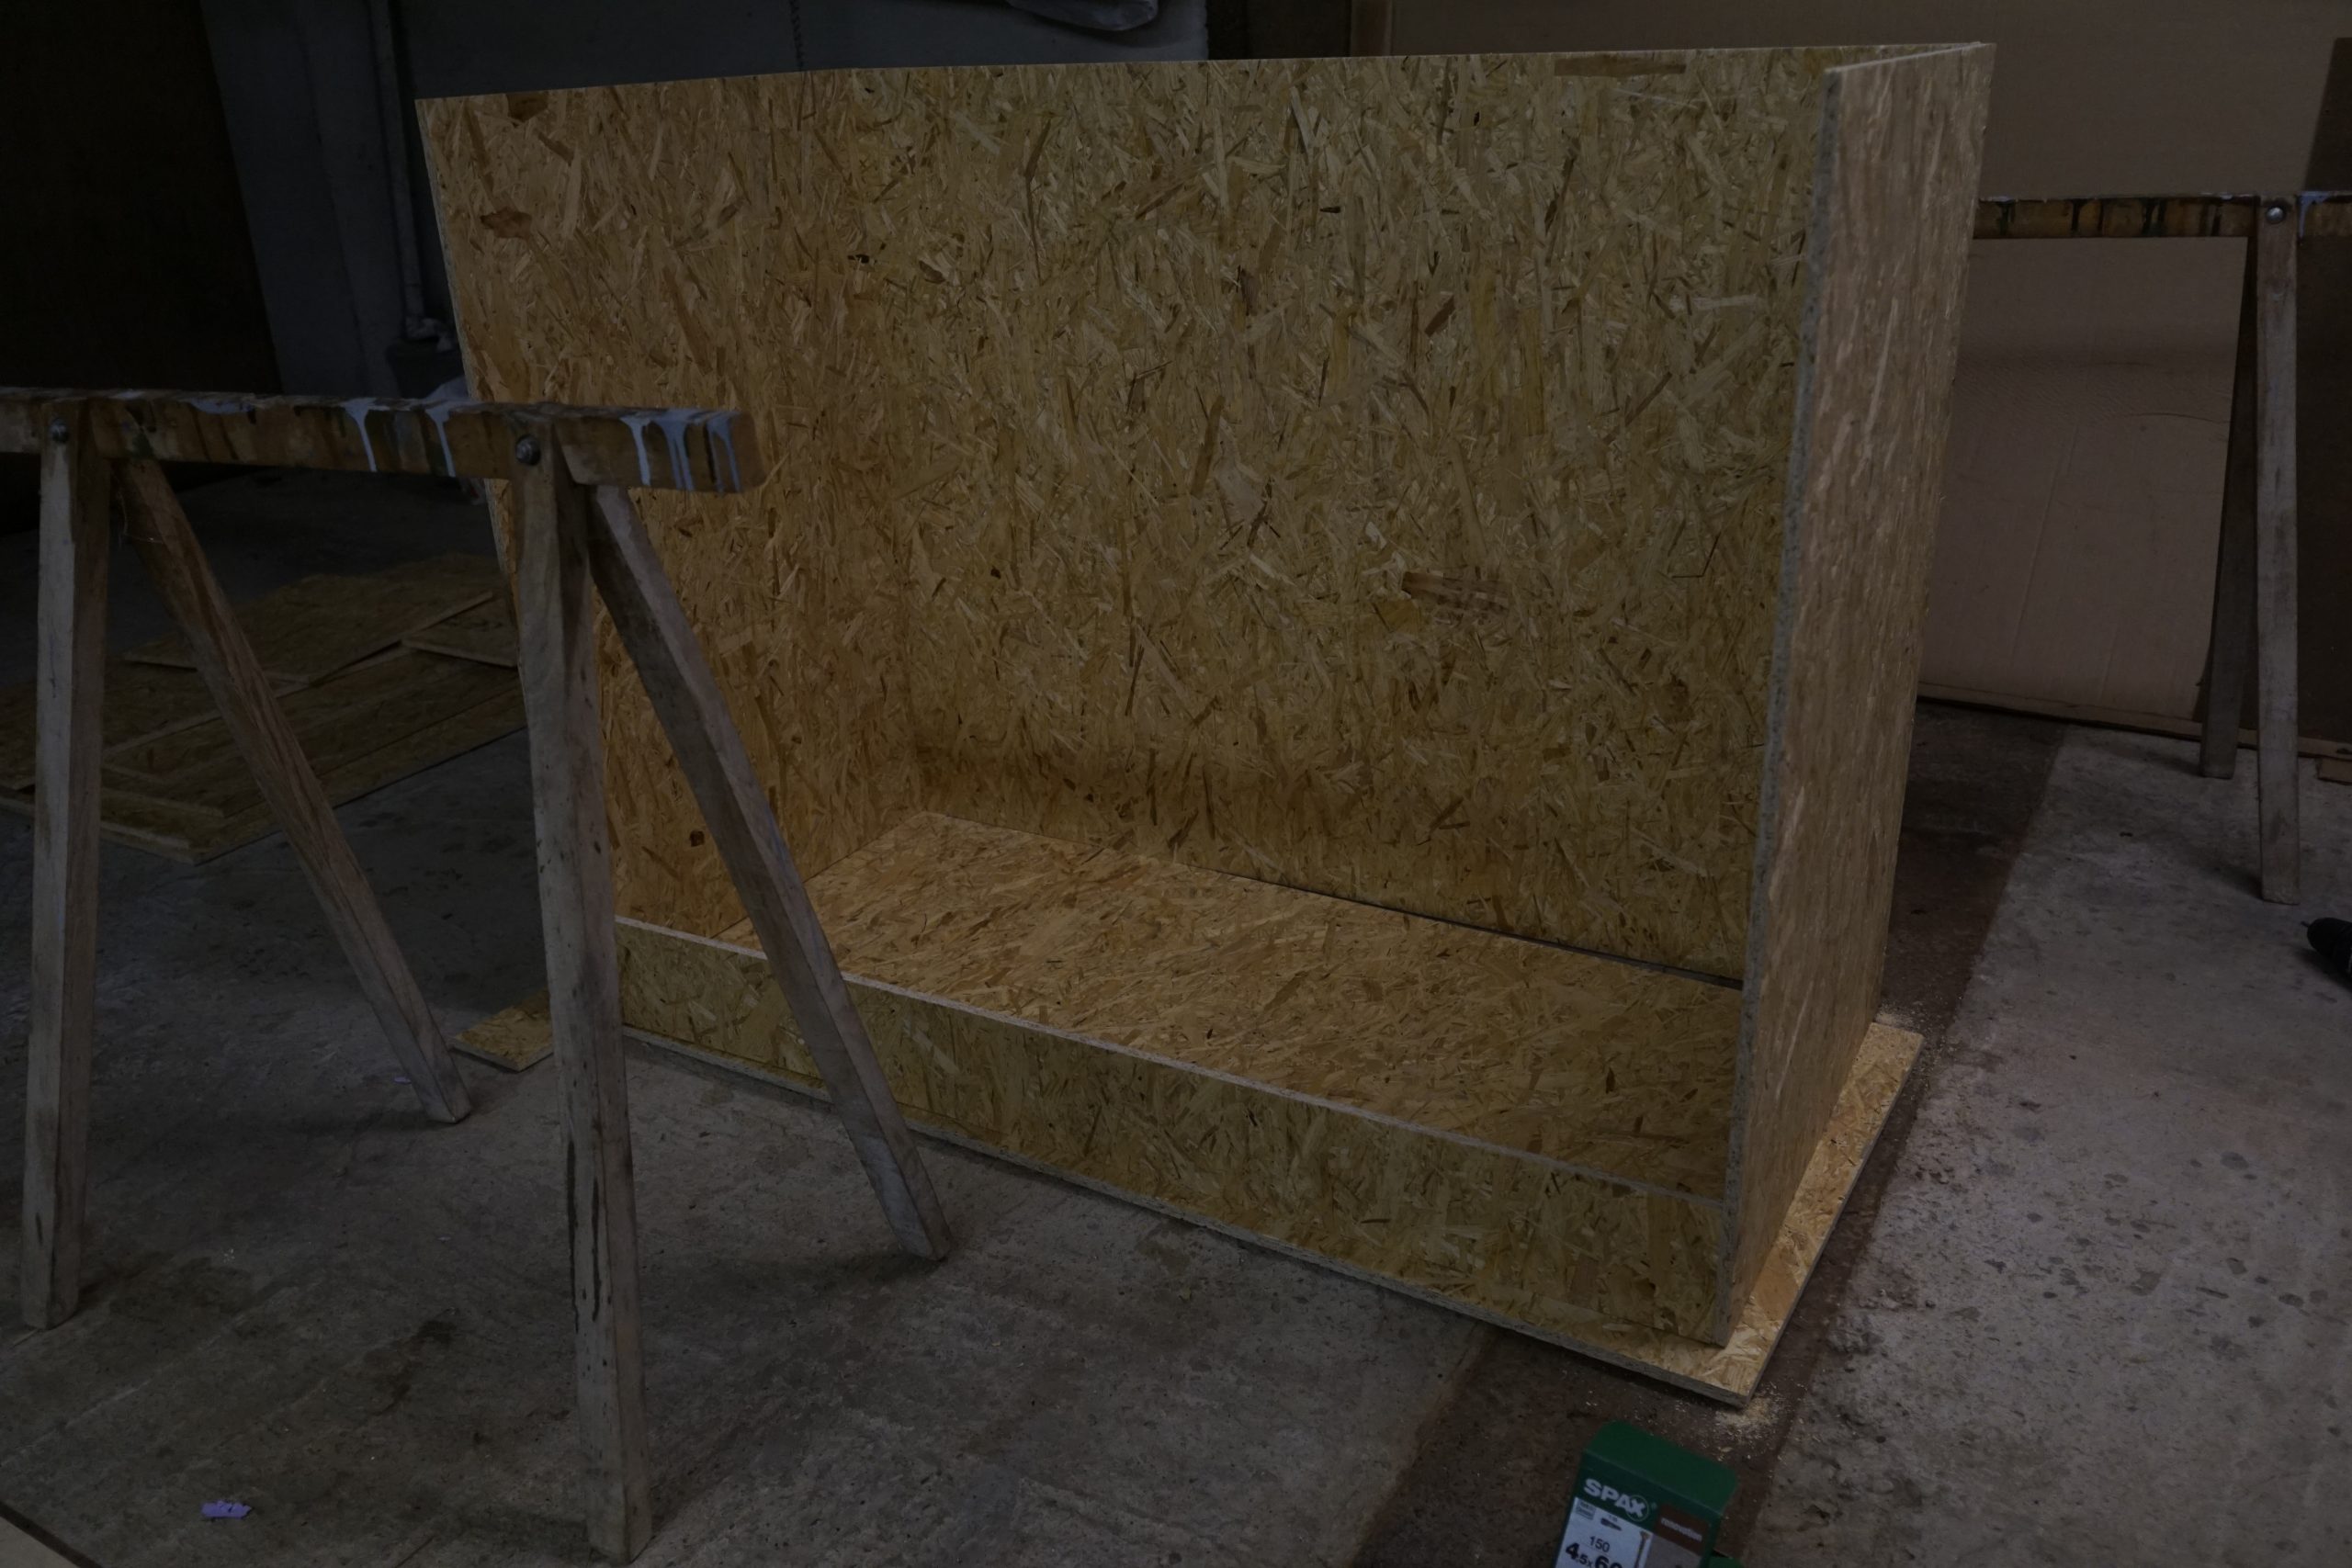
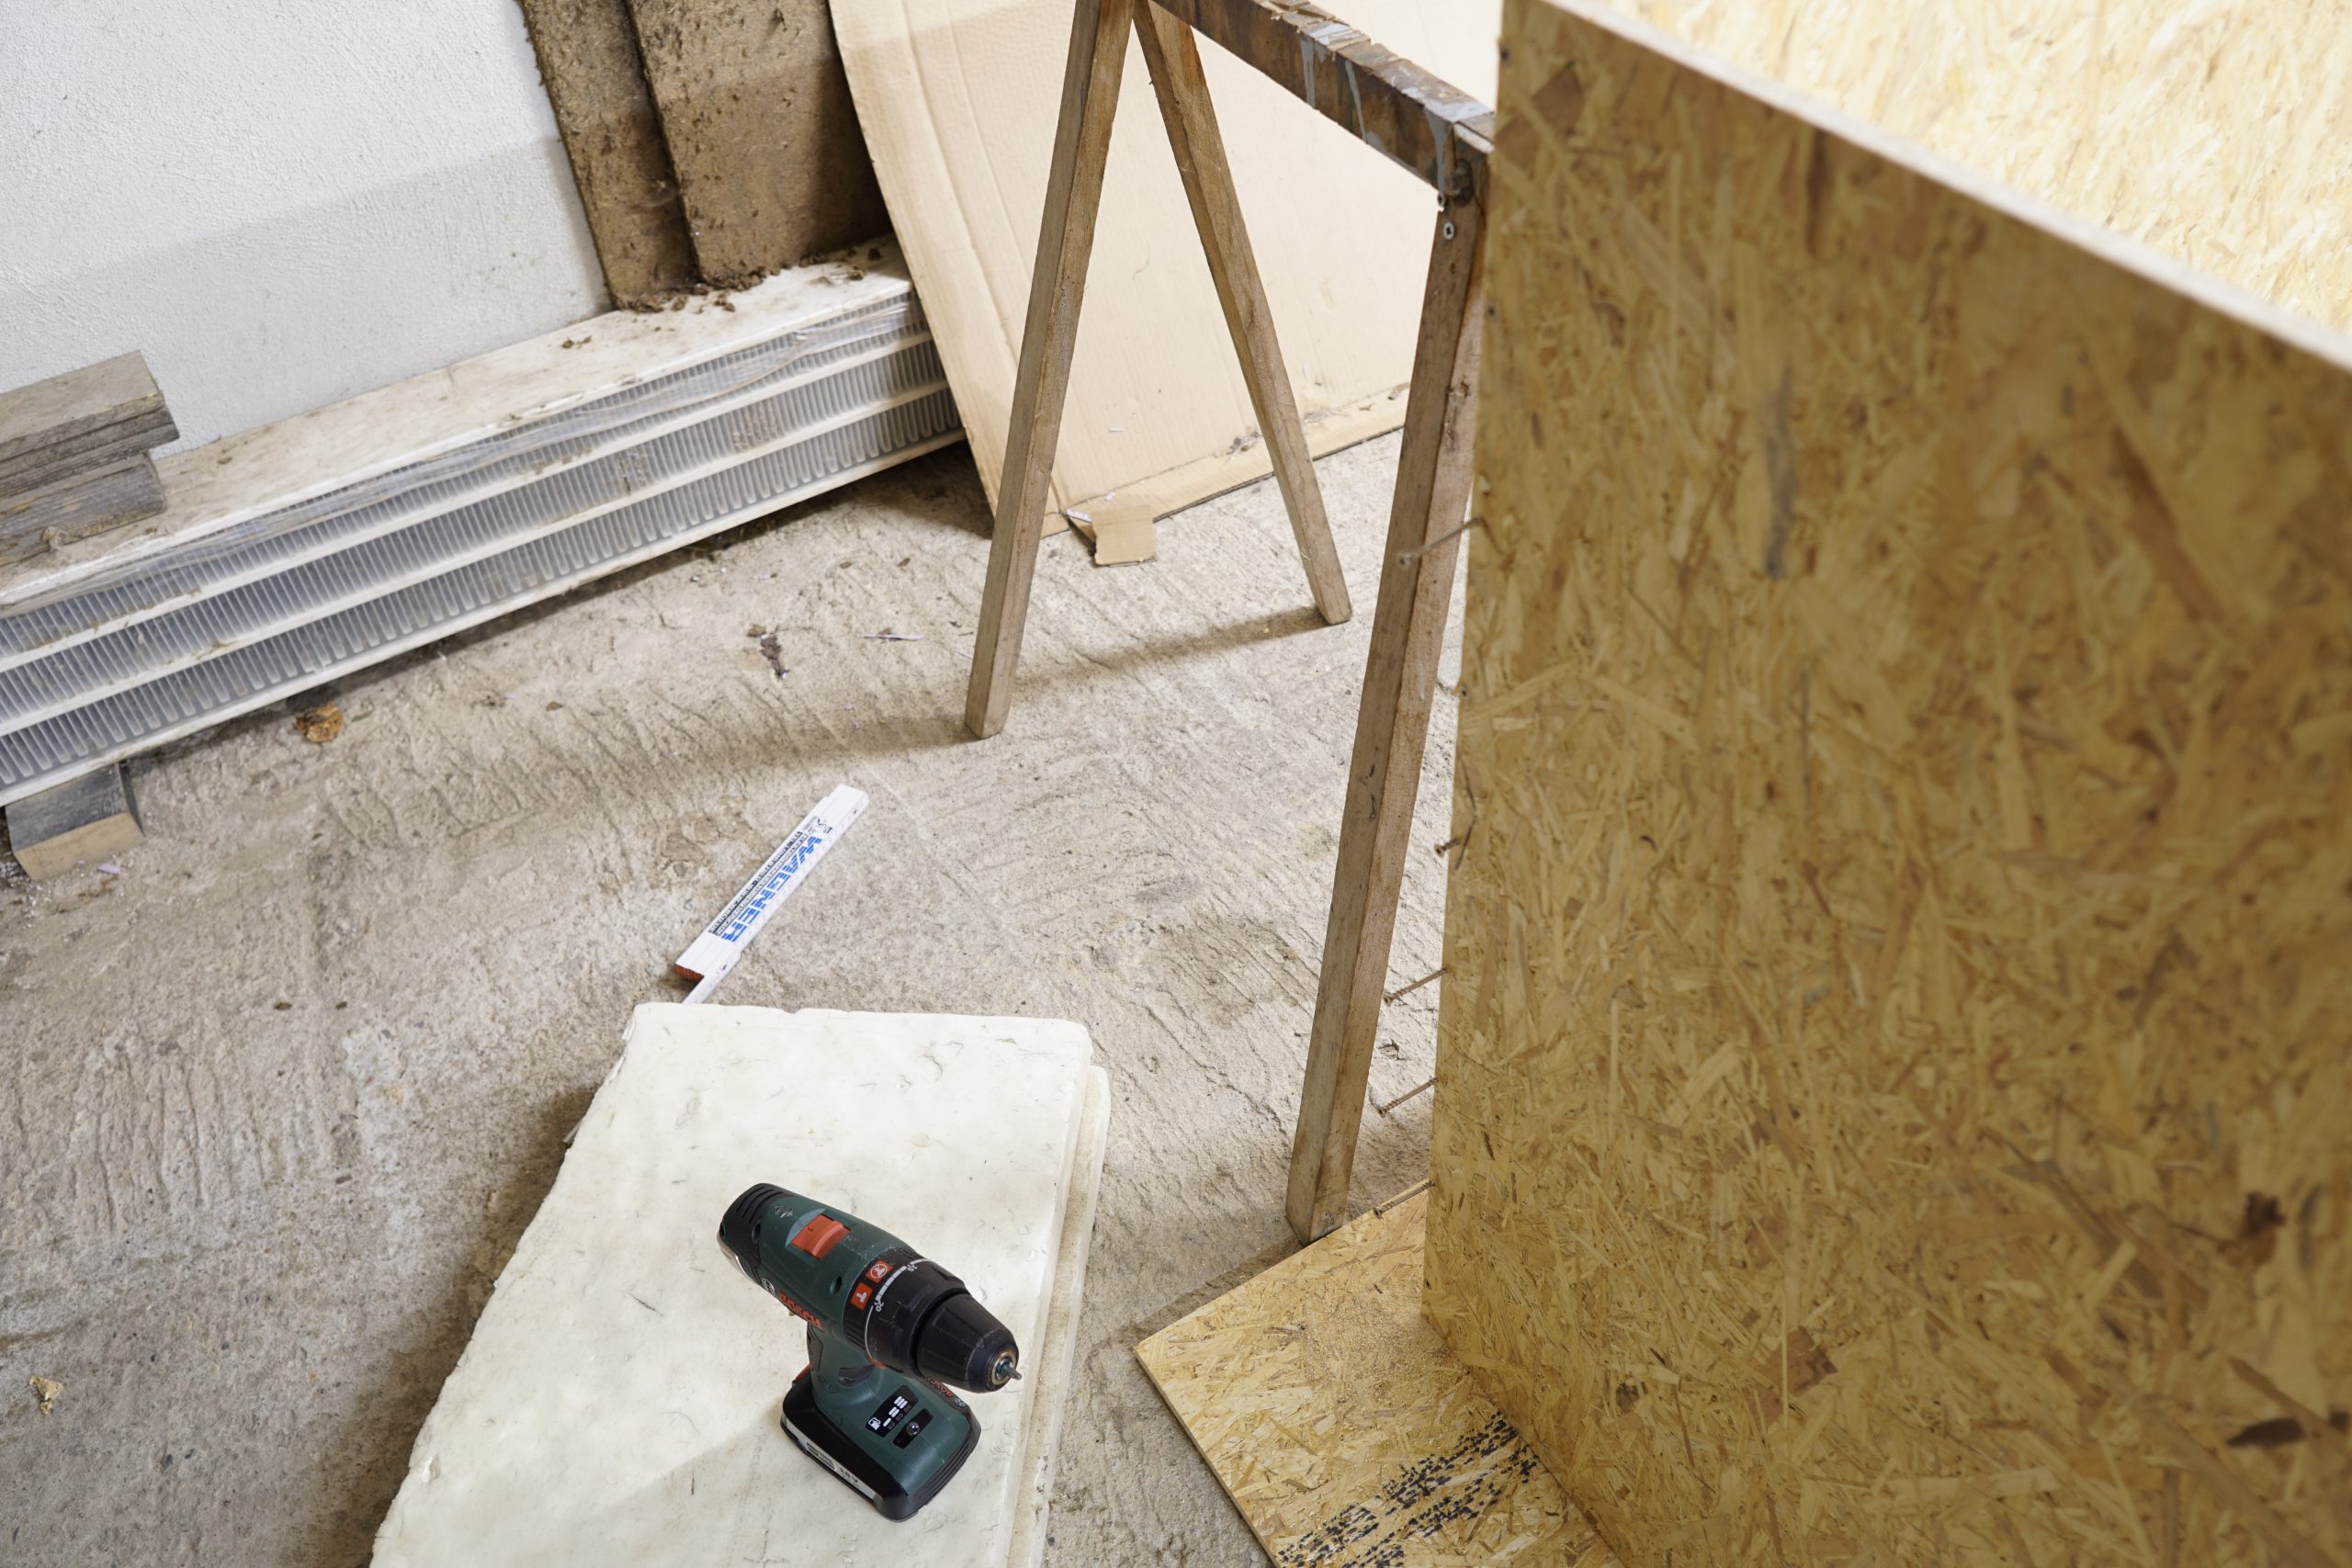
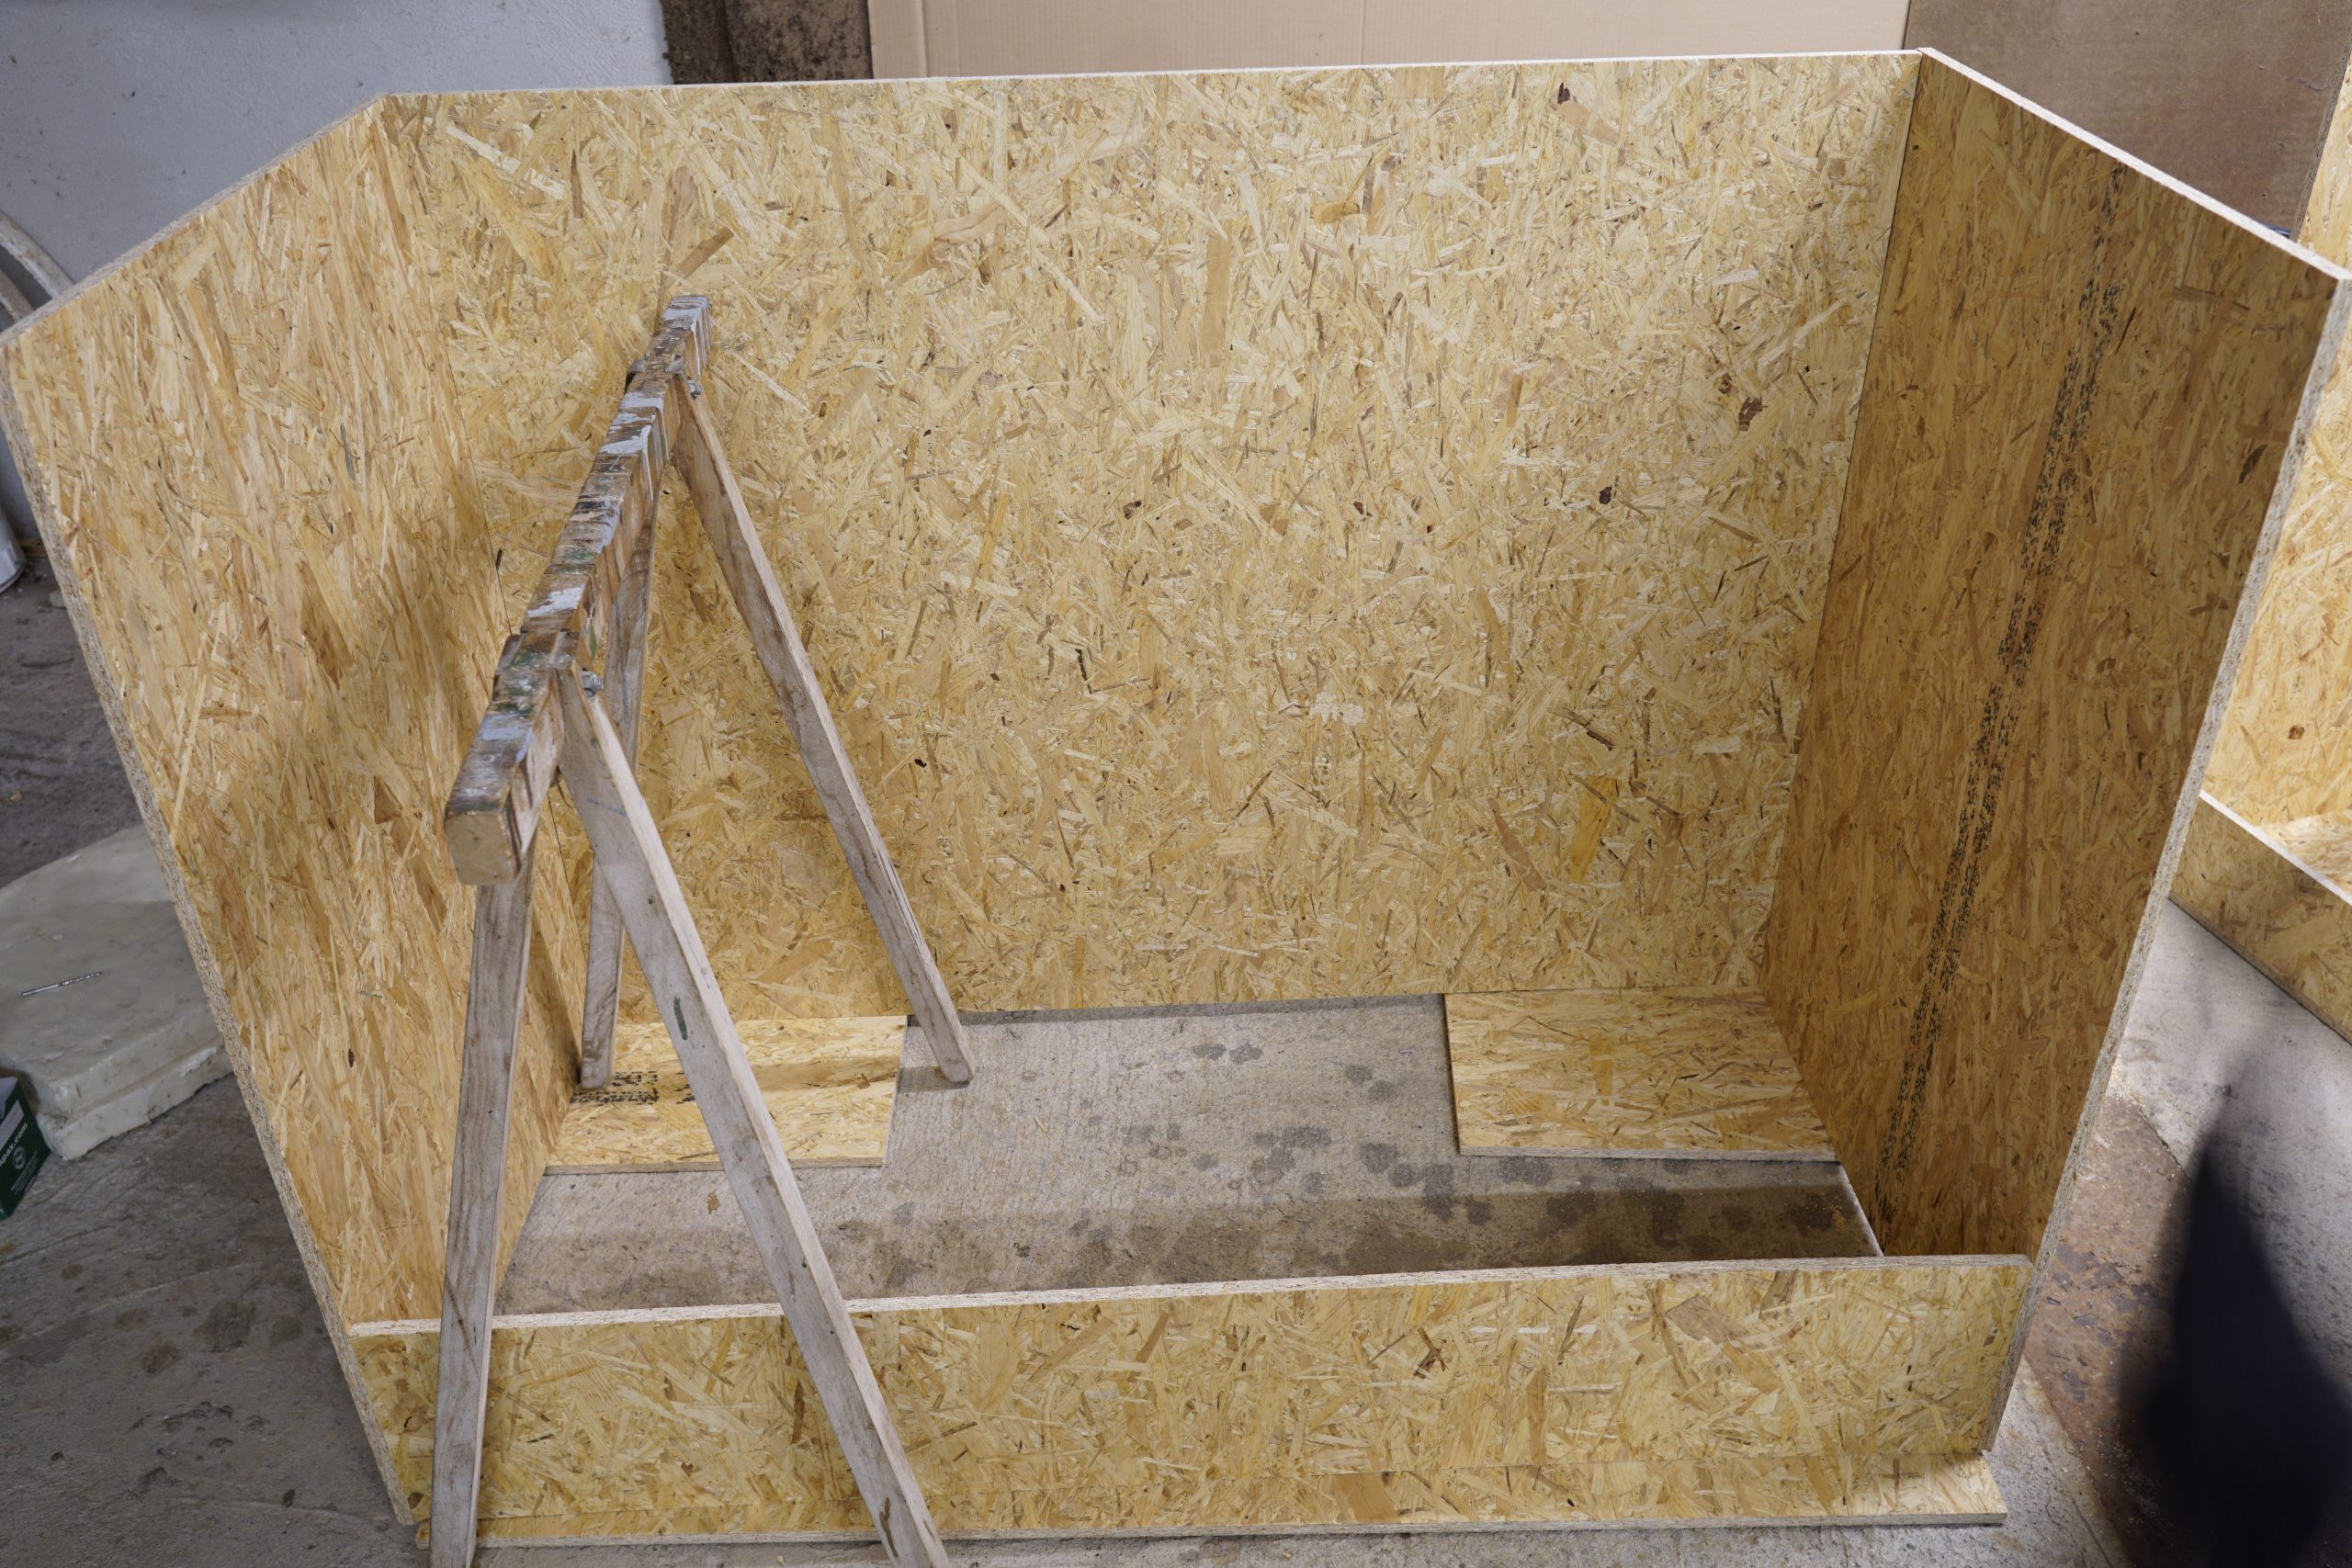
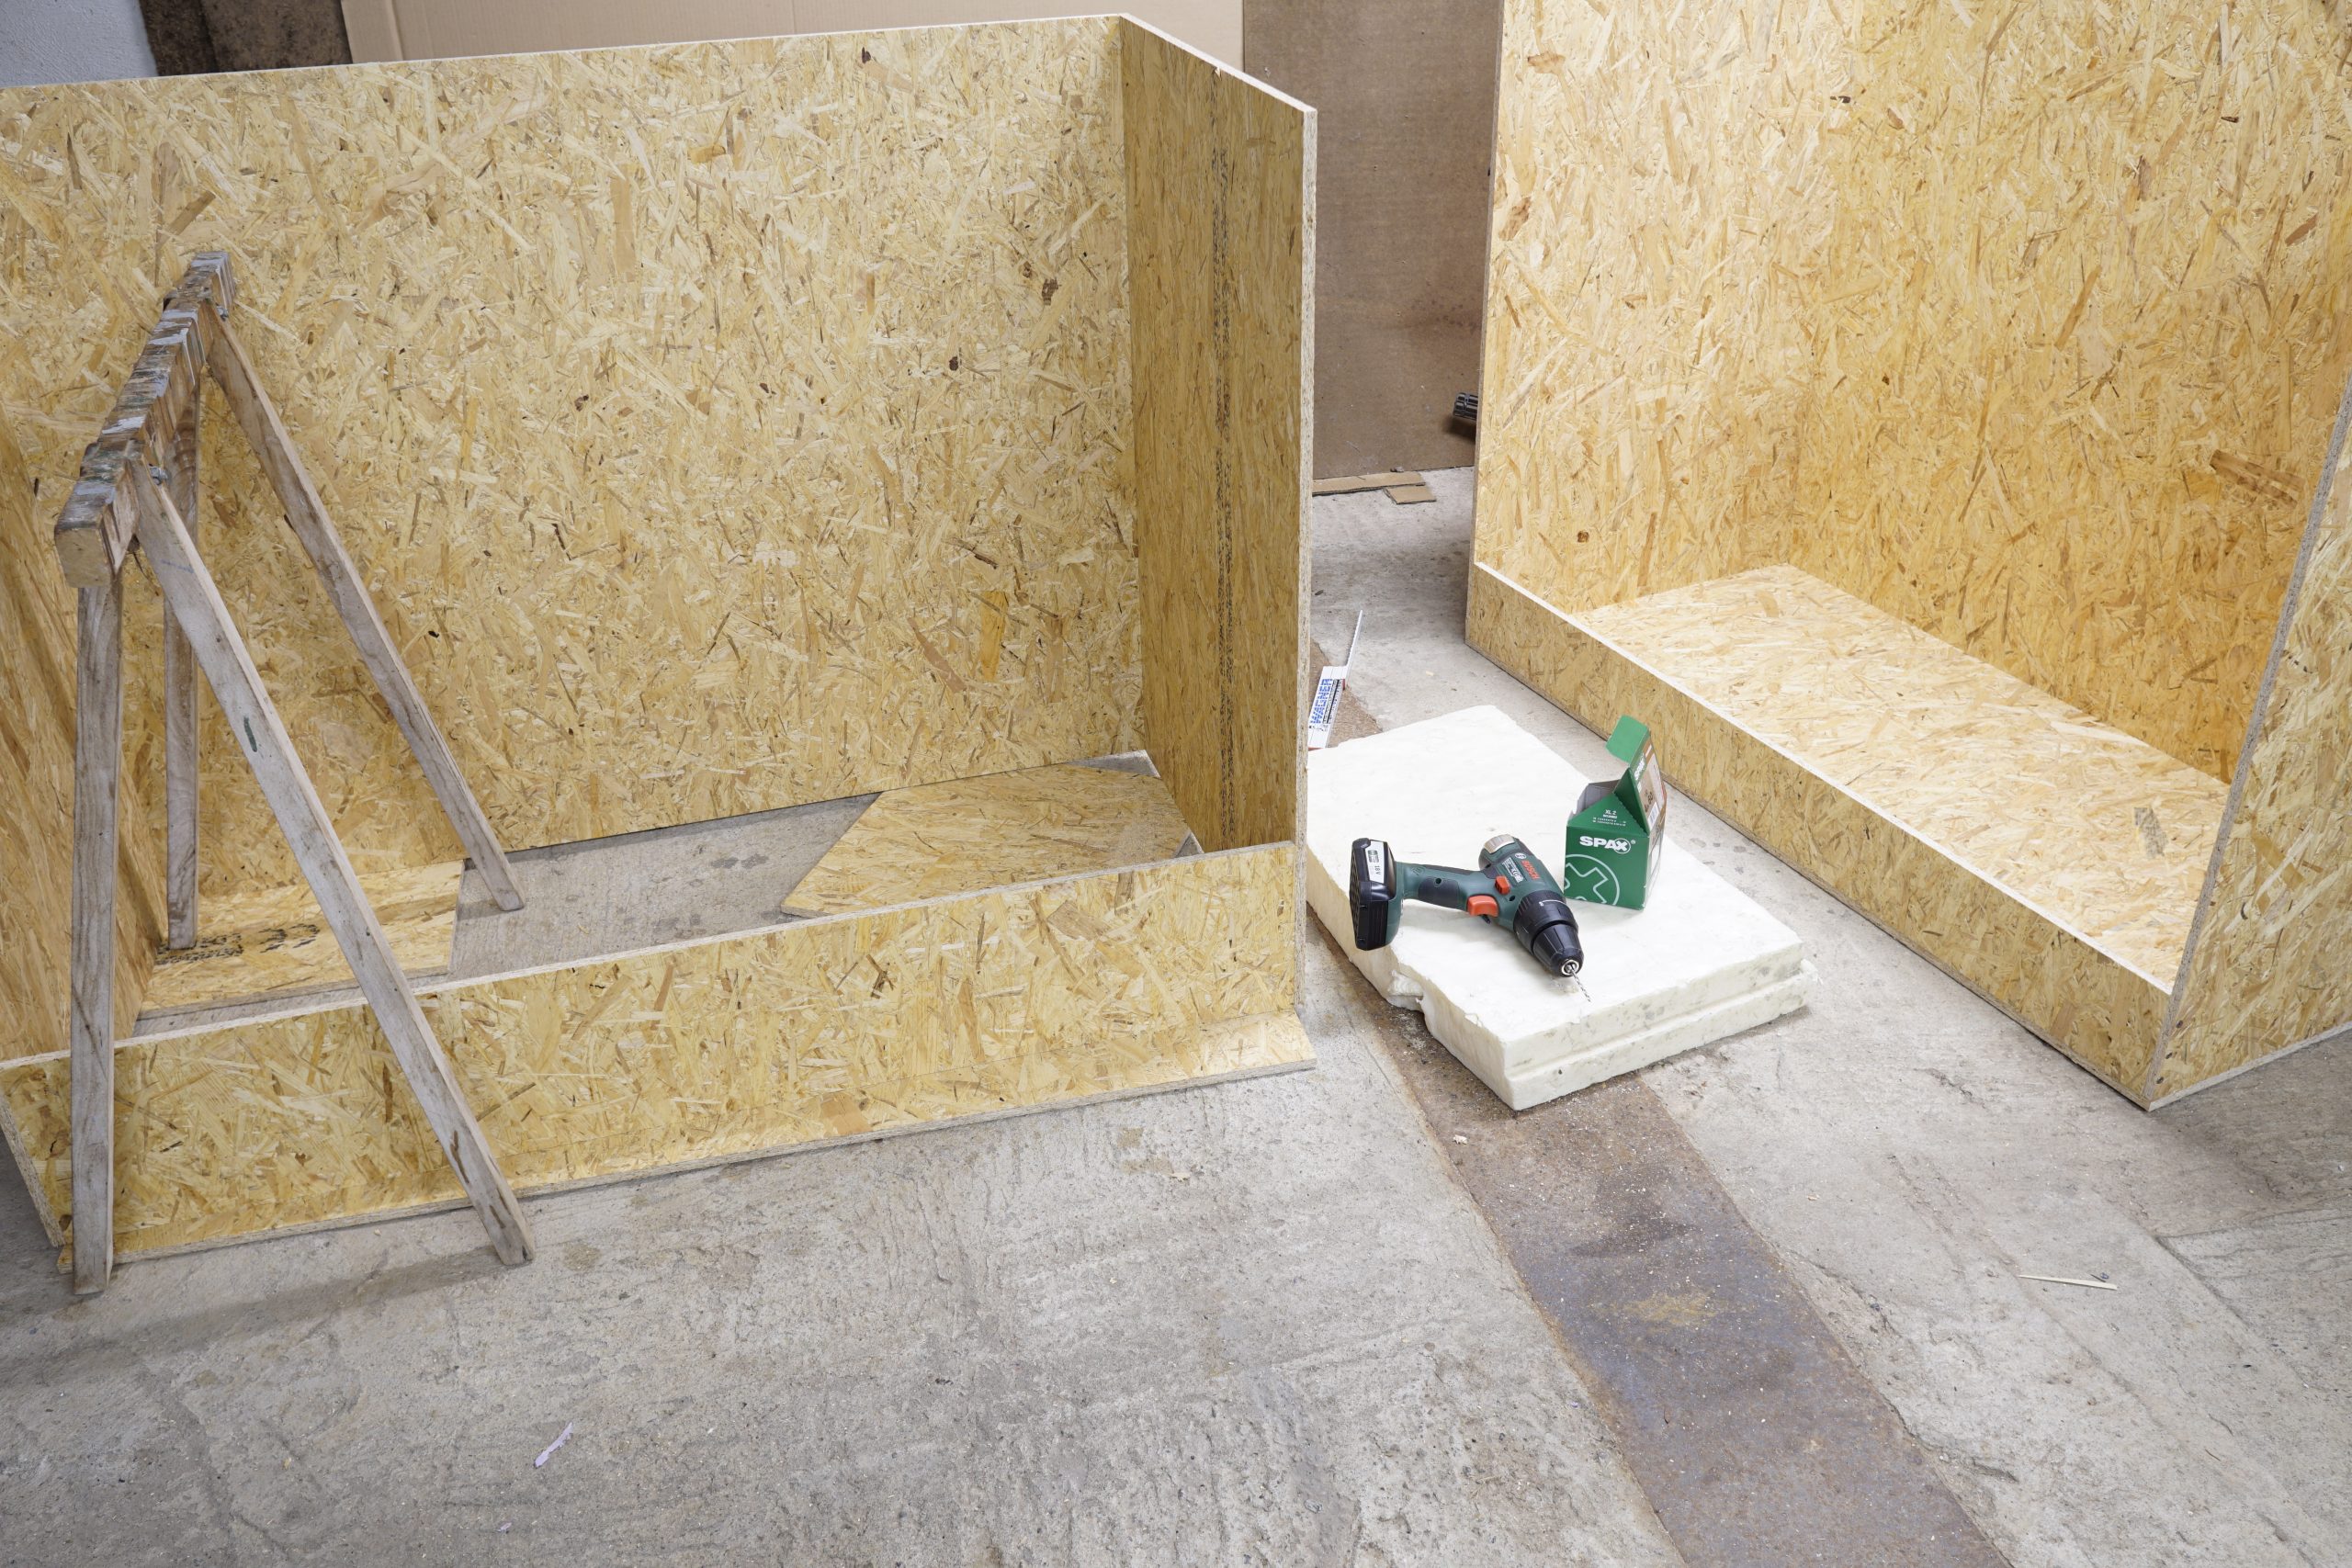
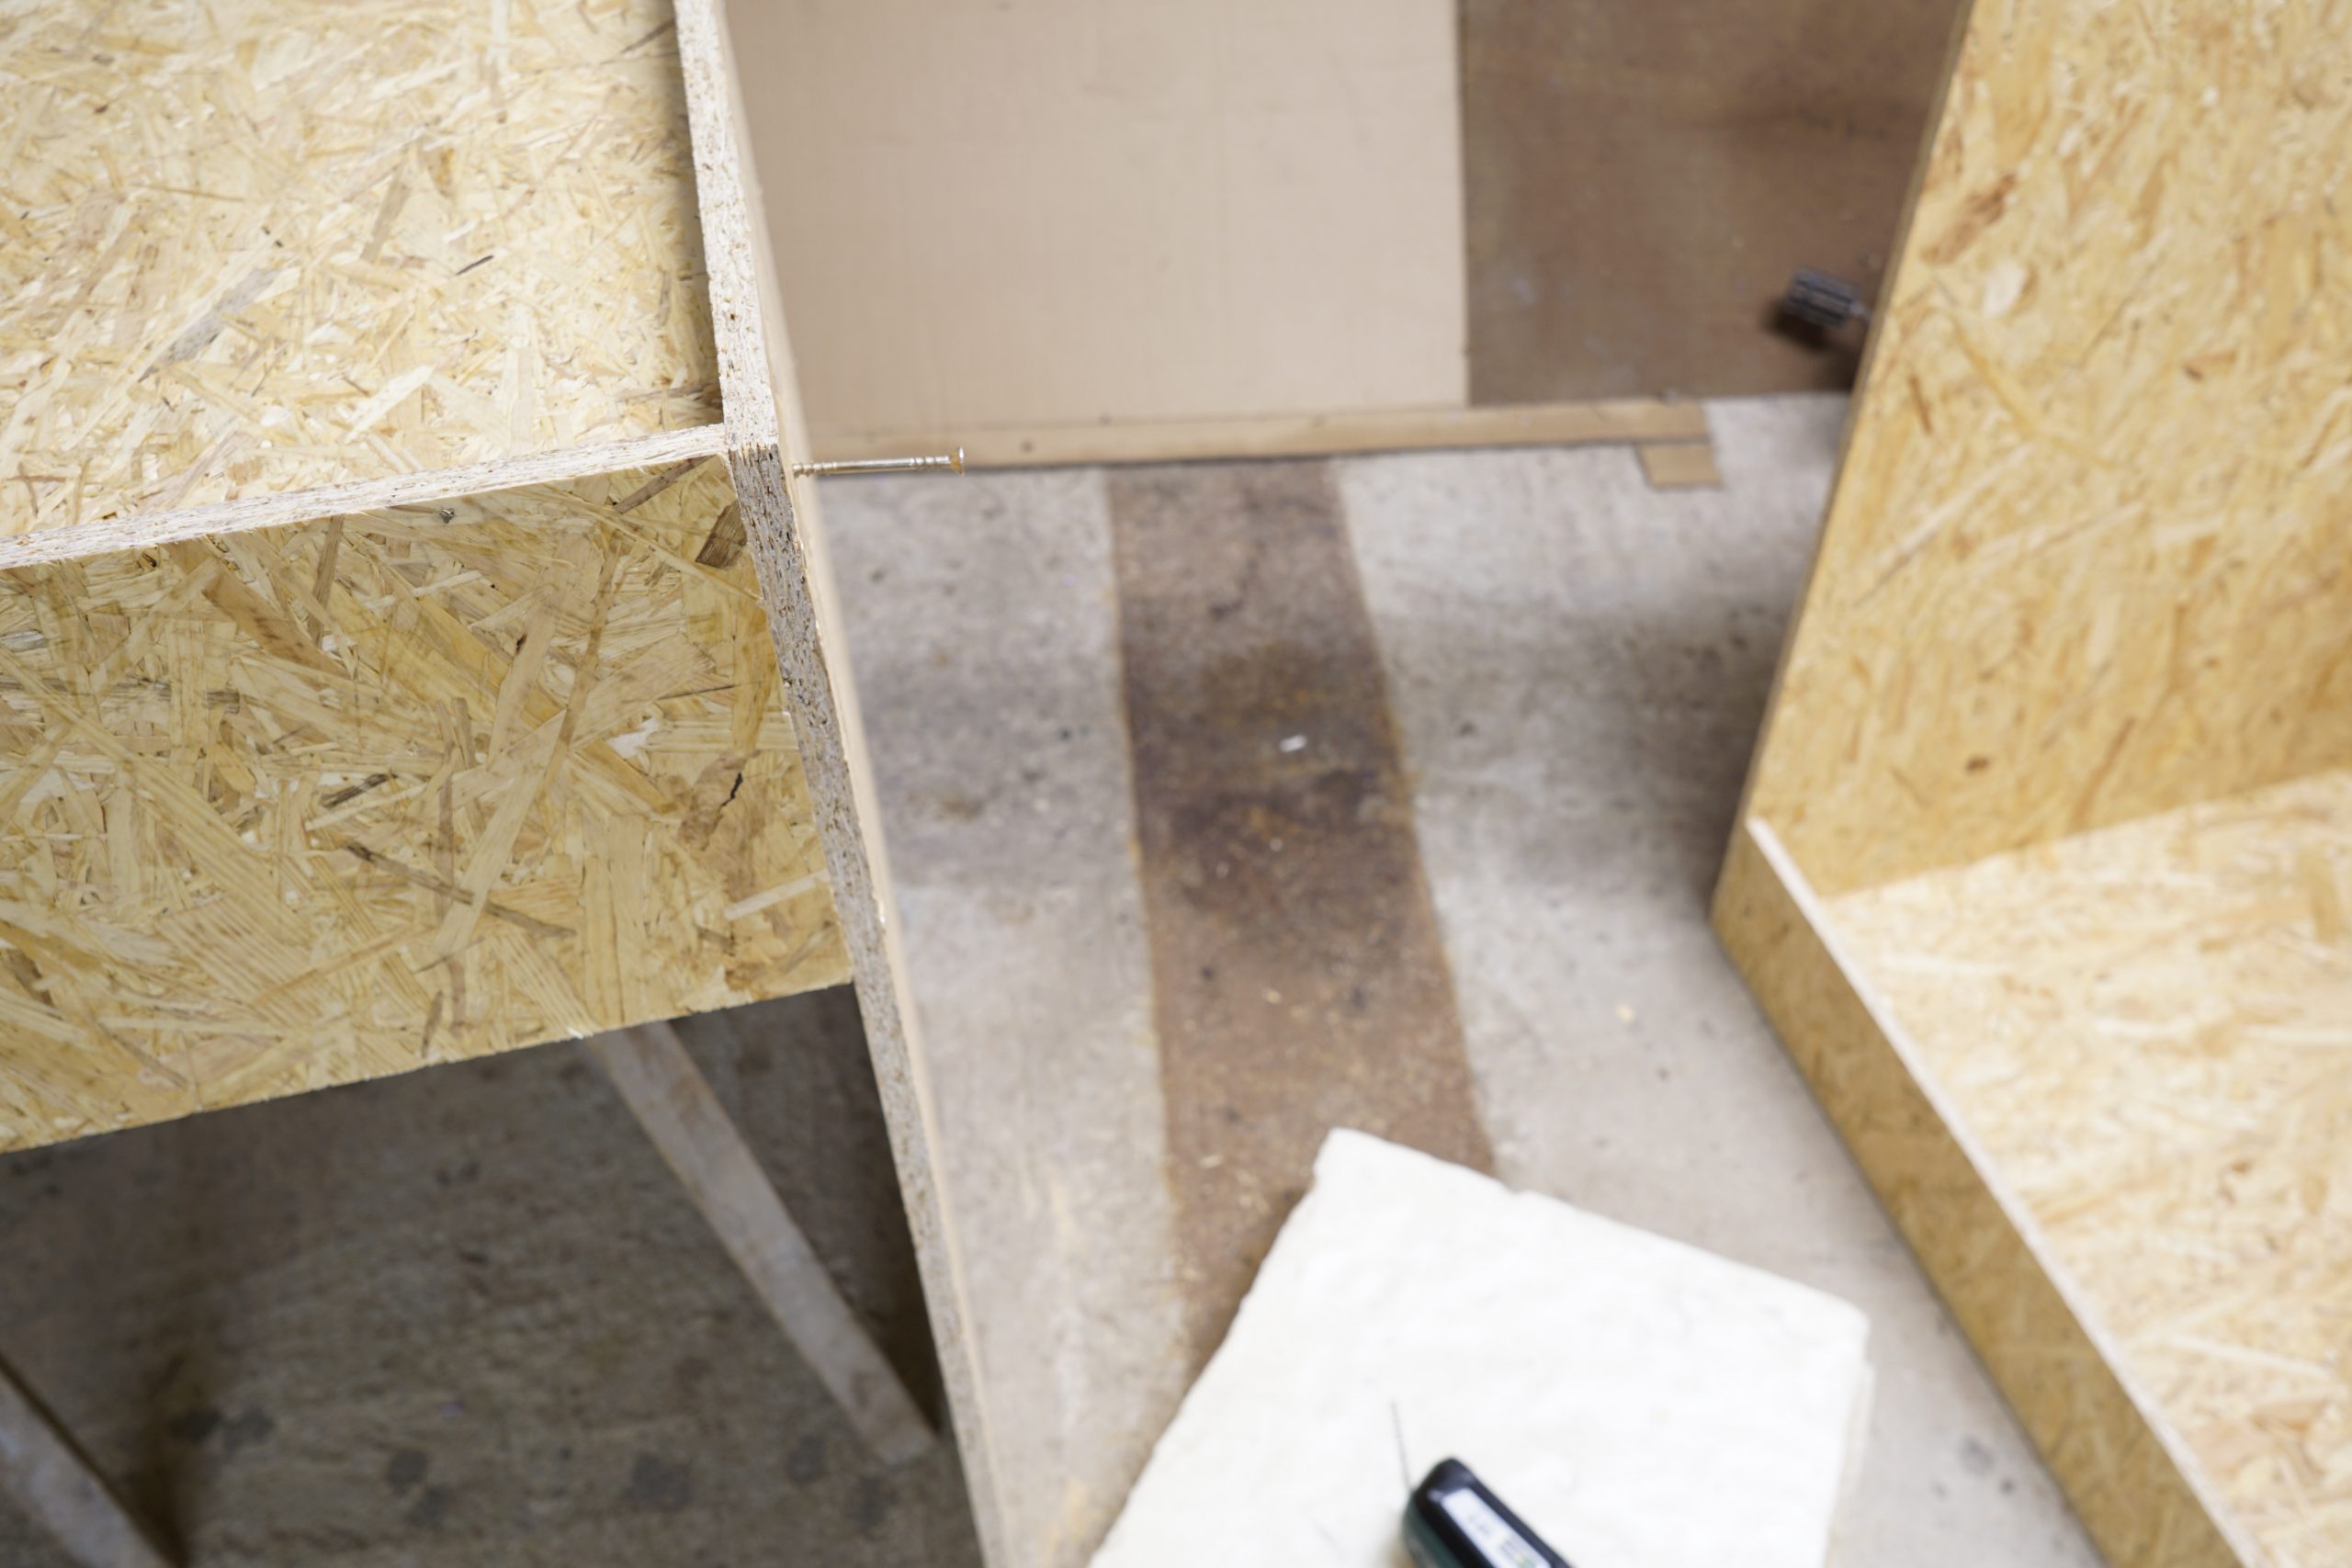
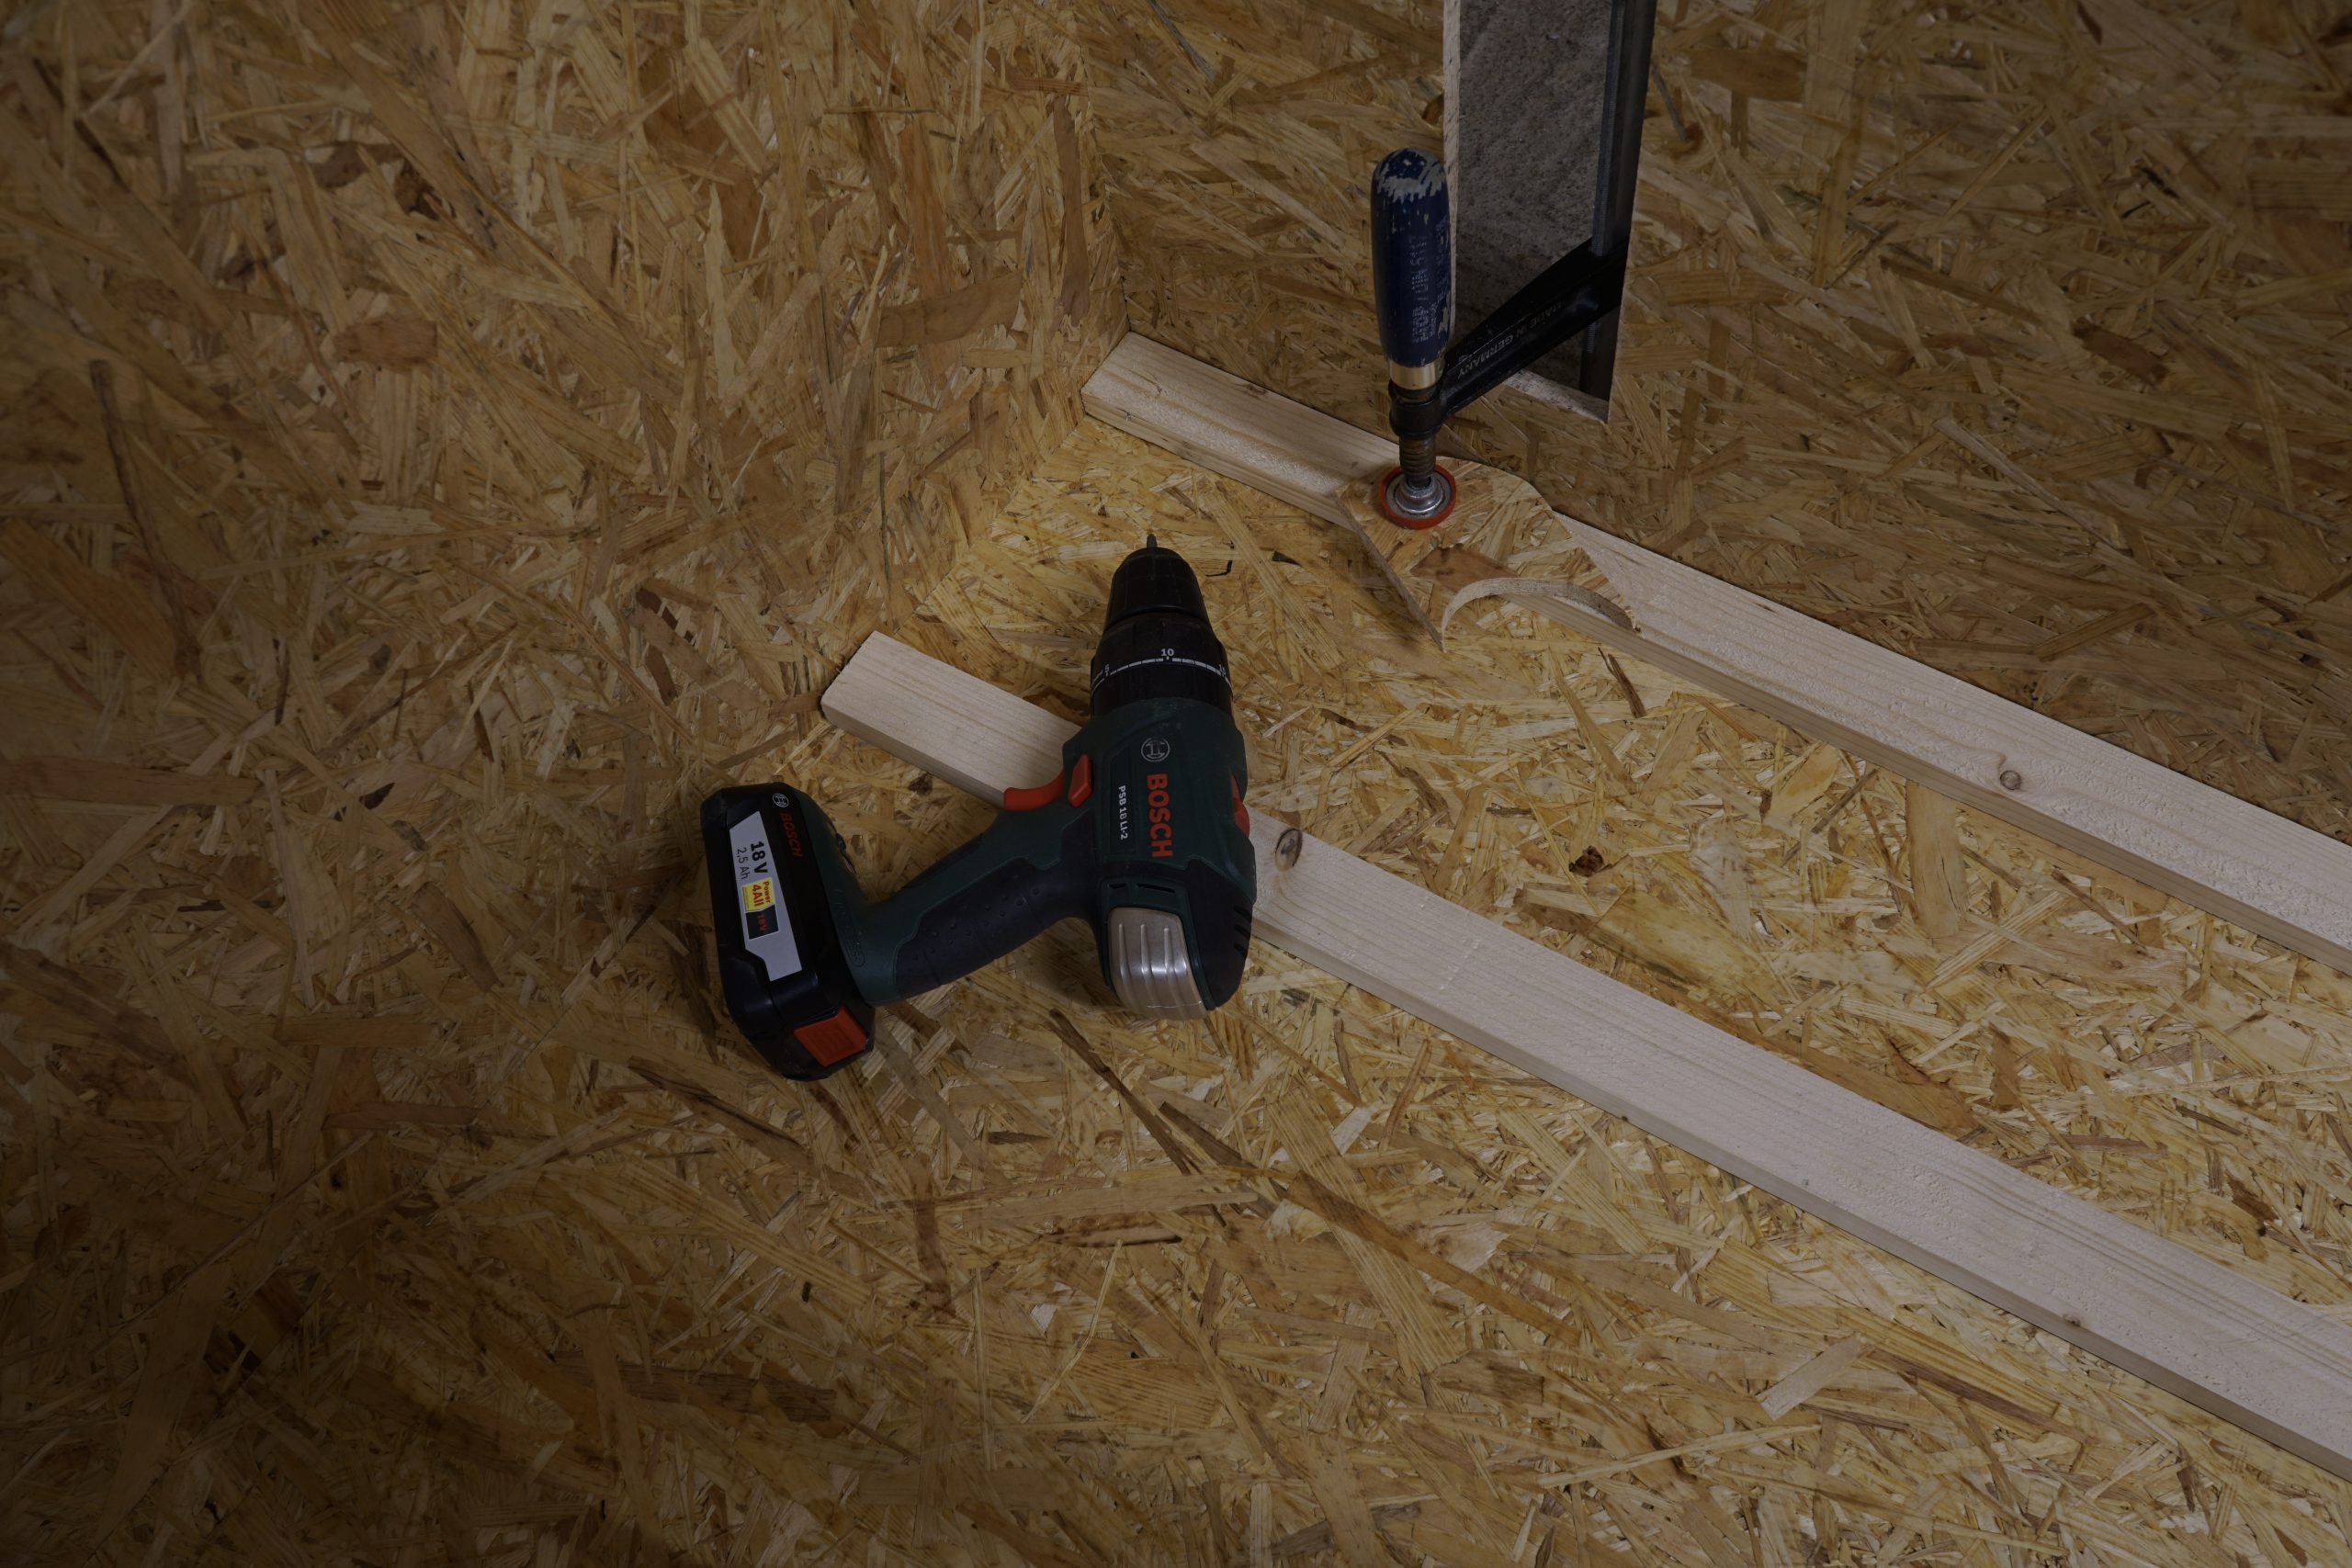
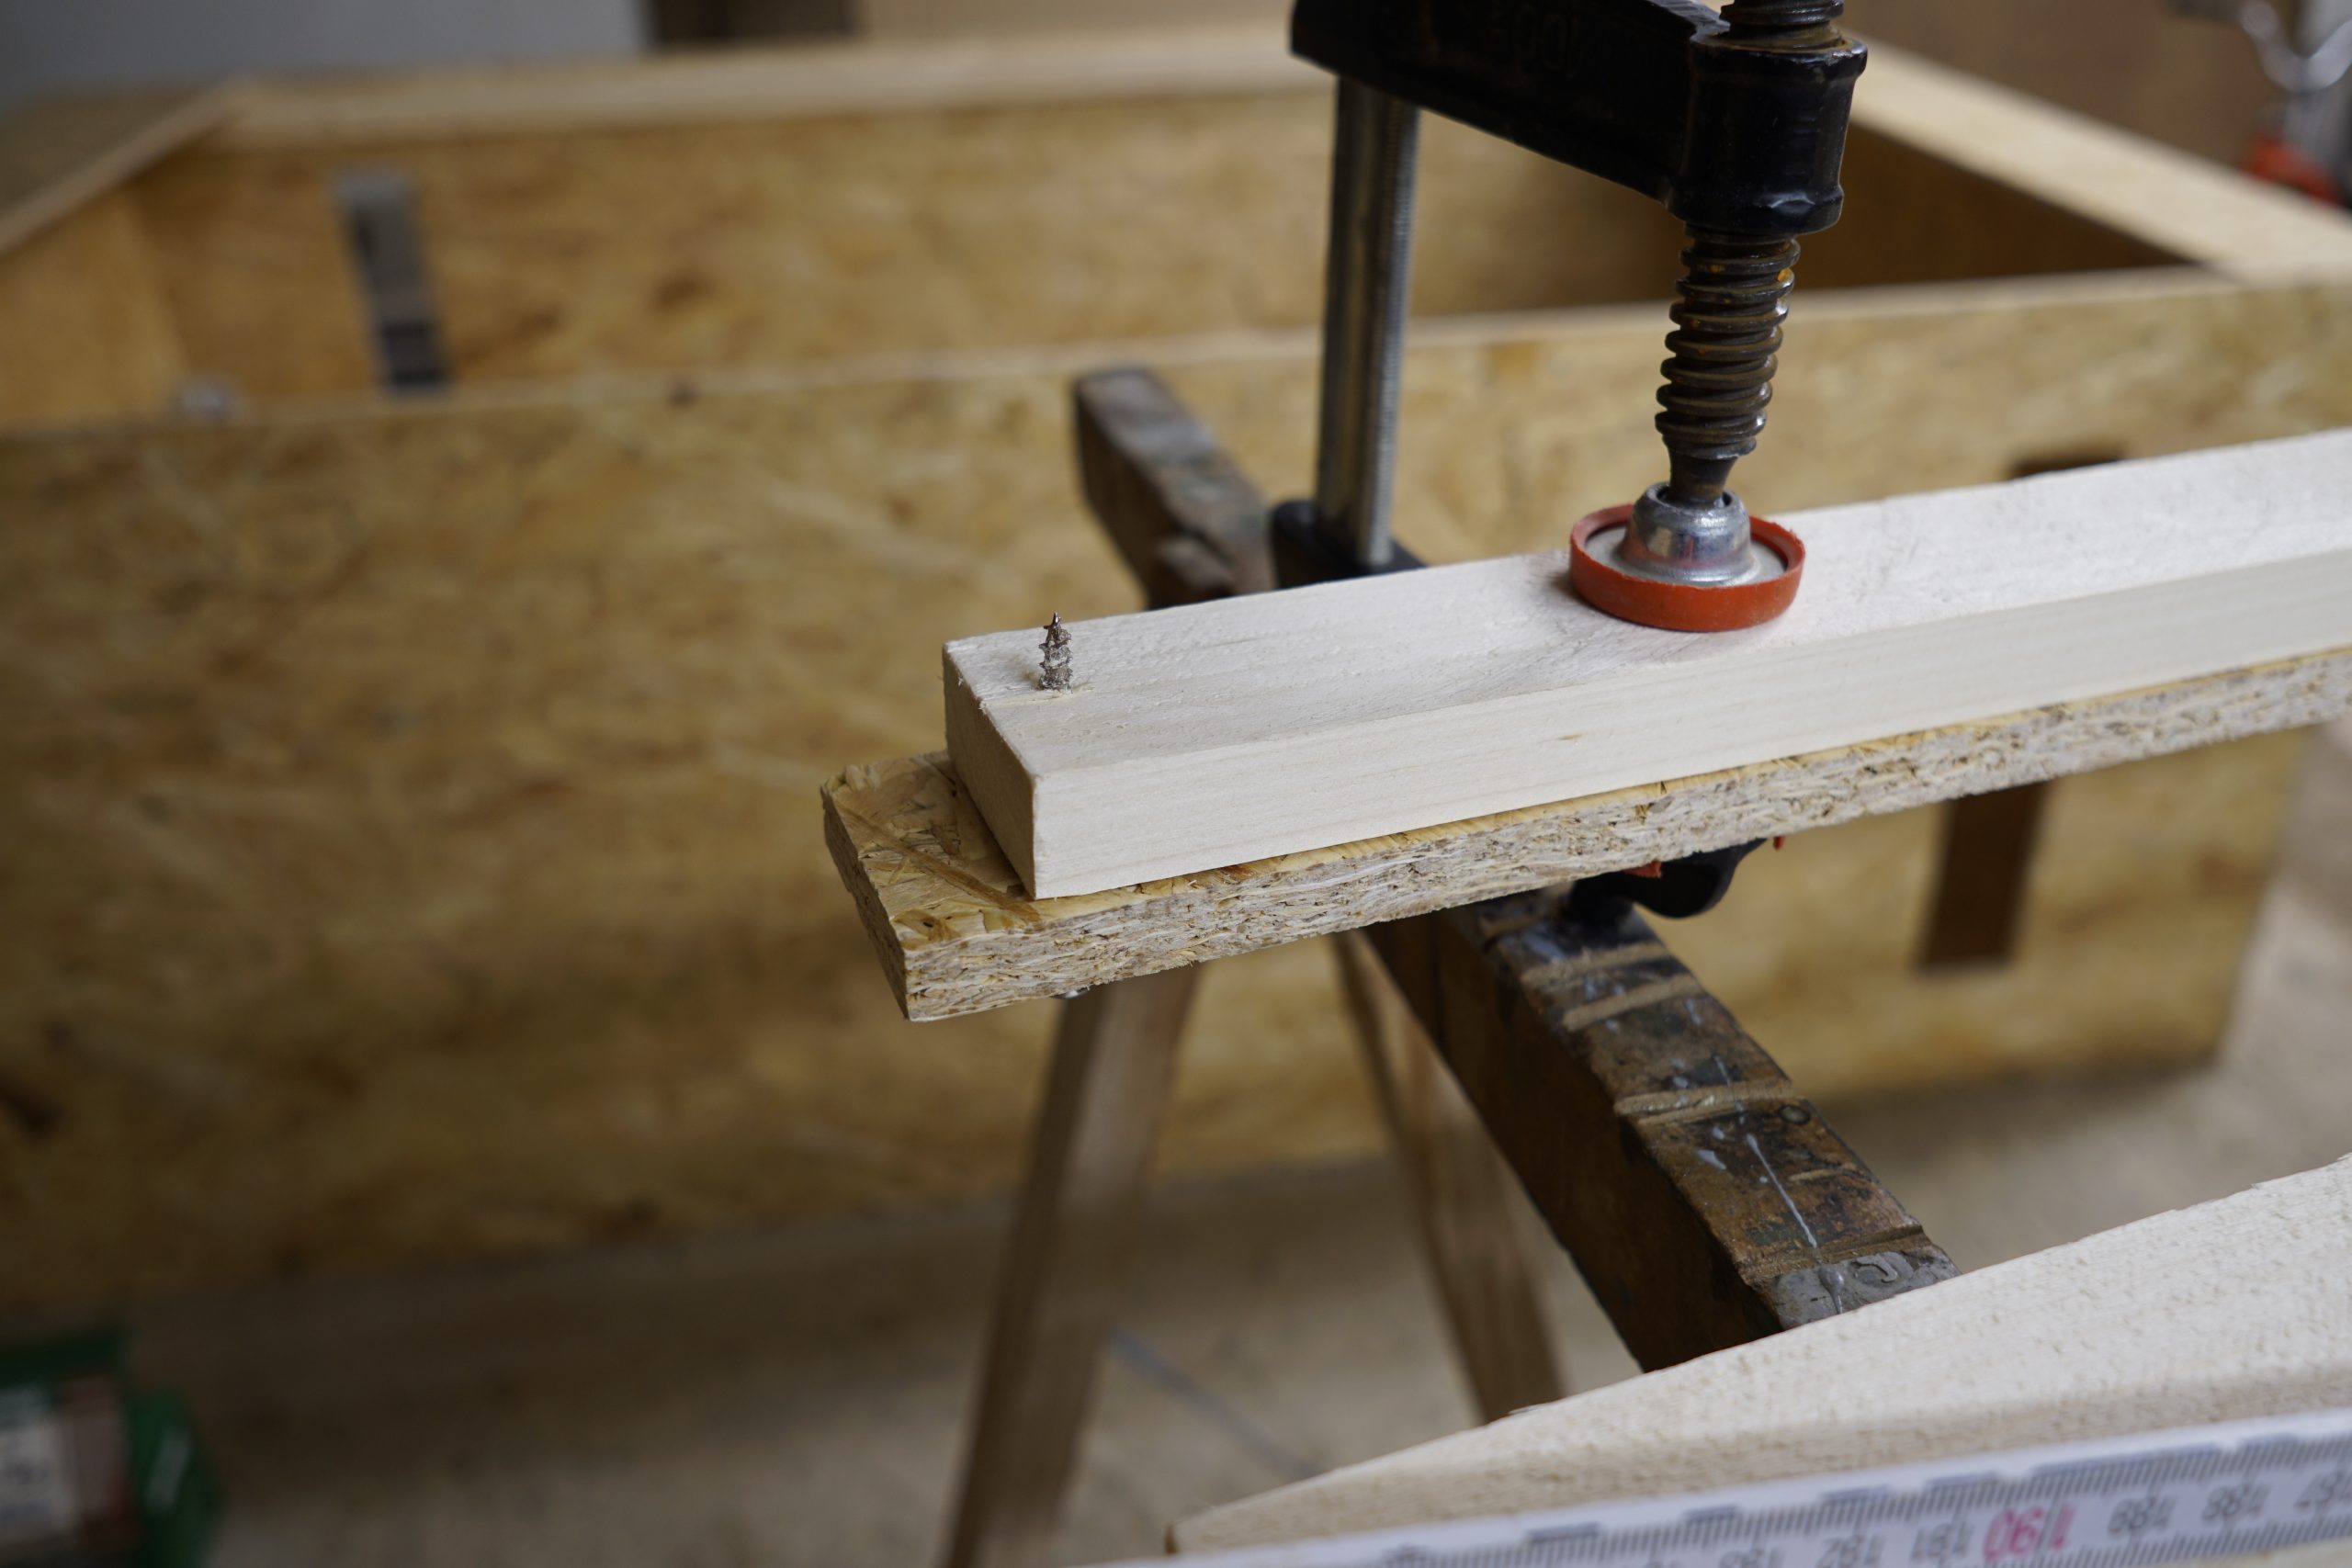
Clamp
can help if you work alone (see pictures of building)

Cartridge pistol
for the assembly adhesive.

Folding rule
because you have to measure something from time to time.

Craft Knife
to cut the polystyrene and PU foam to size (inner wall). Here a styrofoam cutter/ hot wire cutter may be better.

Pencil
a carpenter or mason's pencil is better visible through the thick lead than "normal" pencils.

Ruler
eg a construction ruler for straight lines, I had simply taken 2 aluminium rods for this.

Brush Set
the big ones are best because of their relatively hard bristles, the small ones for corners that are difficult to reach. Both to apply the epoxy resin and for the tile adhesive, so I recommend cheap ones here, because you can throw them away afterwards.

Gloves
because the epoxy resin can cause skin problems and allergic reactions, I strongly recommend to use gloves. Personally I had a rash on my arms and had to have a doctor prescribe me an ointment.

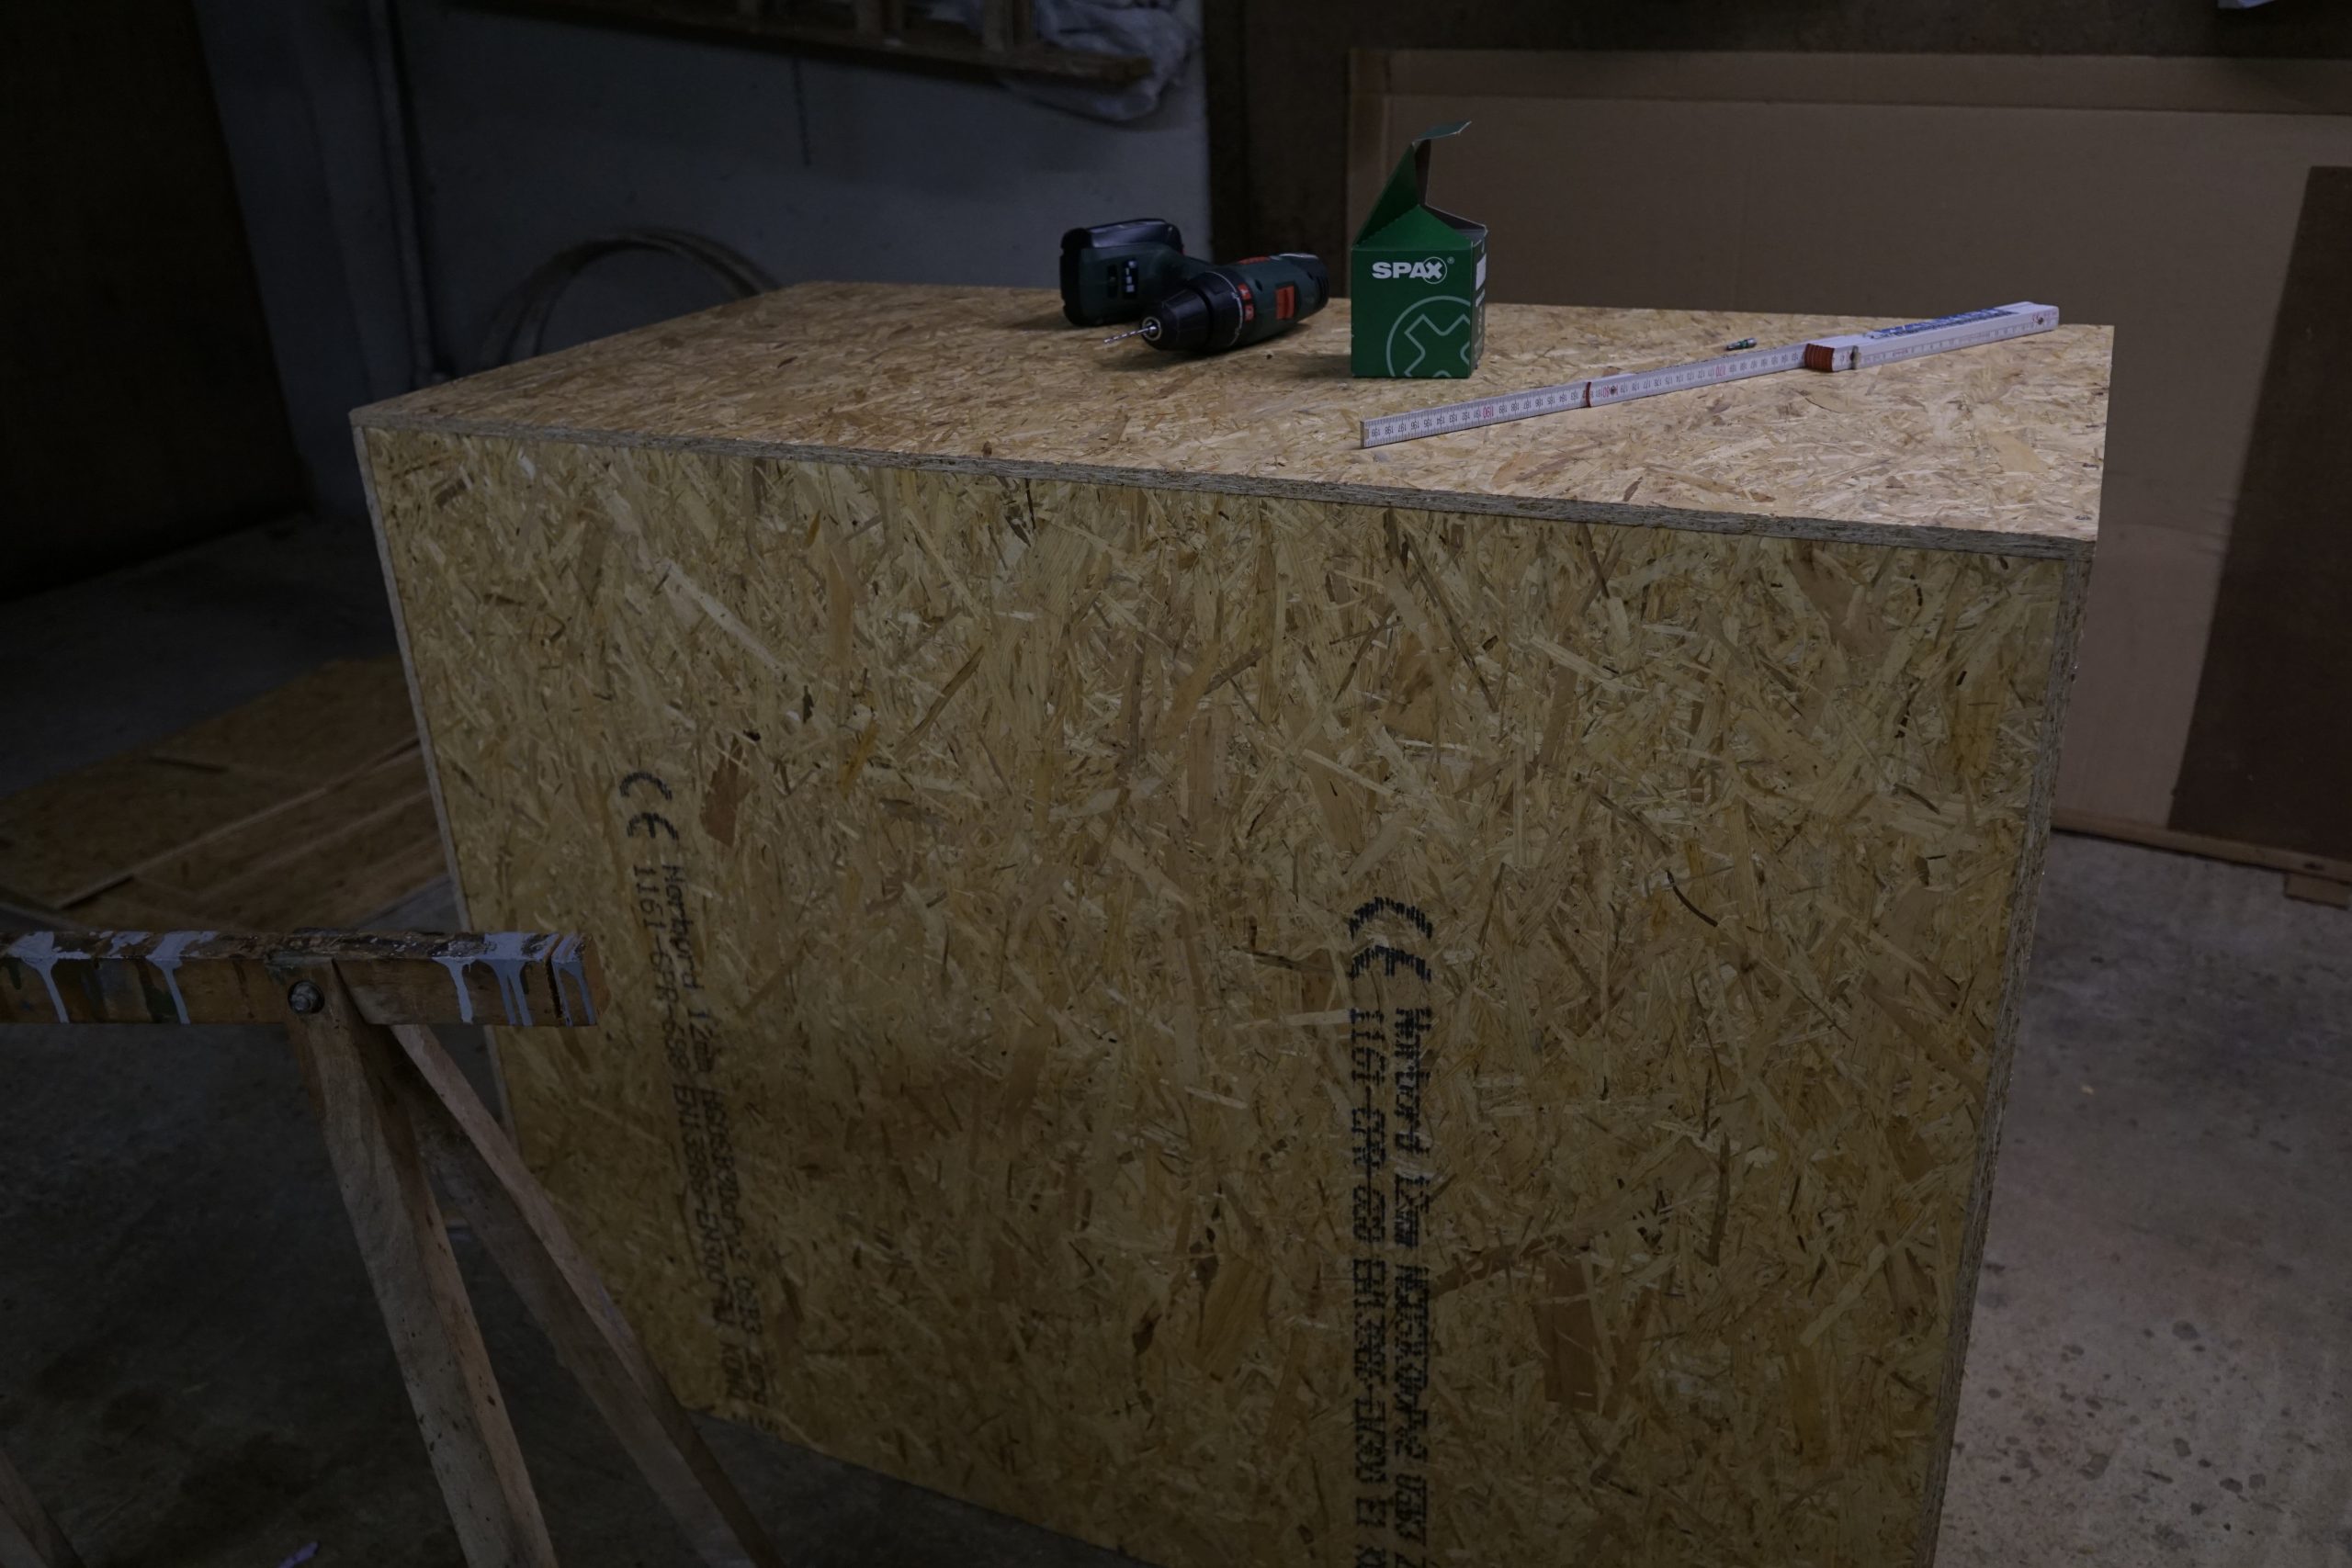
Screws
here I used (and almost used up) the Spax installation screws 4,5x60 150 pieces package. Reason: the screws are very long and hold well in the OSB boards, and I find Torx better than cross slot.

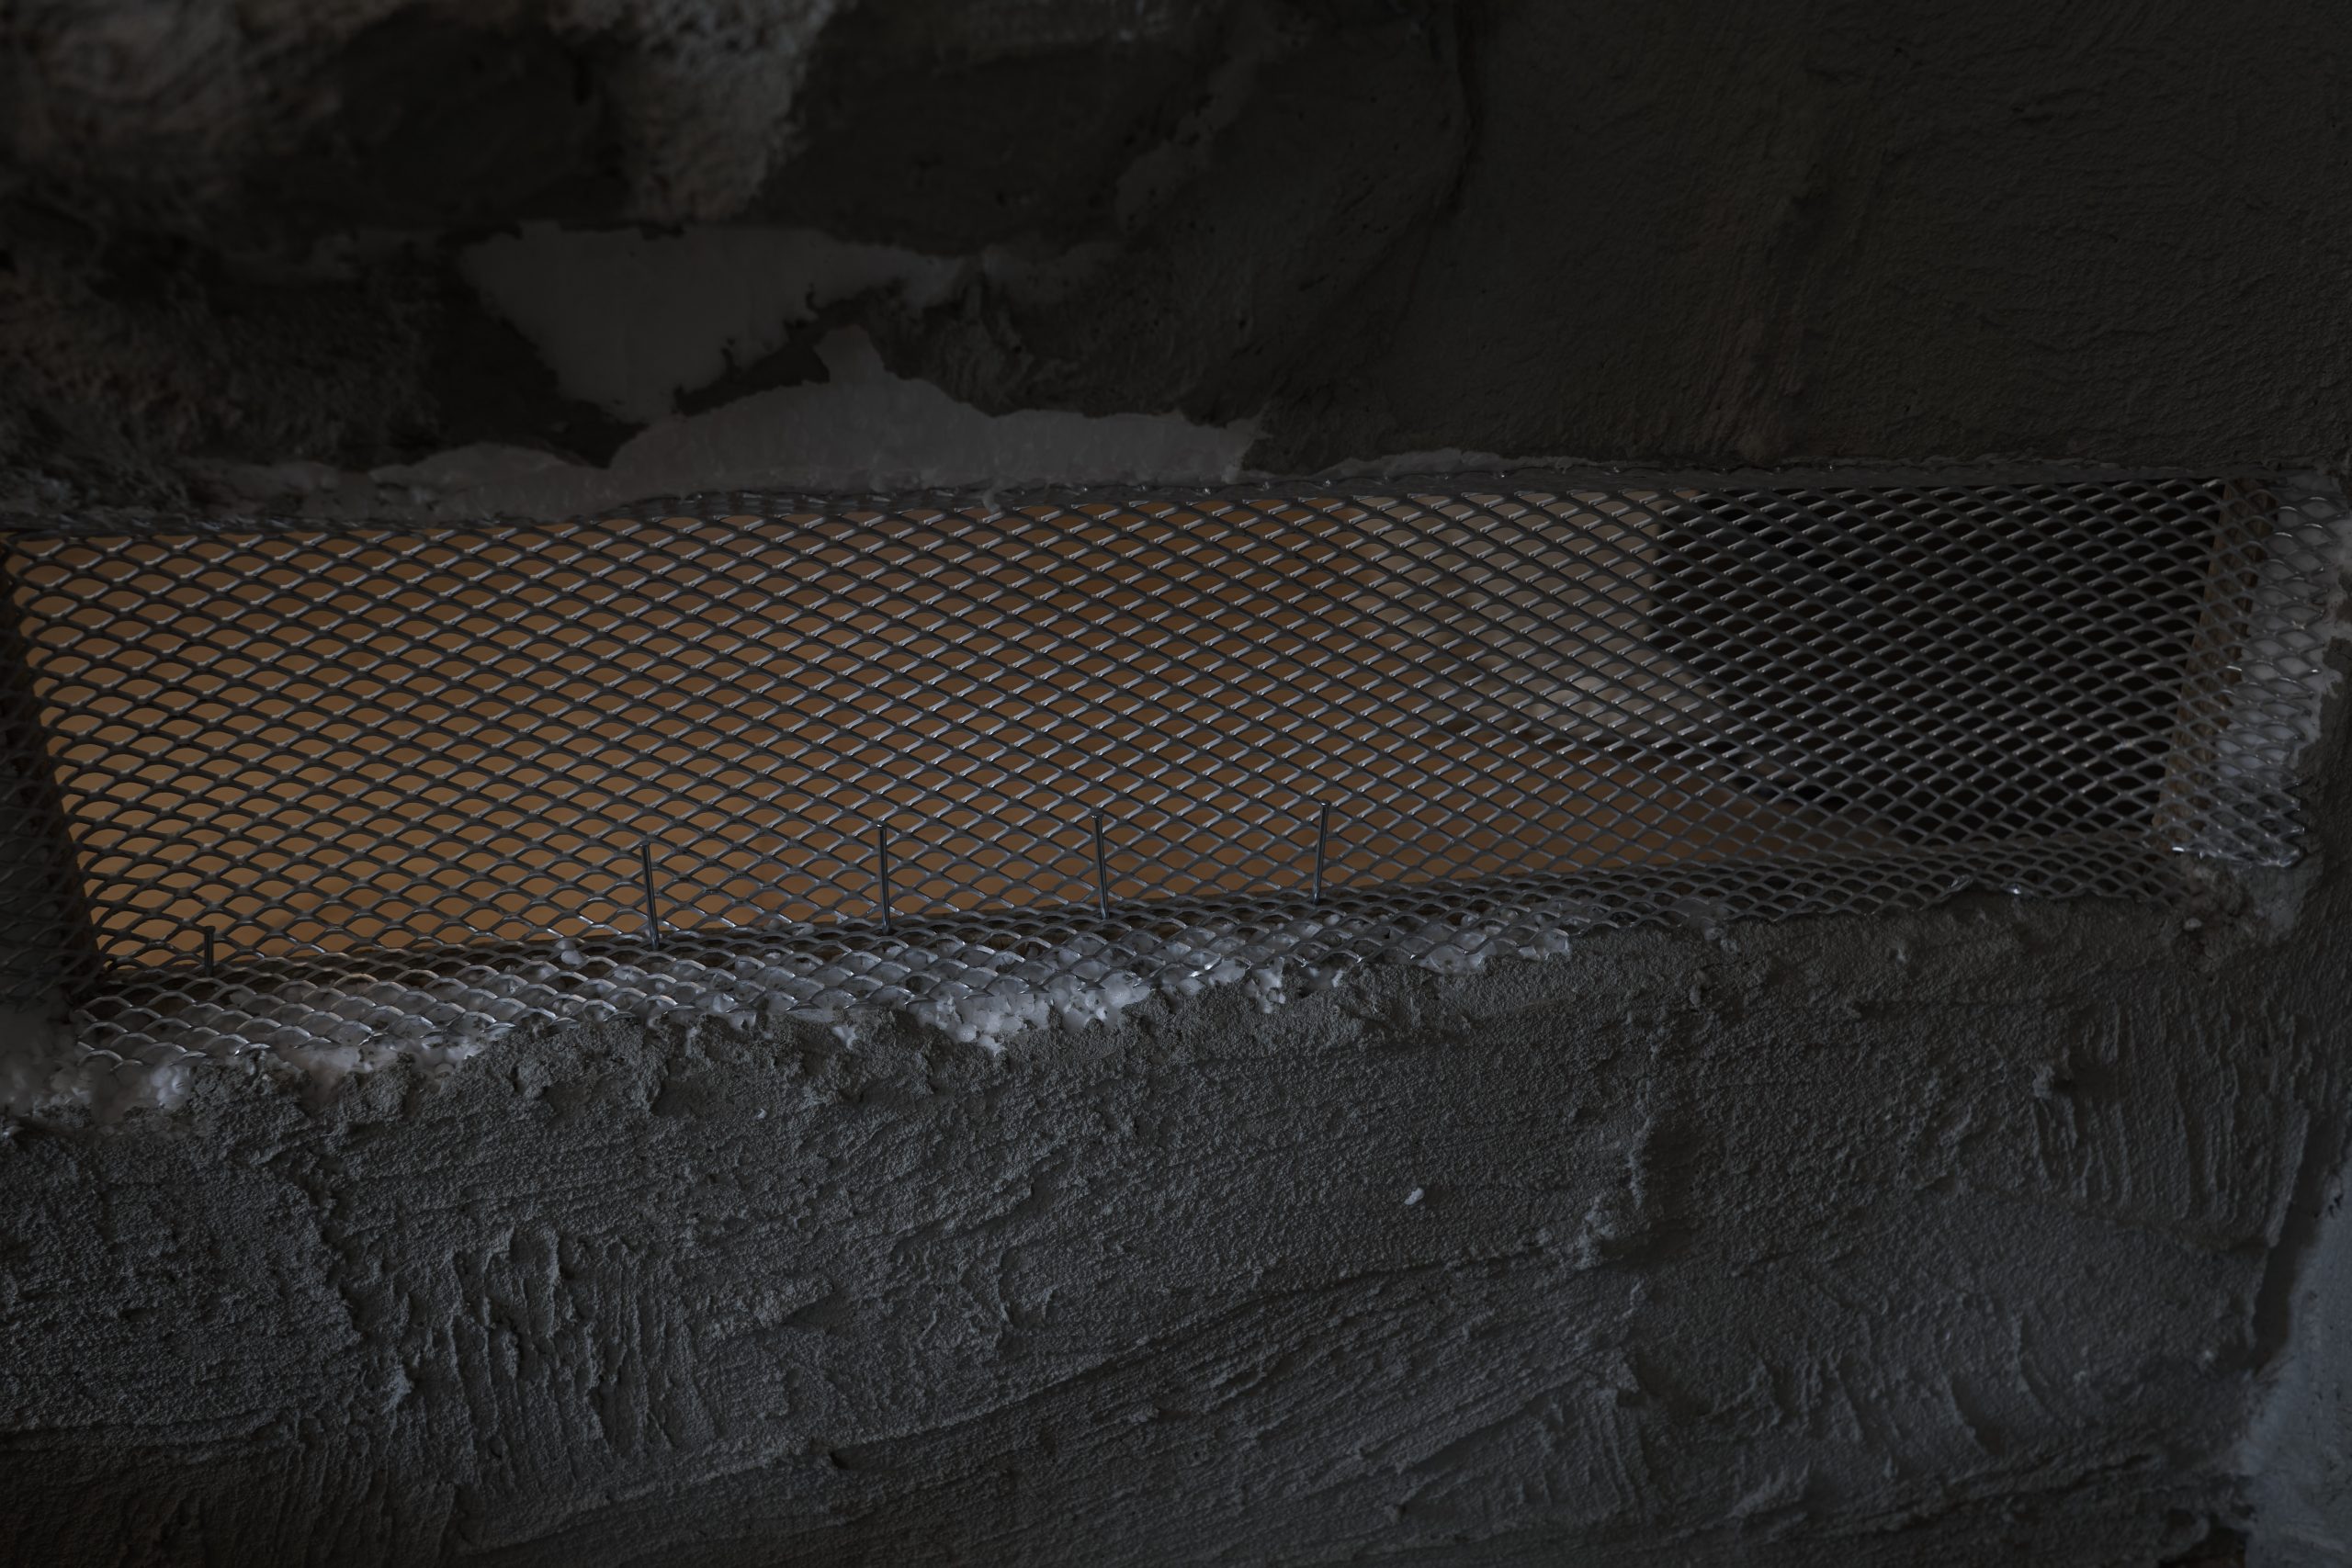
Nails
i used a few of these to fix the ventilation grills, because it is easier to fix with them than with screws and they are not exposed to any stress.

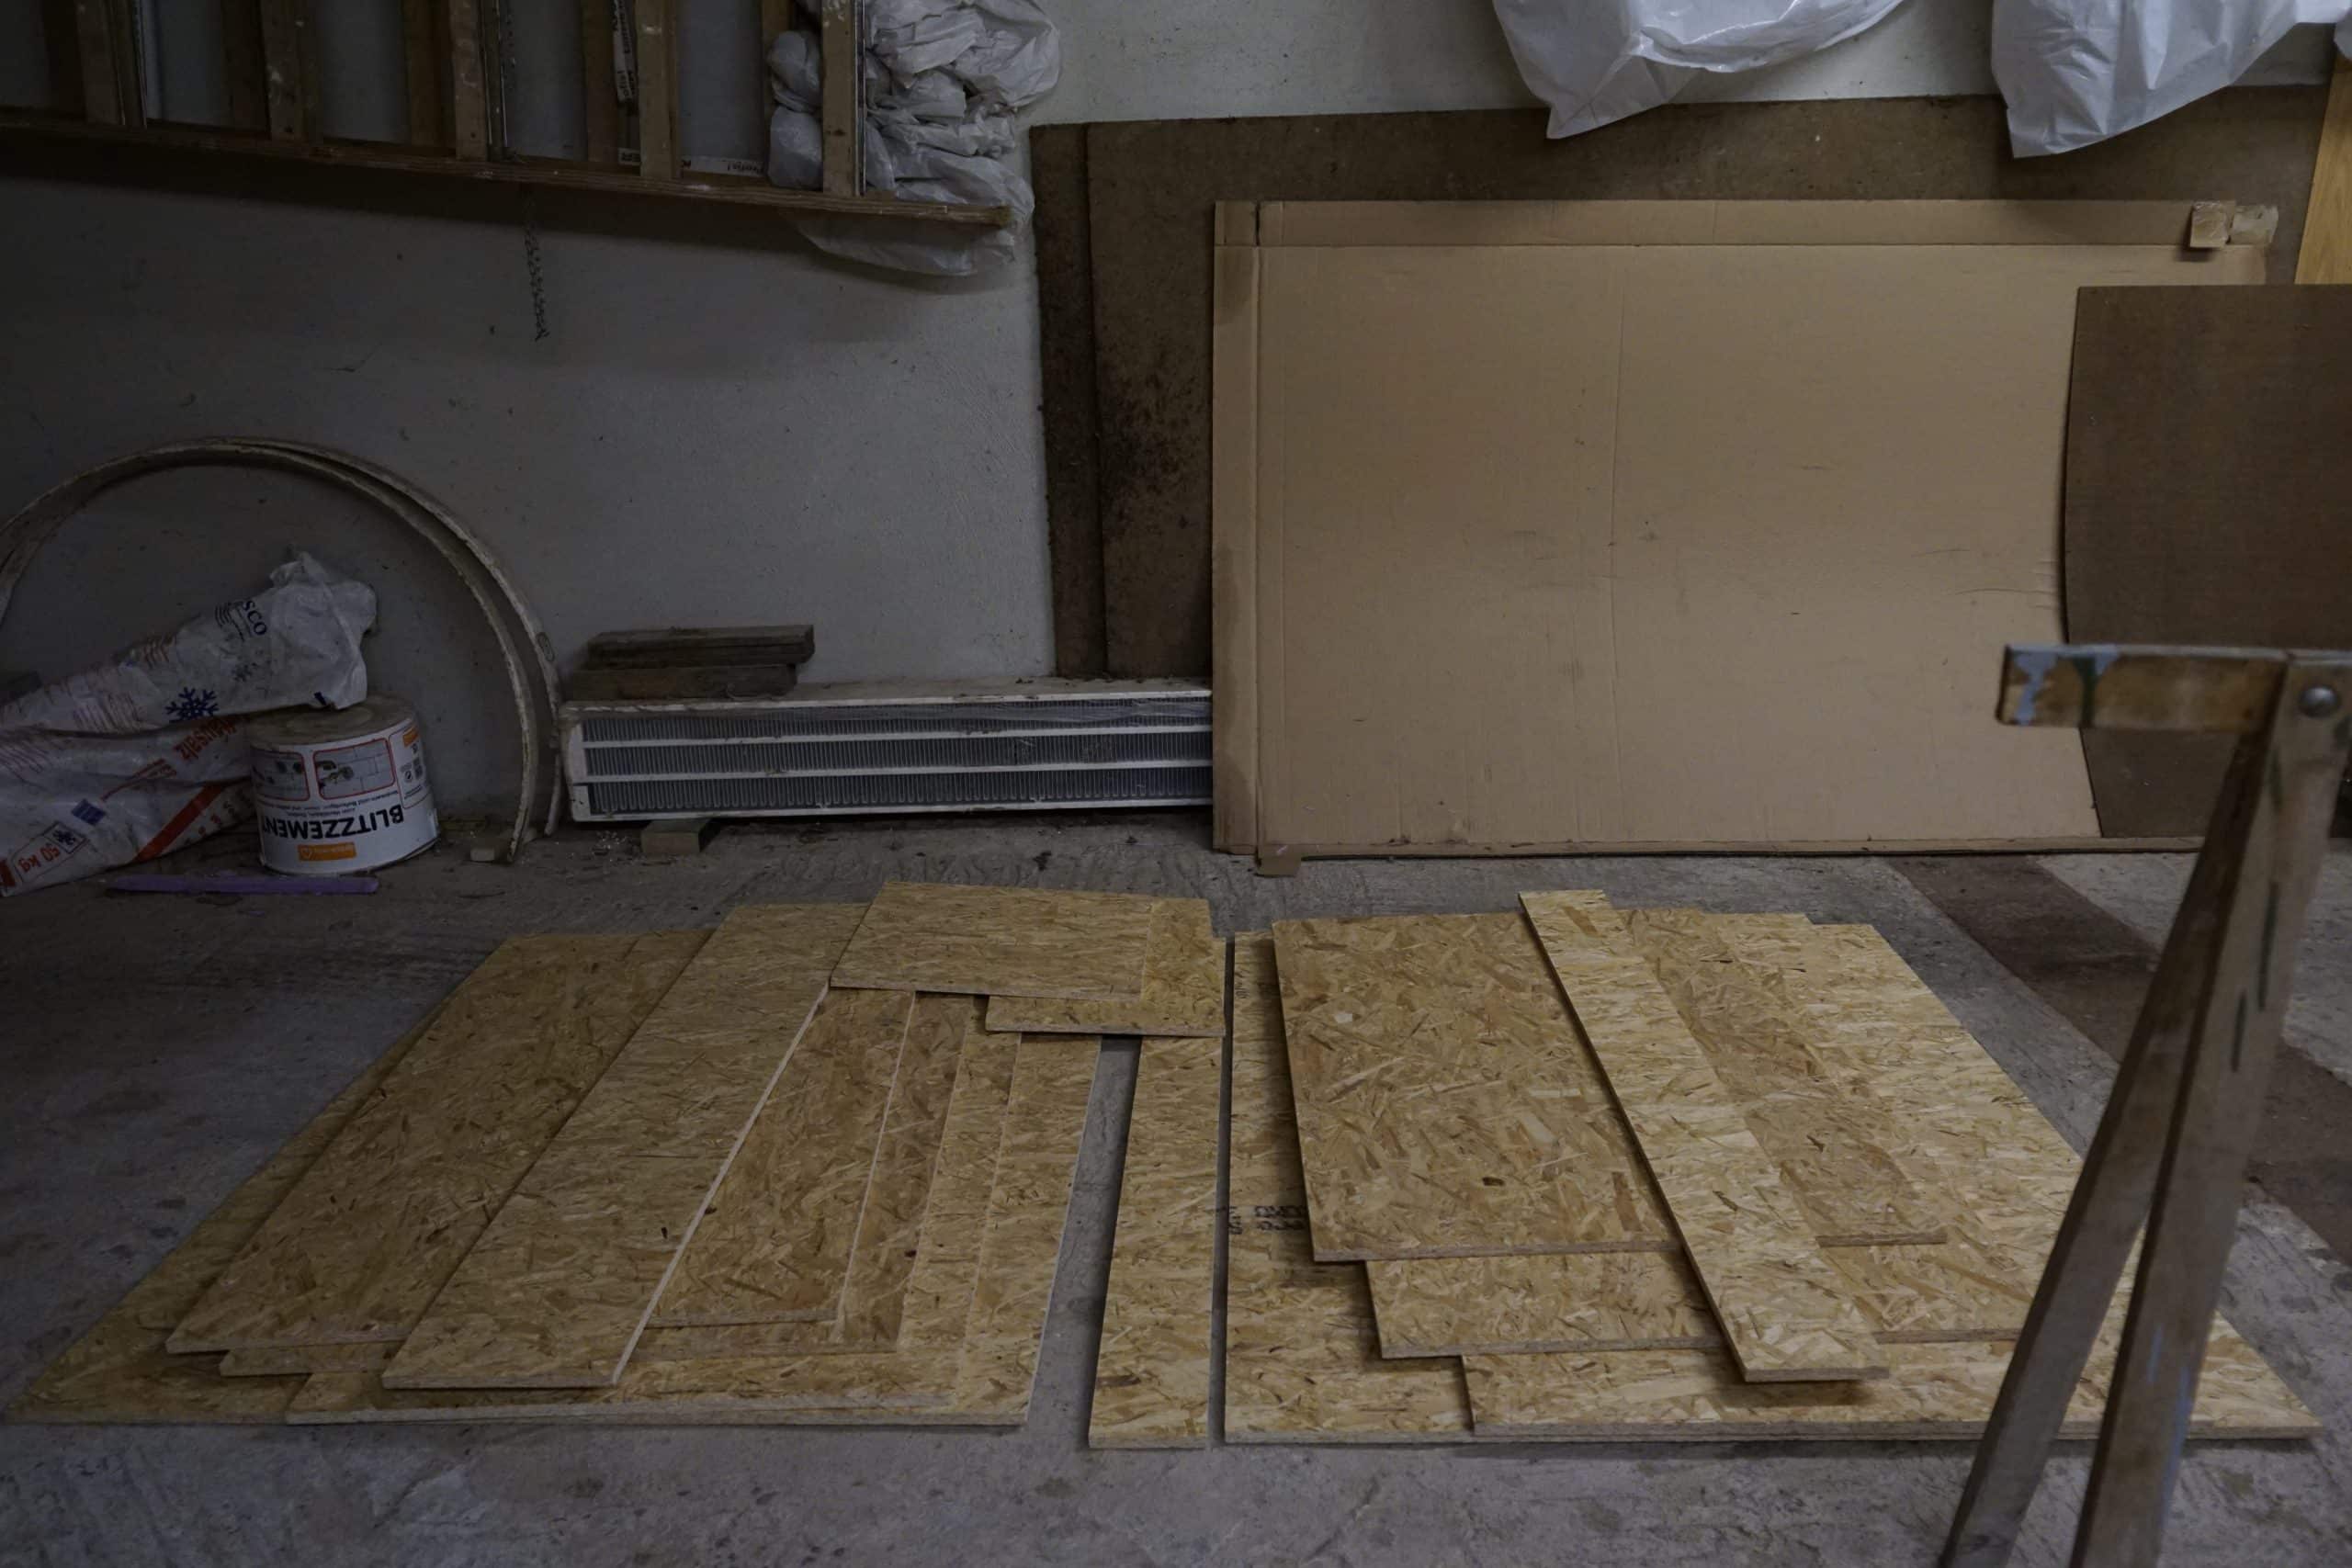
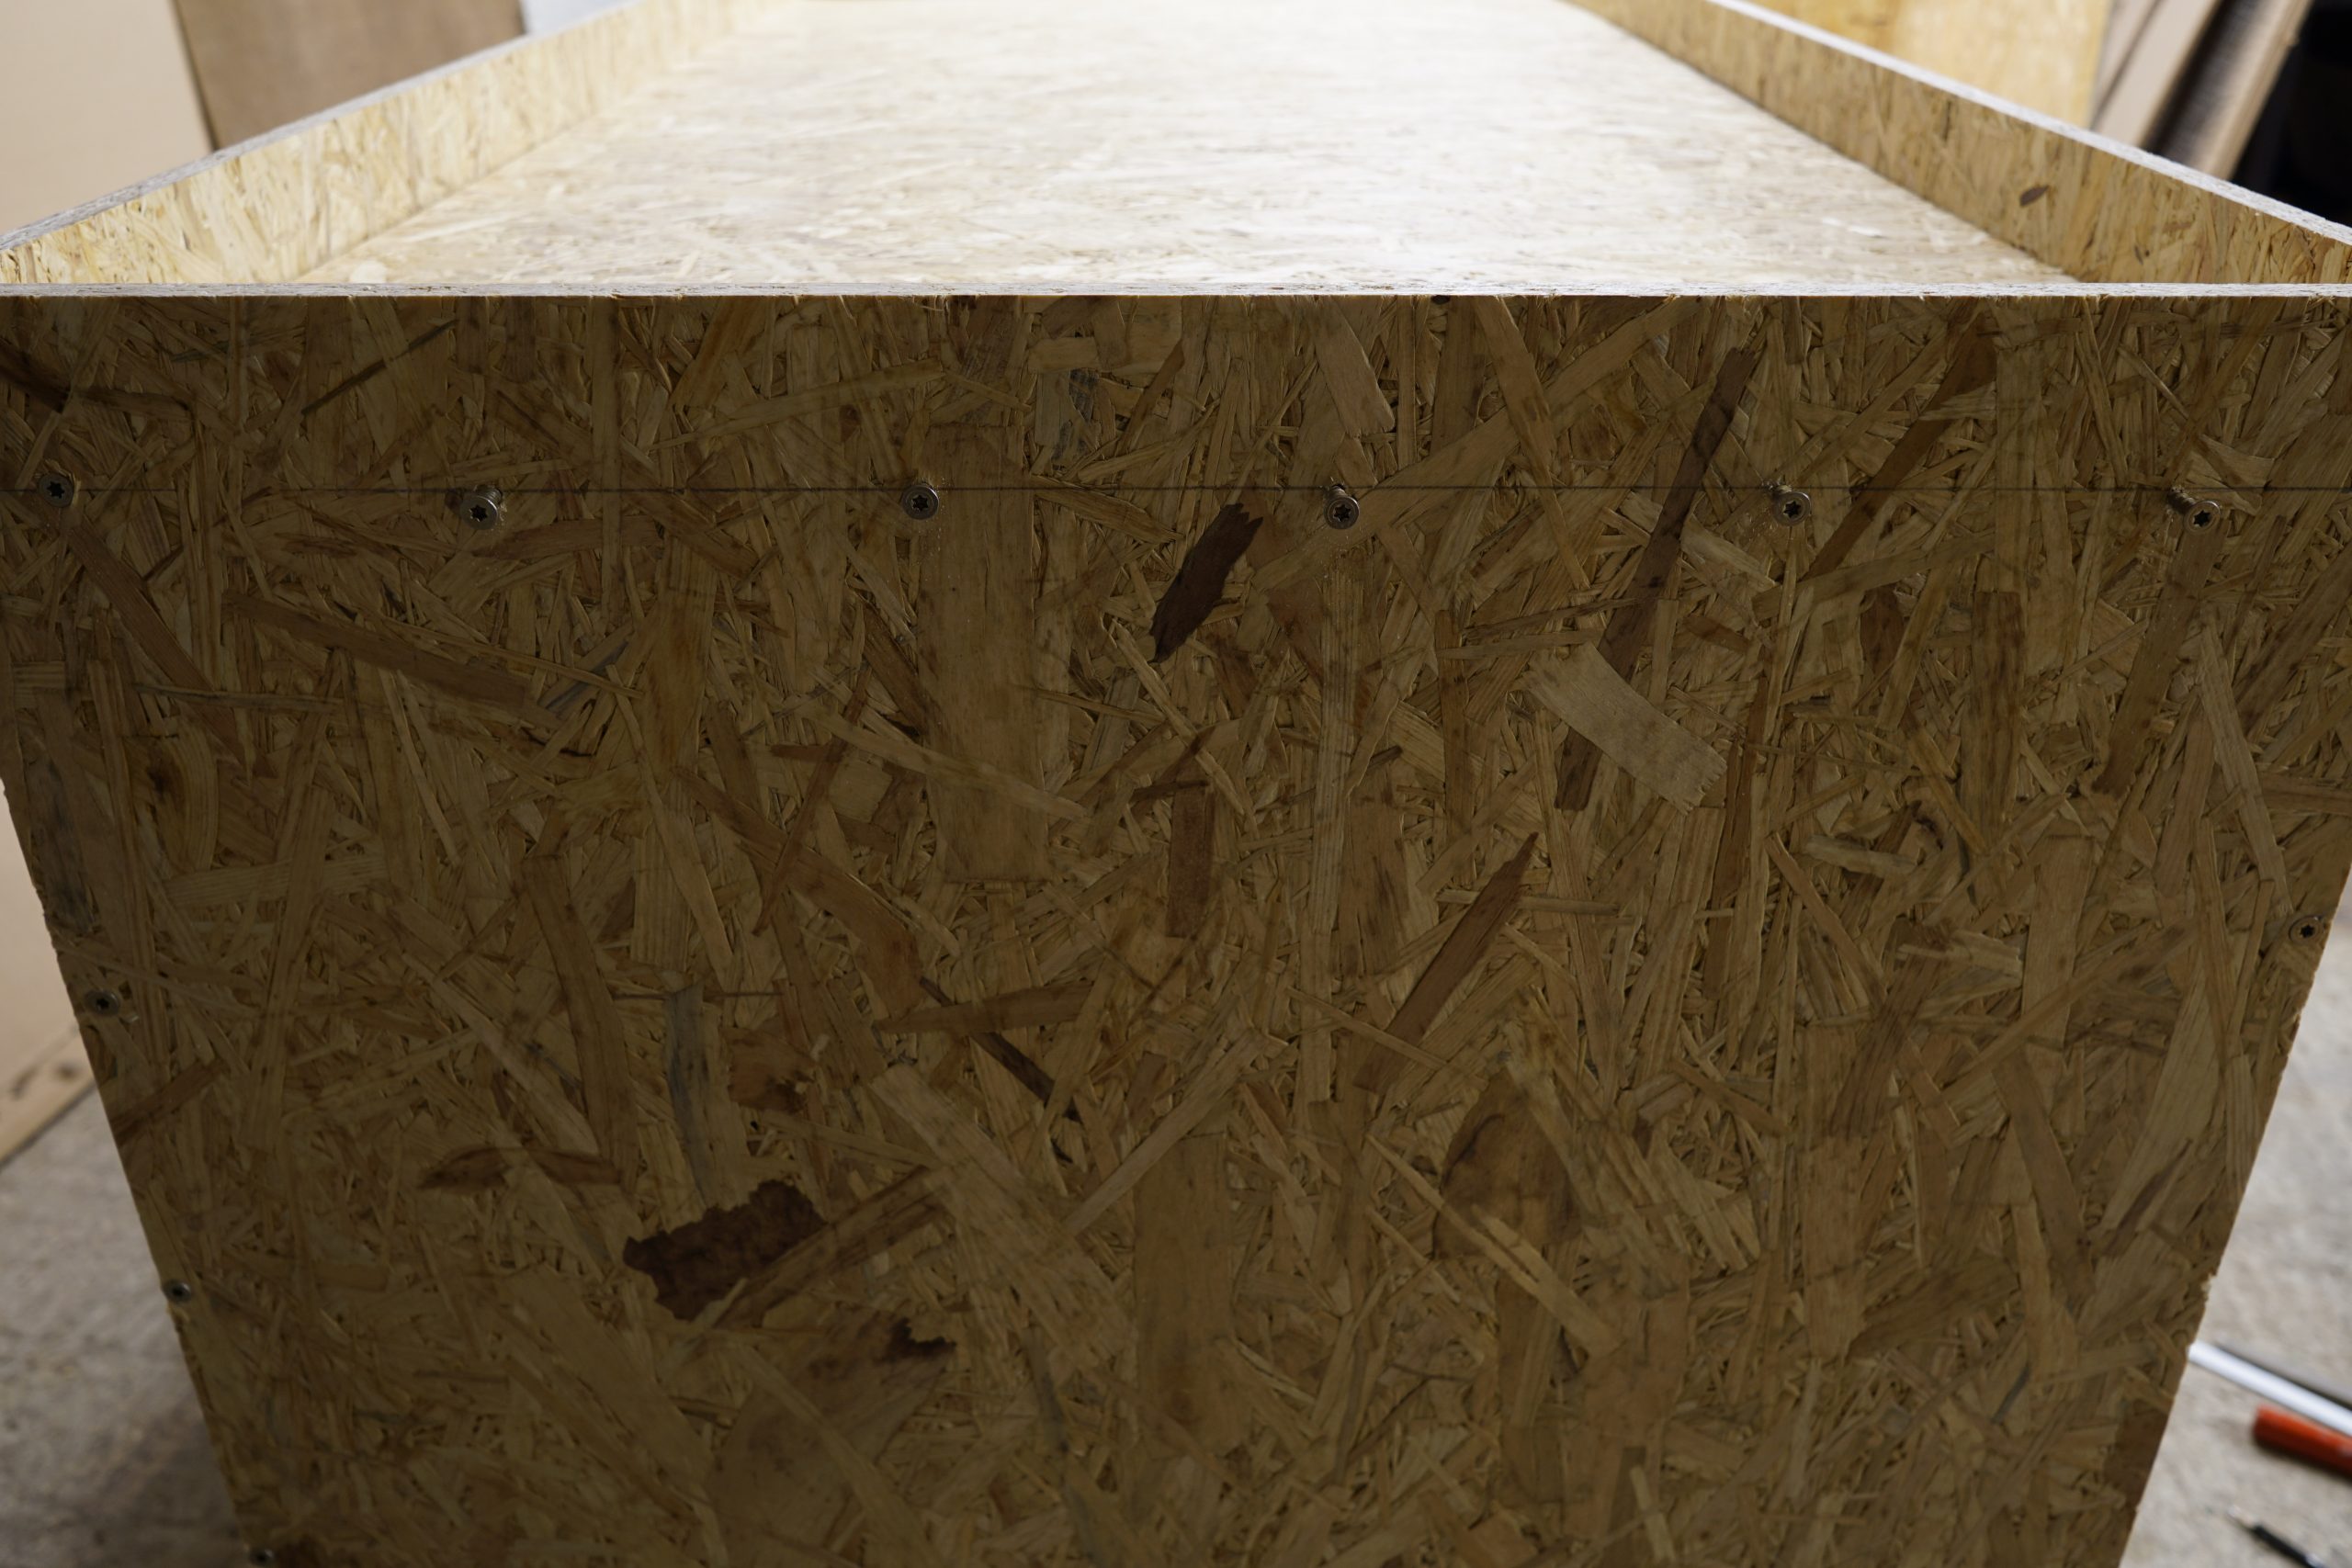
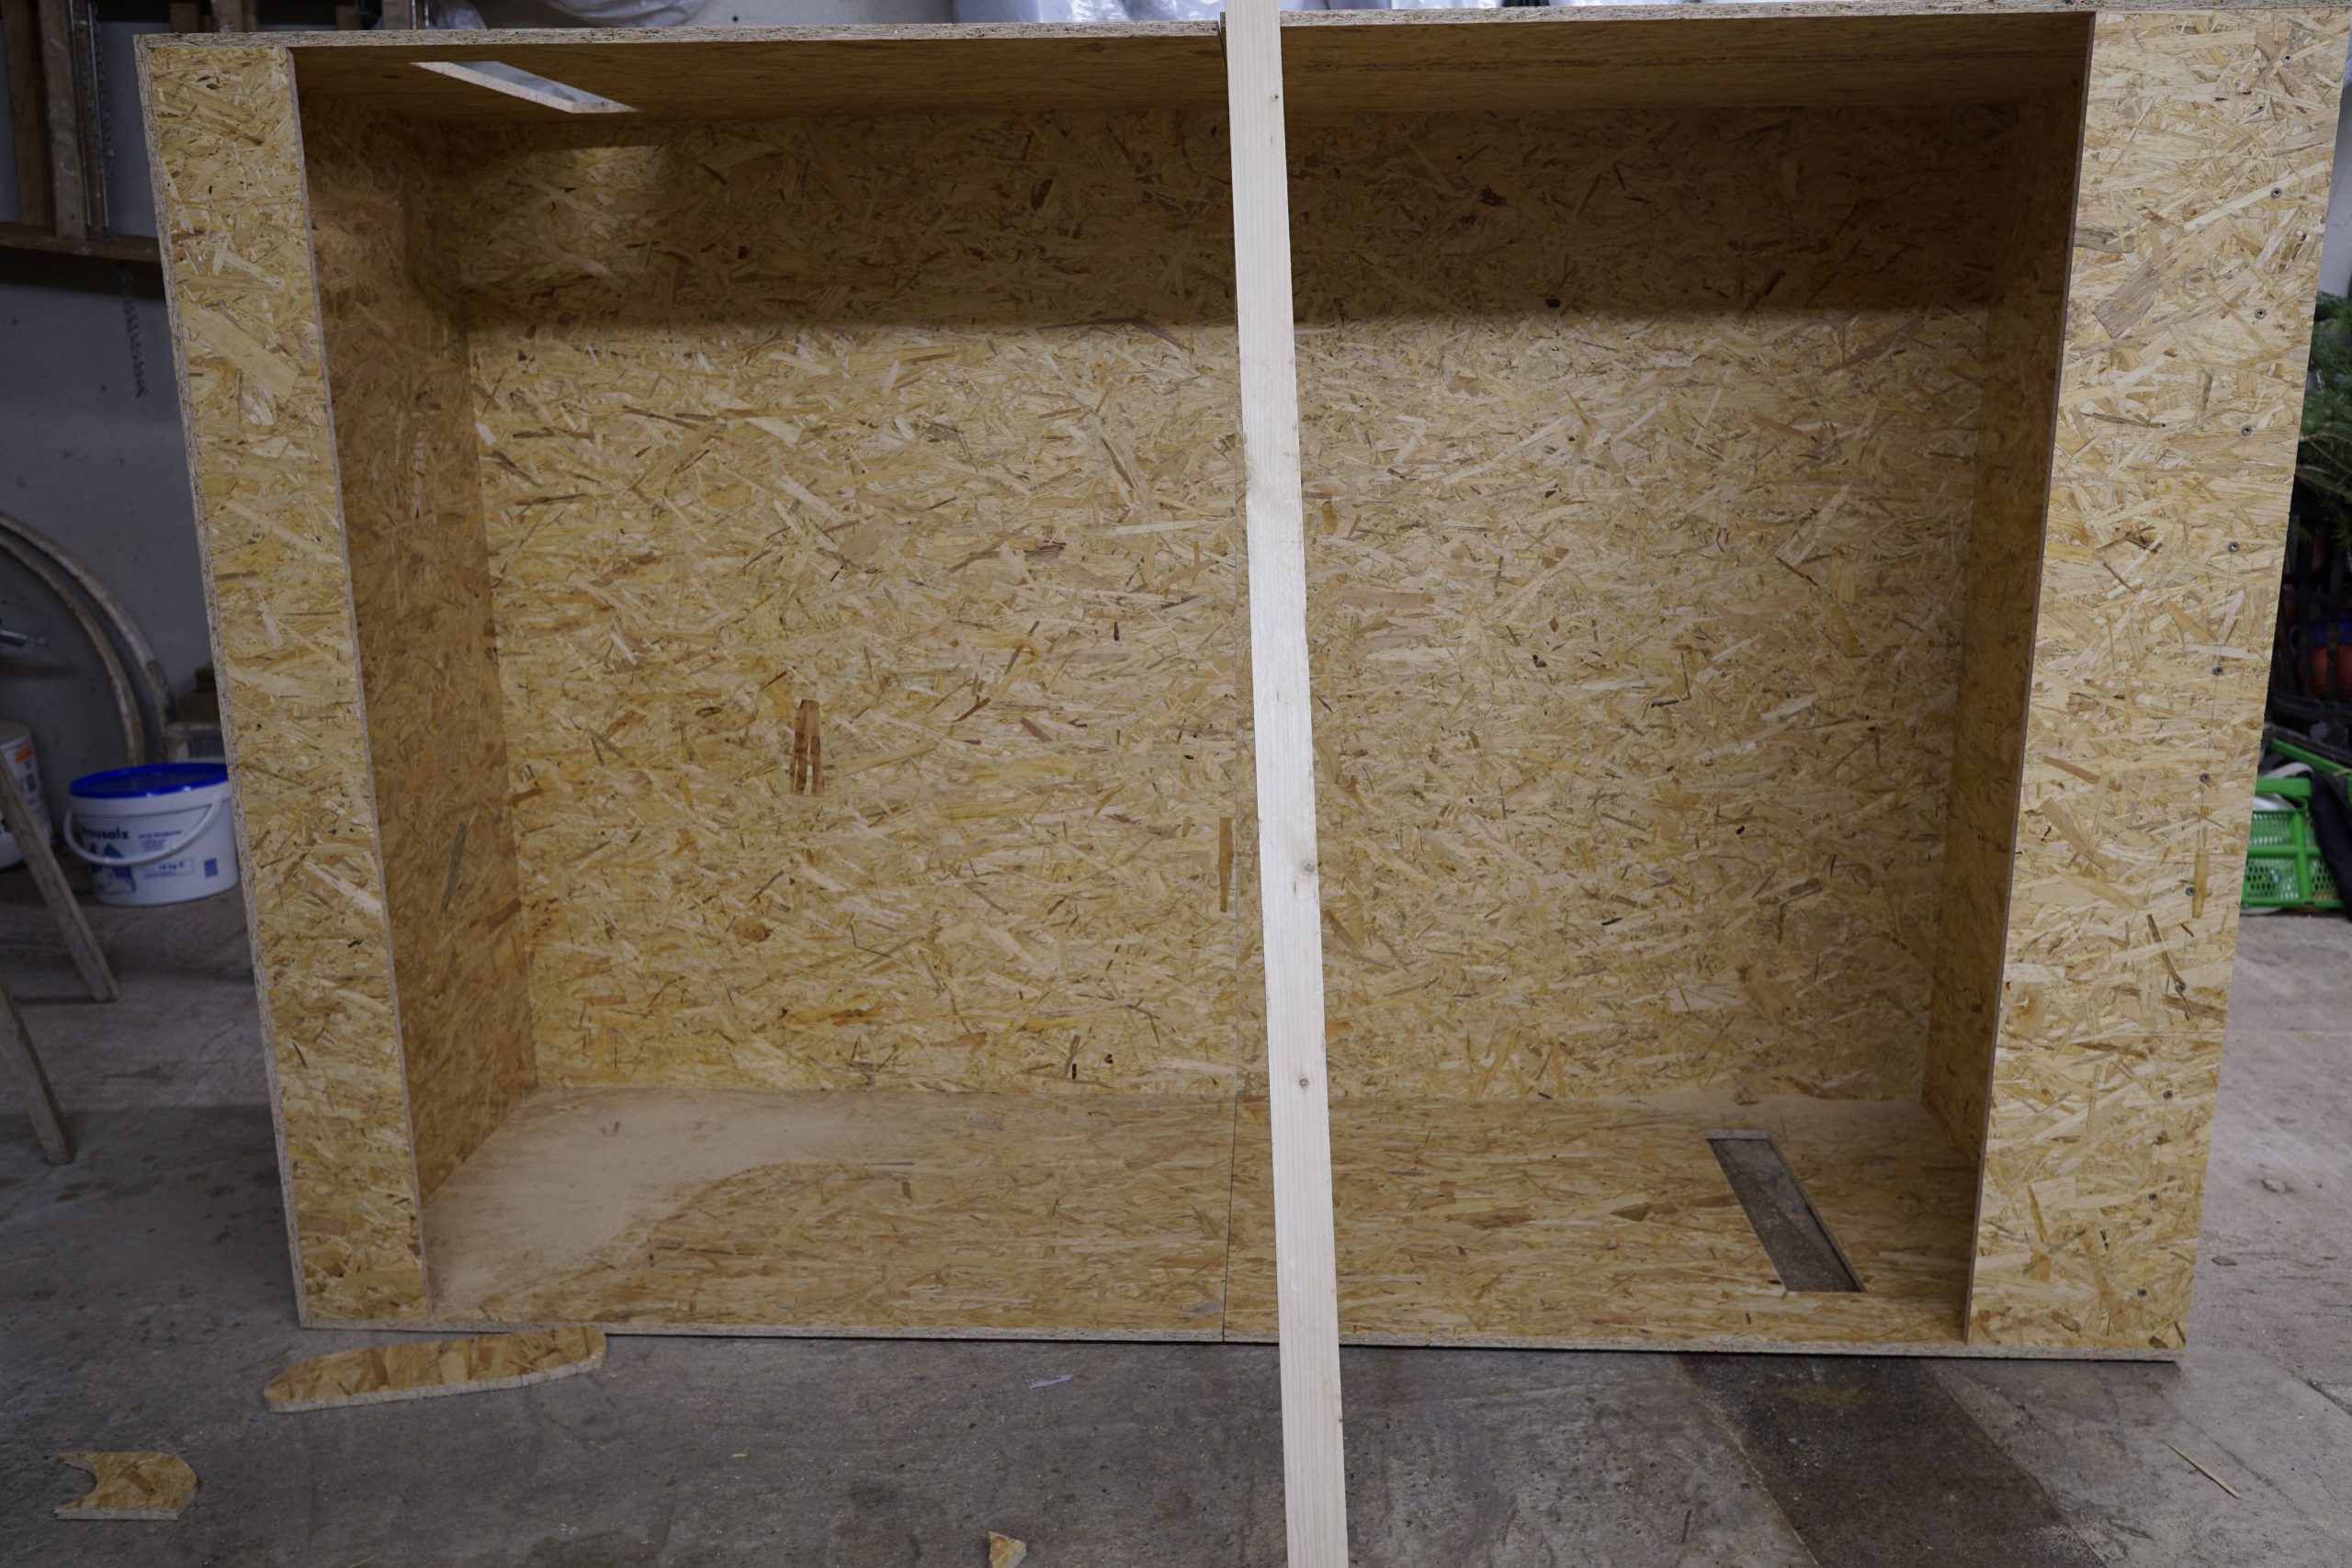
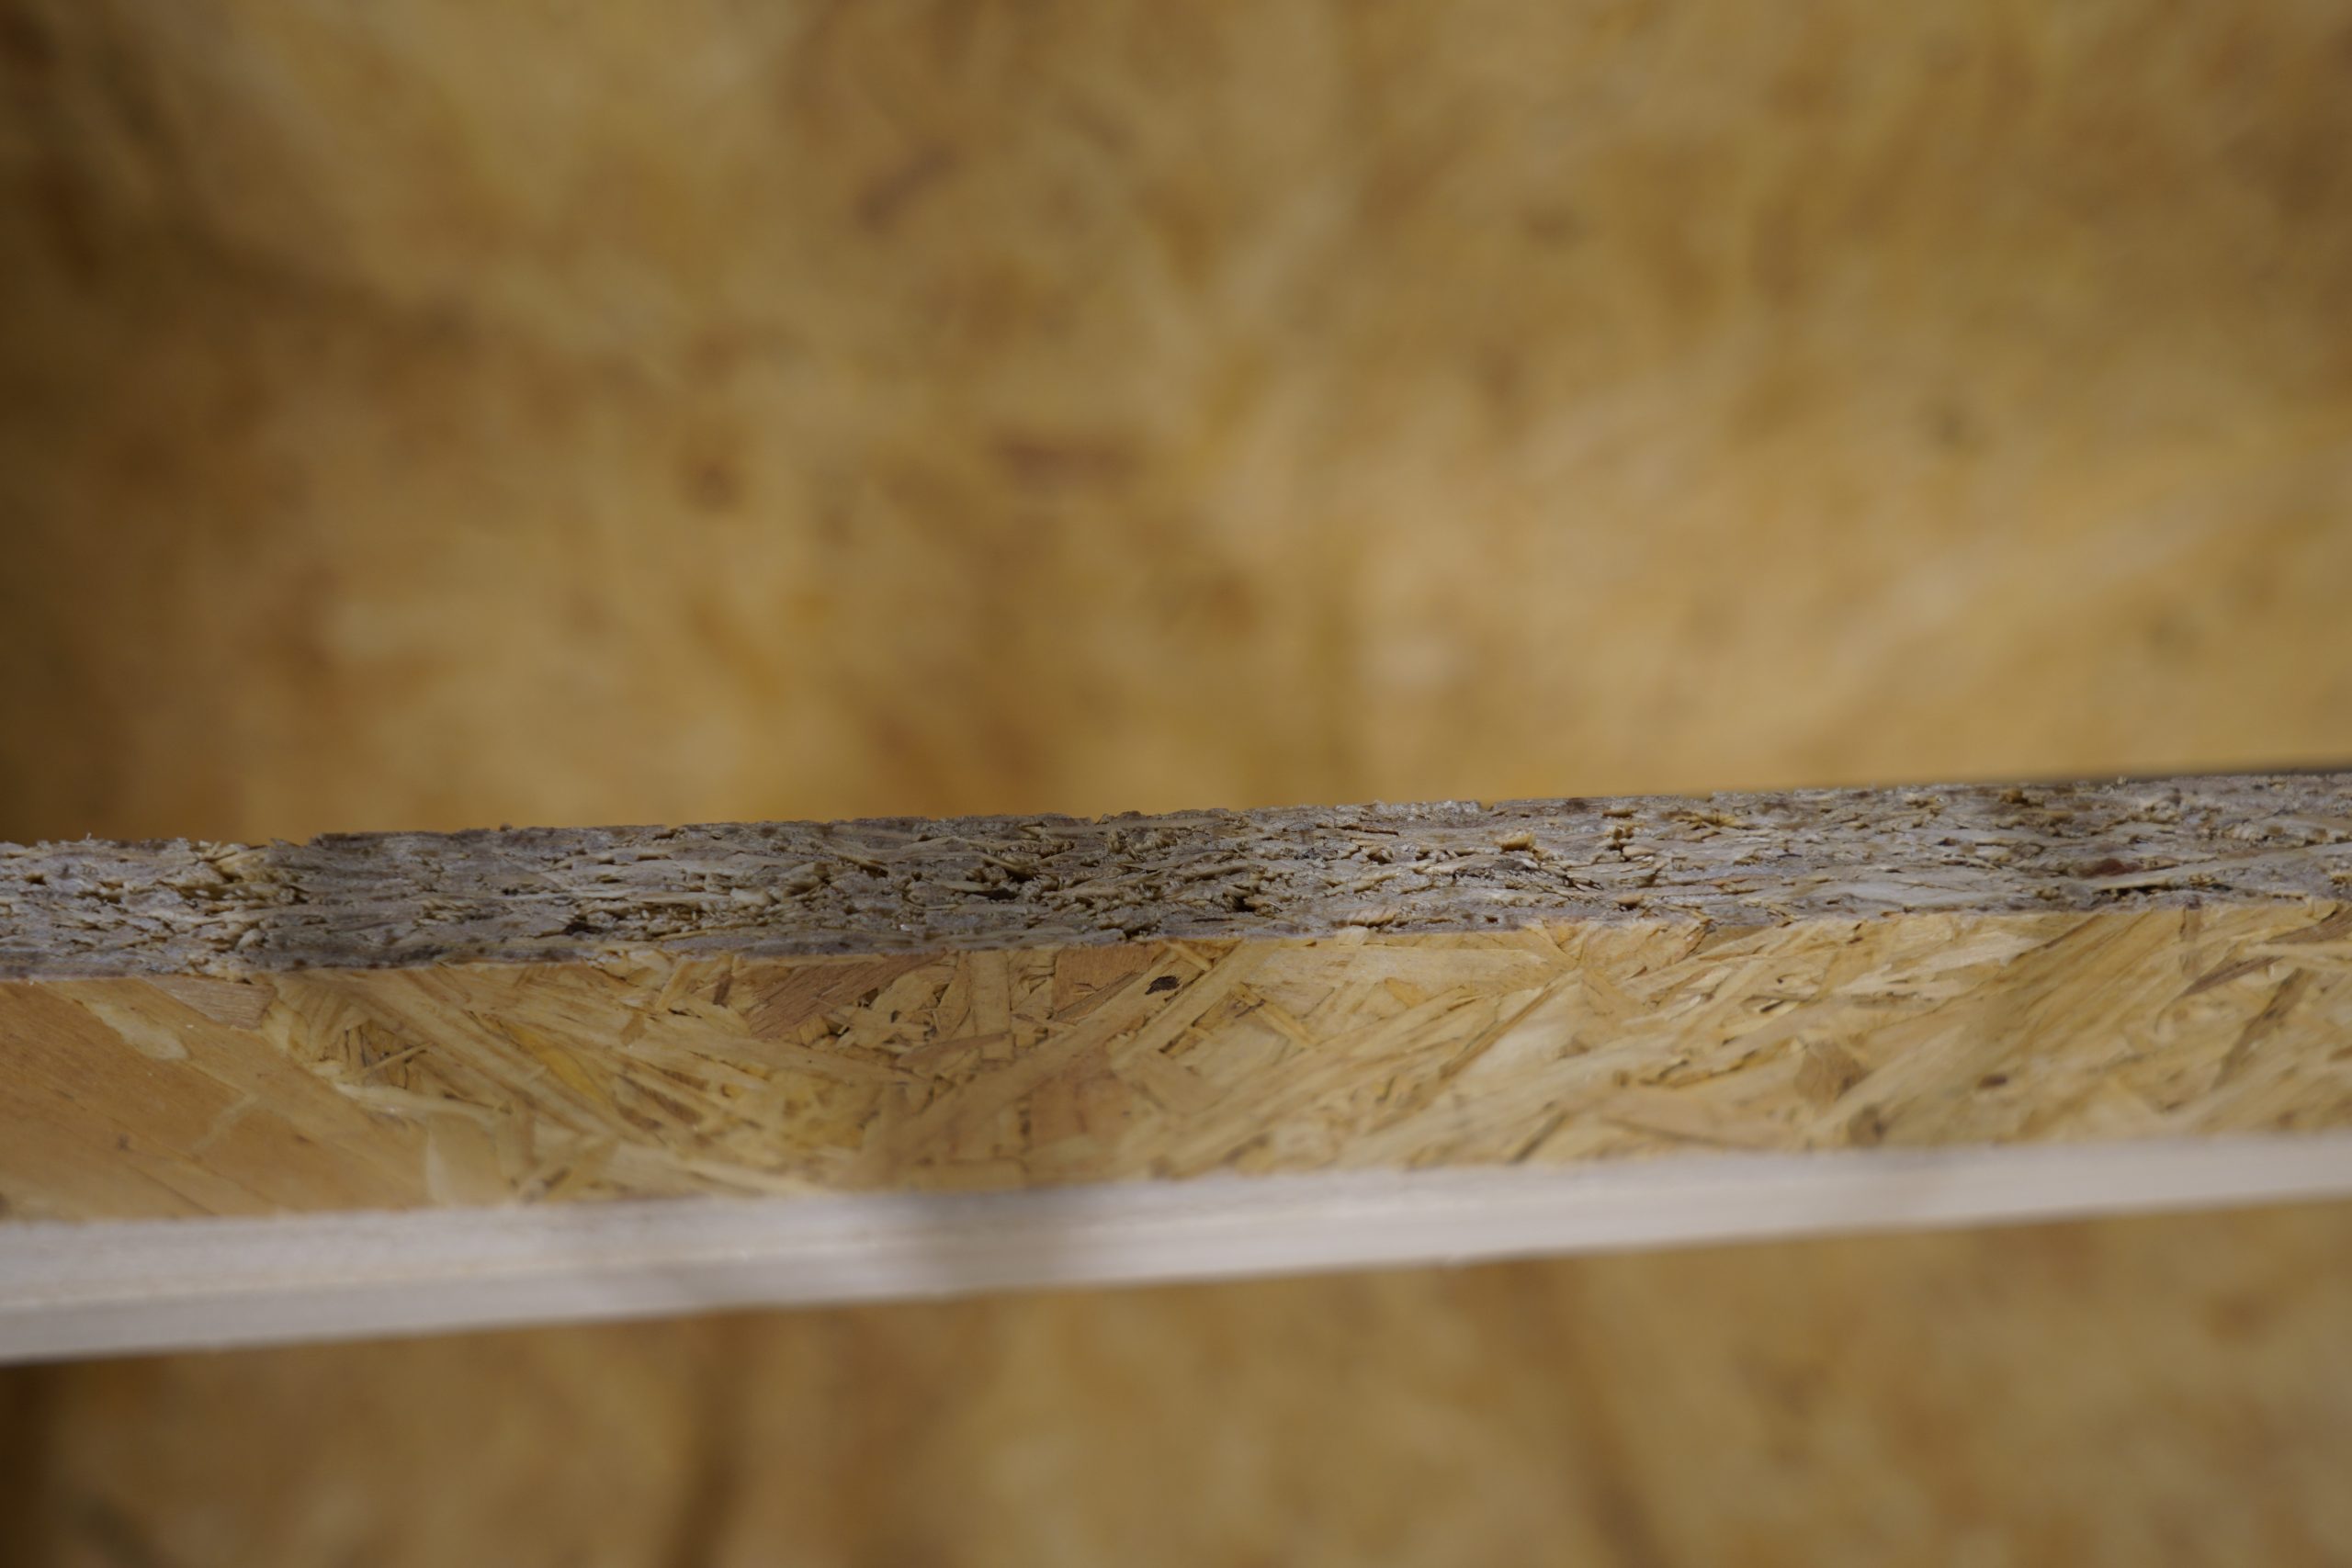
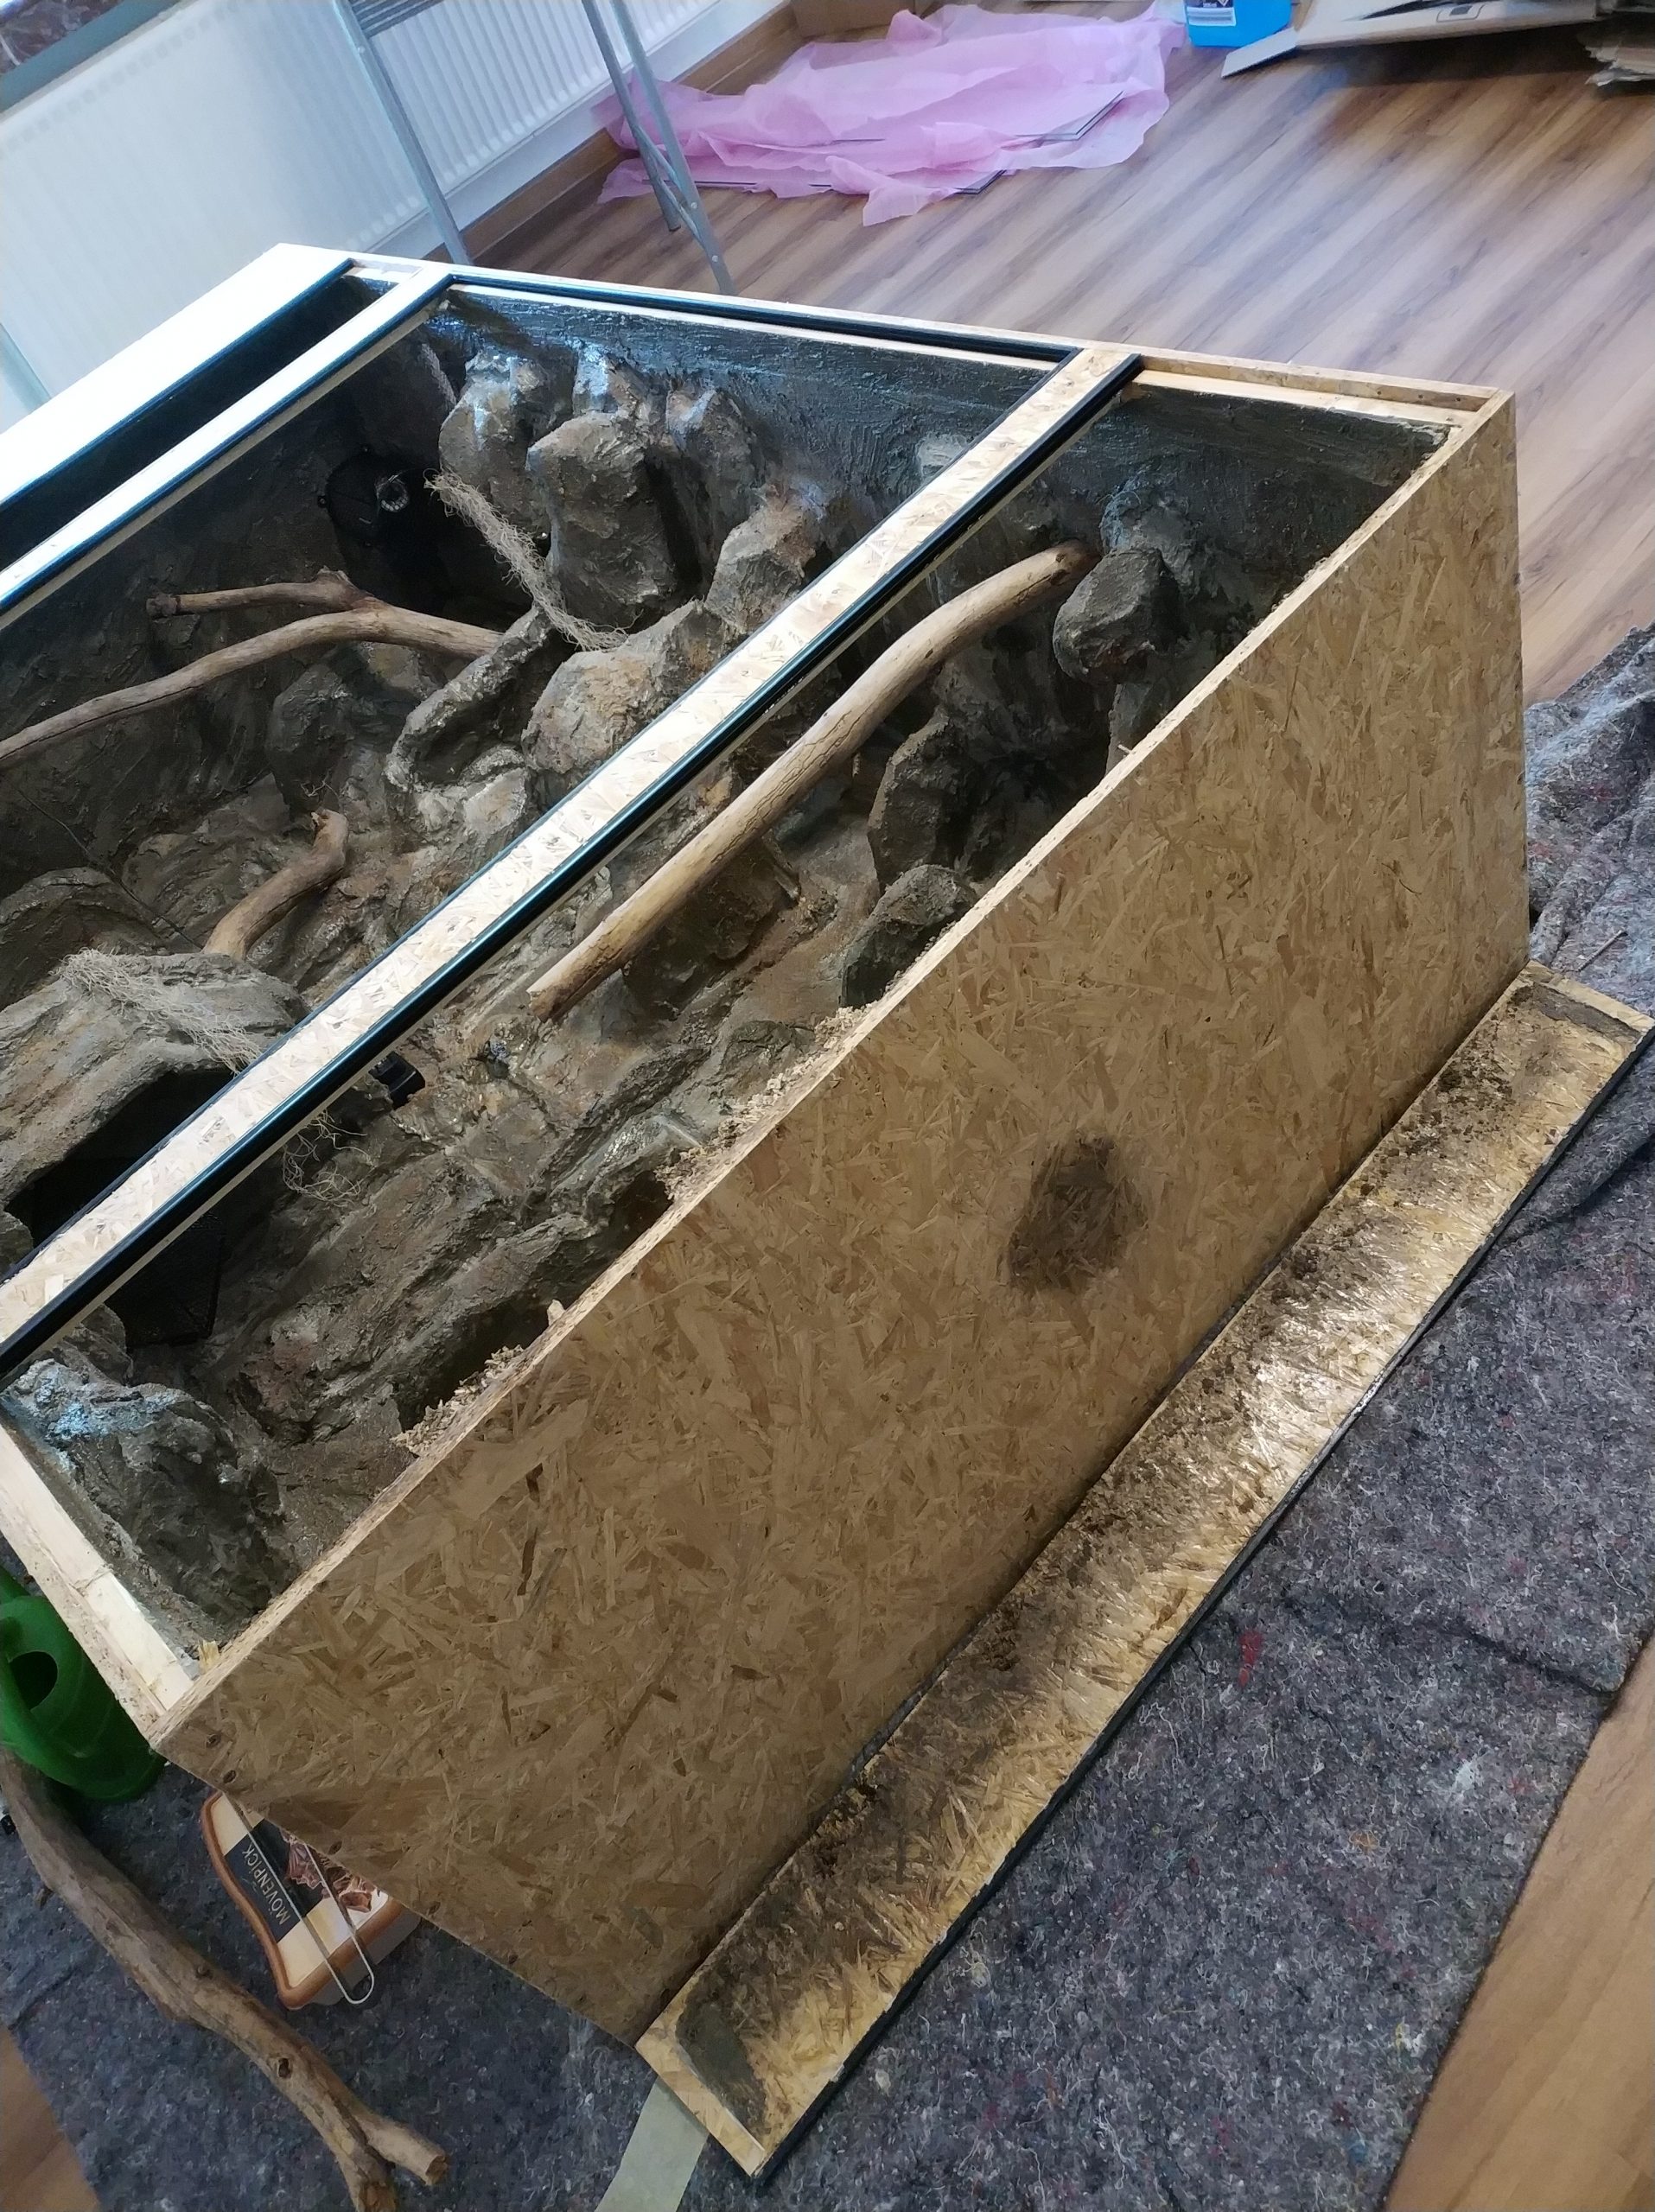
Boards
everything in 12mm thickness, back and sides in 2 parts, otherwise too big to transport by car and easier to assemble.
- 4* 90 x 60 cm (sides right, left)
- 120 x 60 cm (floor)
- 117.6 x 57.6 cm (ceiling)
- 20 x 117,6 cm (top front)
- 12 x 117,6 cm (bottom front)
- 2* 40 x 117.6 cm (intermediate struts)
- 2* 90 x 1176 cm (back side)

Wooden Slats
also called substructure batten. to reinforce the panel construction. The battens are 19 mm x 44 mm x 2500 mm and must be cut to:
- 4* 174,8 cm (corners)
- 3* 113,8 cm (reinforcement front, rear)
- 2* 51,4 cm (reinforcement right, left)

Grid/ Sheet Metal
to cover the ventilation slots. The linked one is well bendable, but strong enough so that the snake cannot escape. Cut the whole thing to about 2* 12 x 44 cm (preferably a little bit bigger at first and later cut off the excess).

Clear varnish
the clear varnish is applied on the outside to protect the wood, e.g. from some moisture.

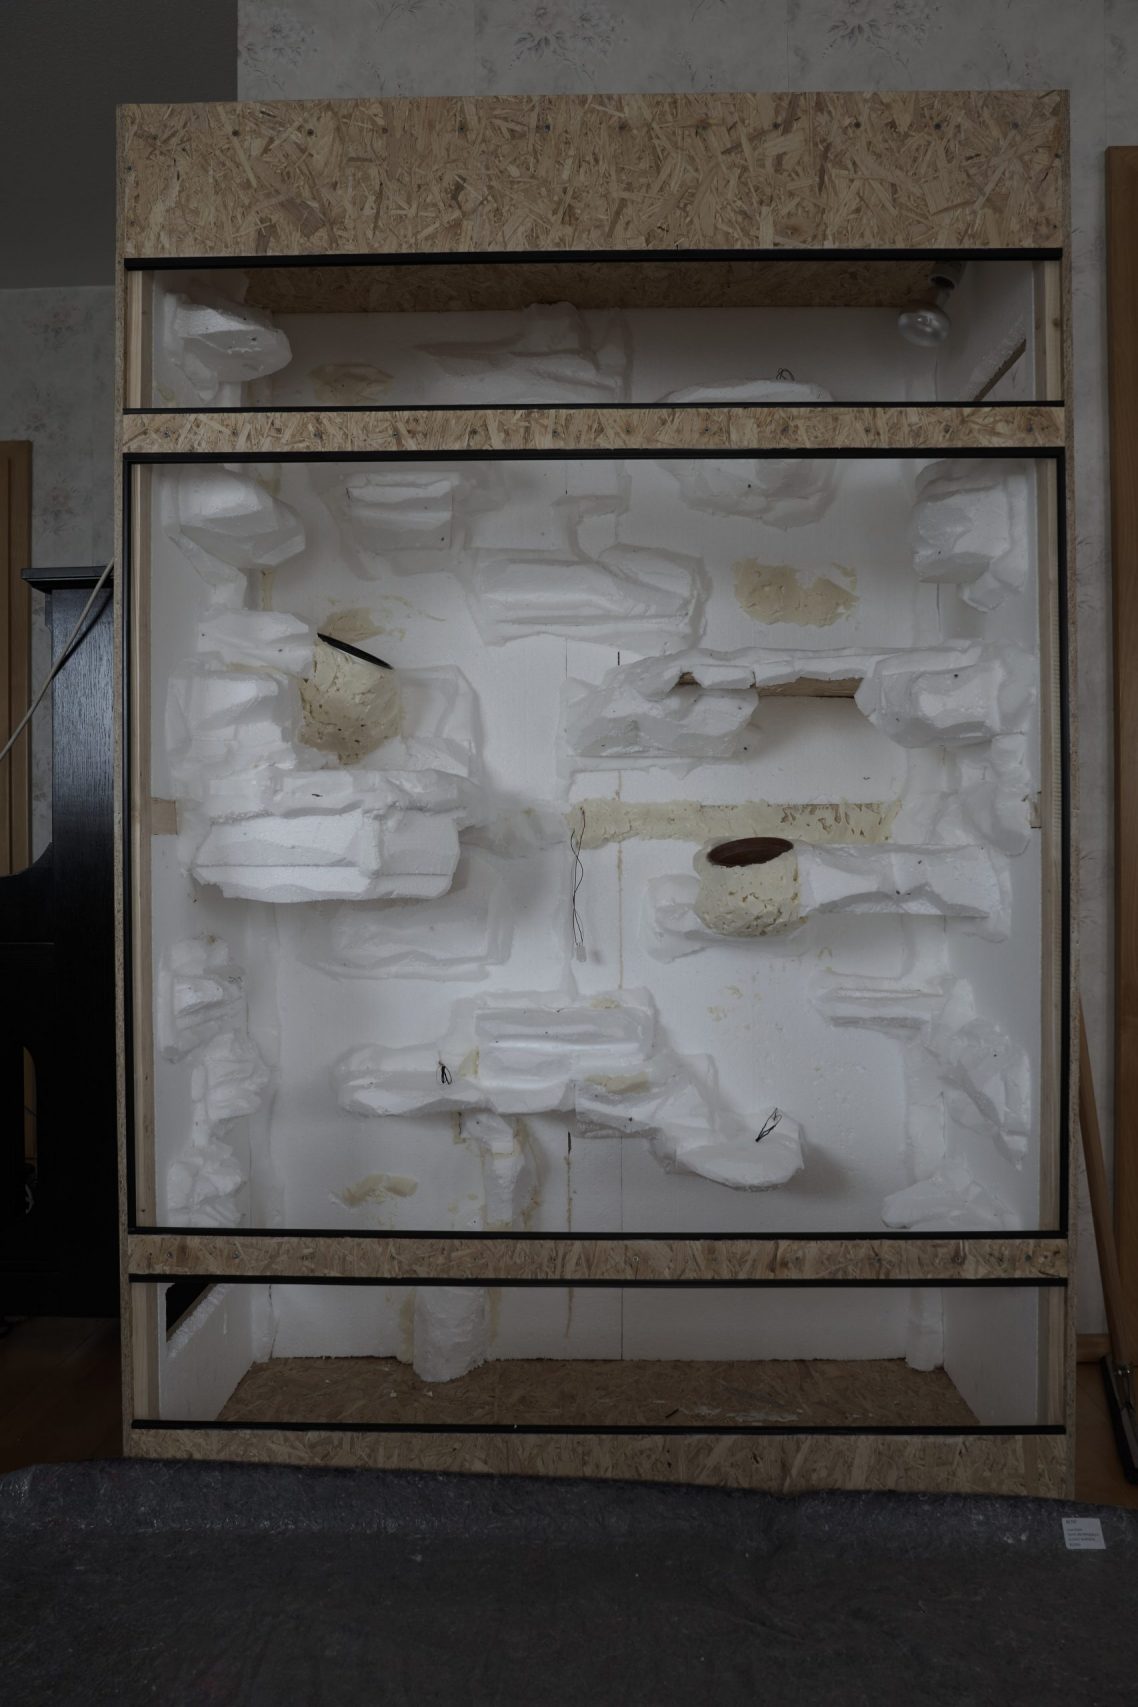
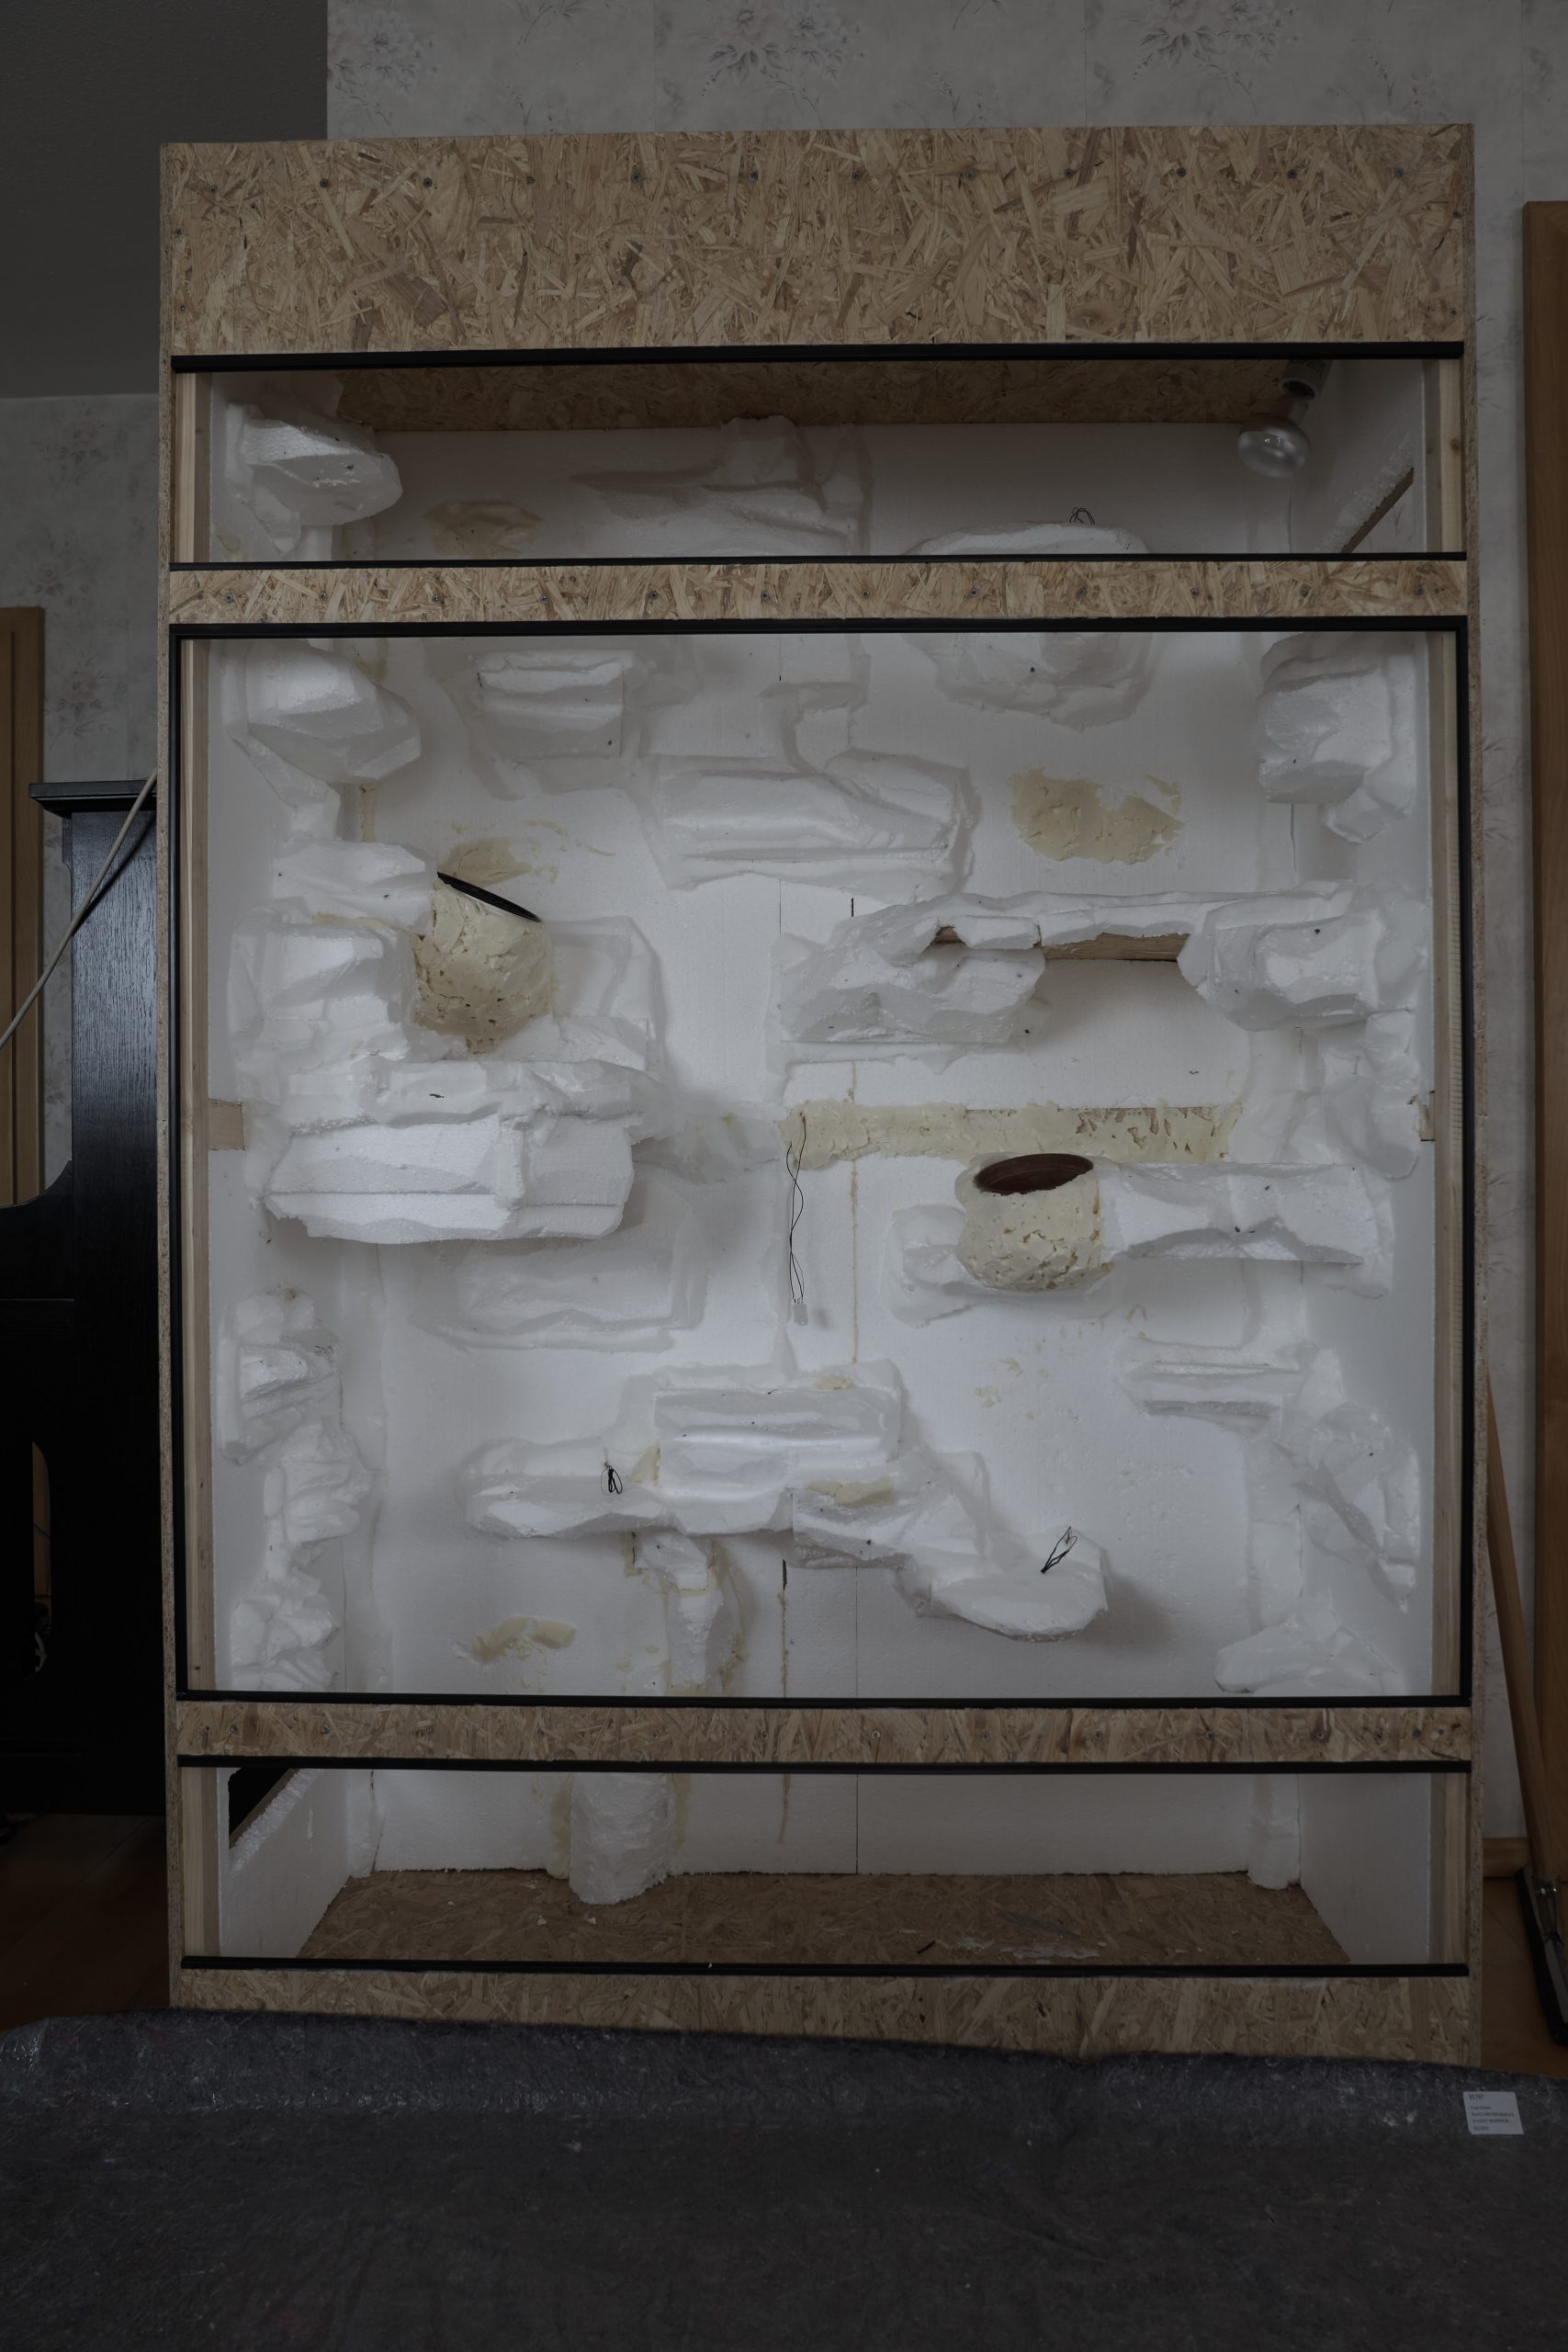
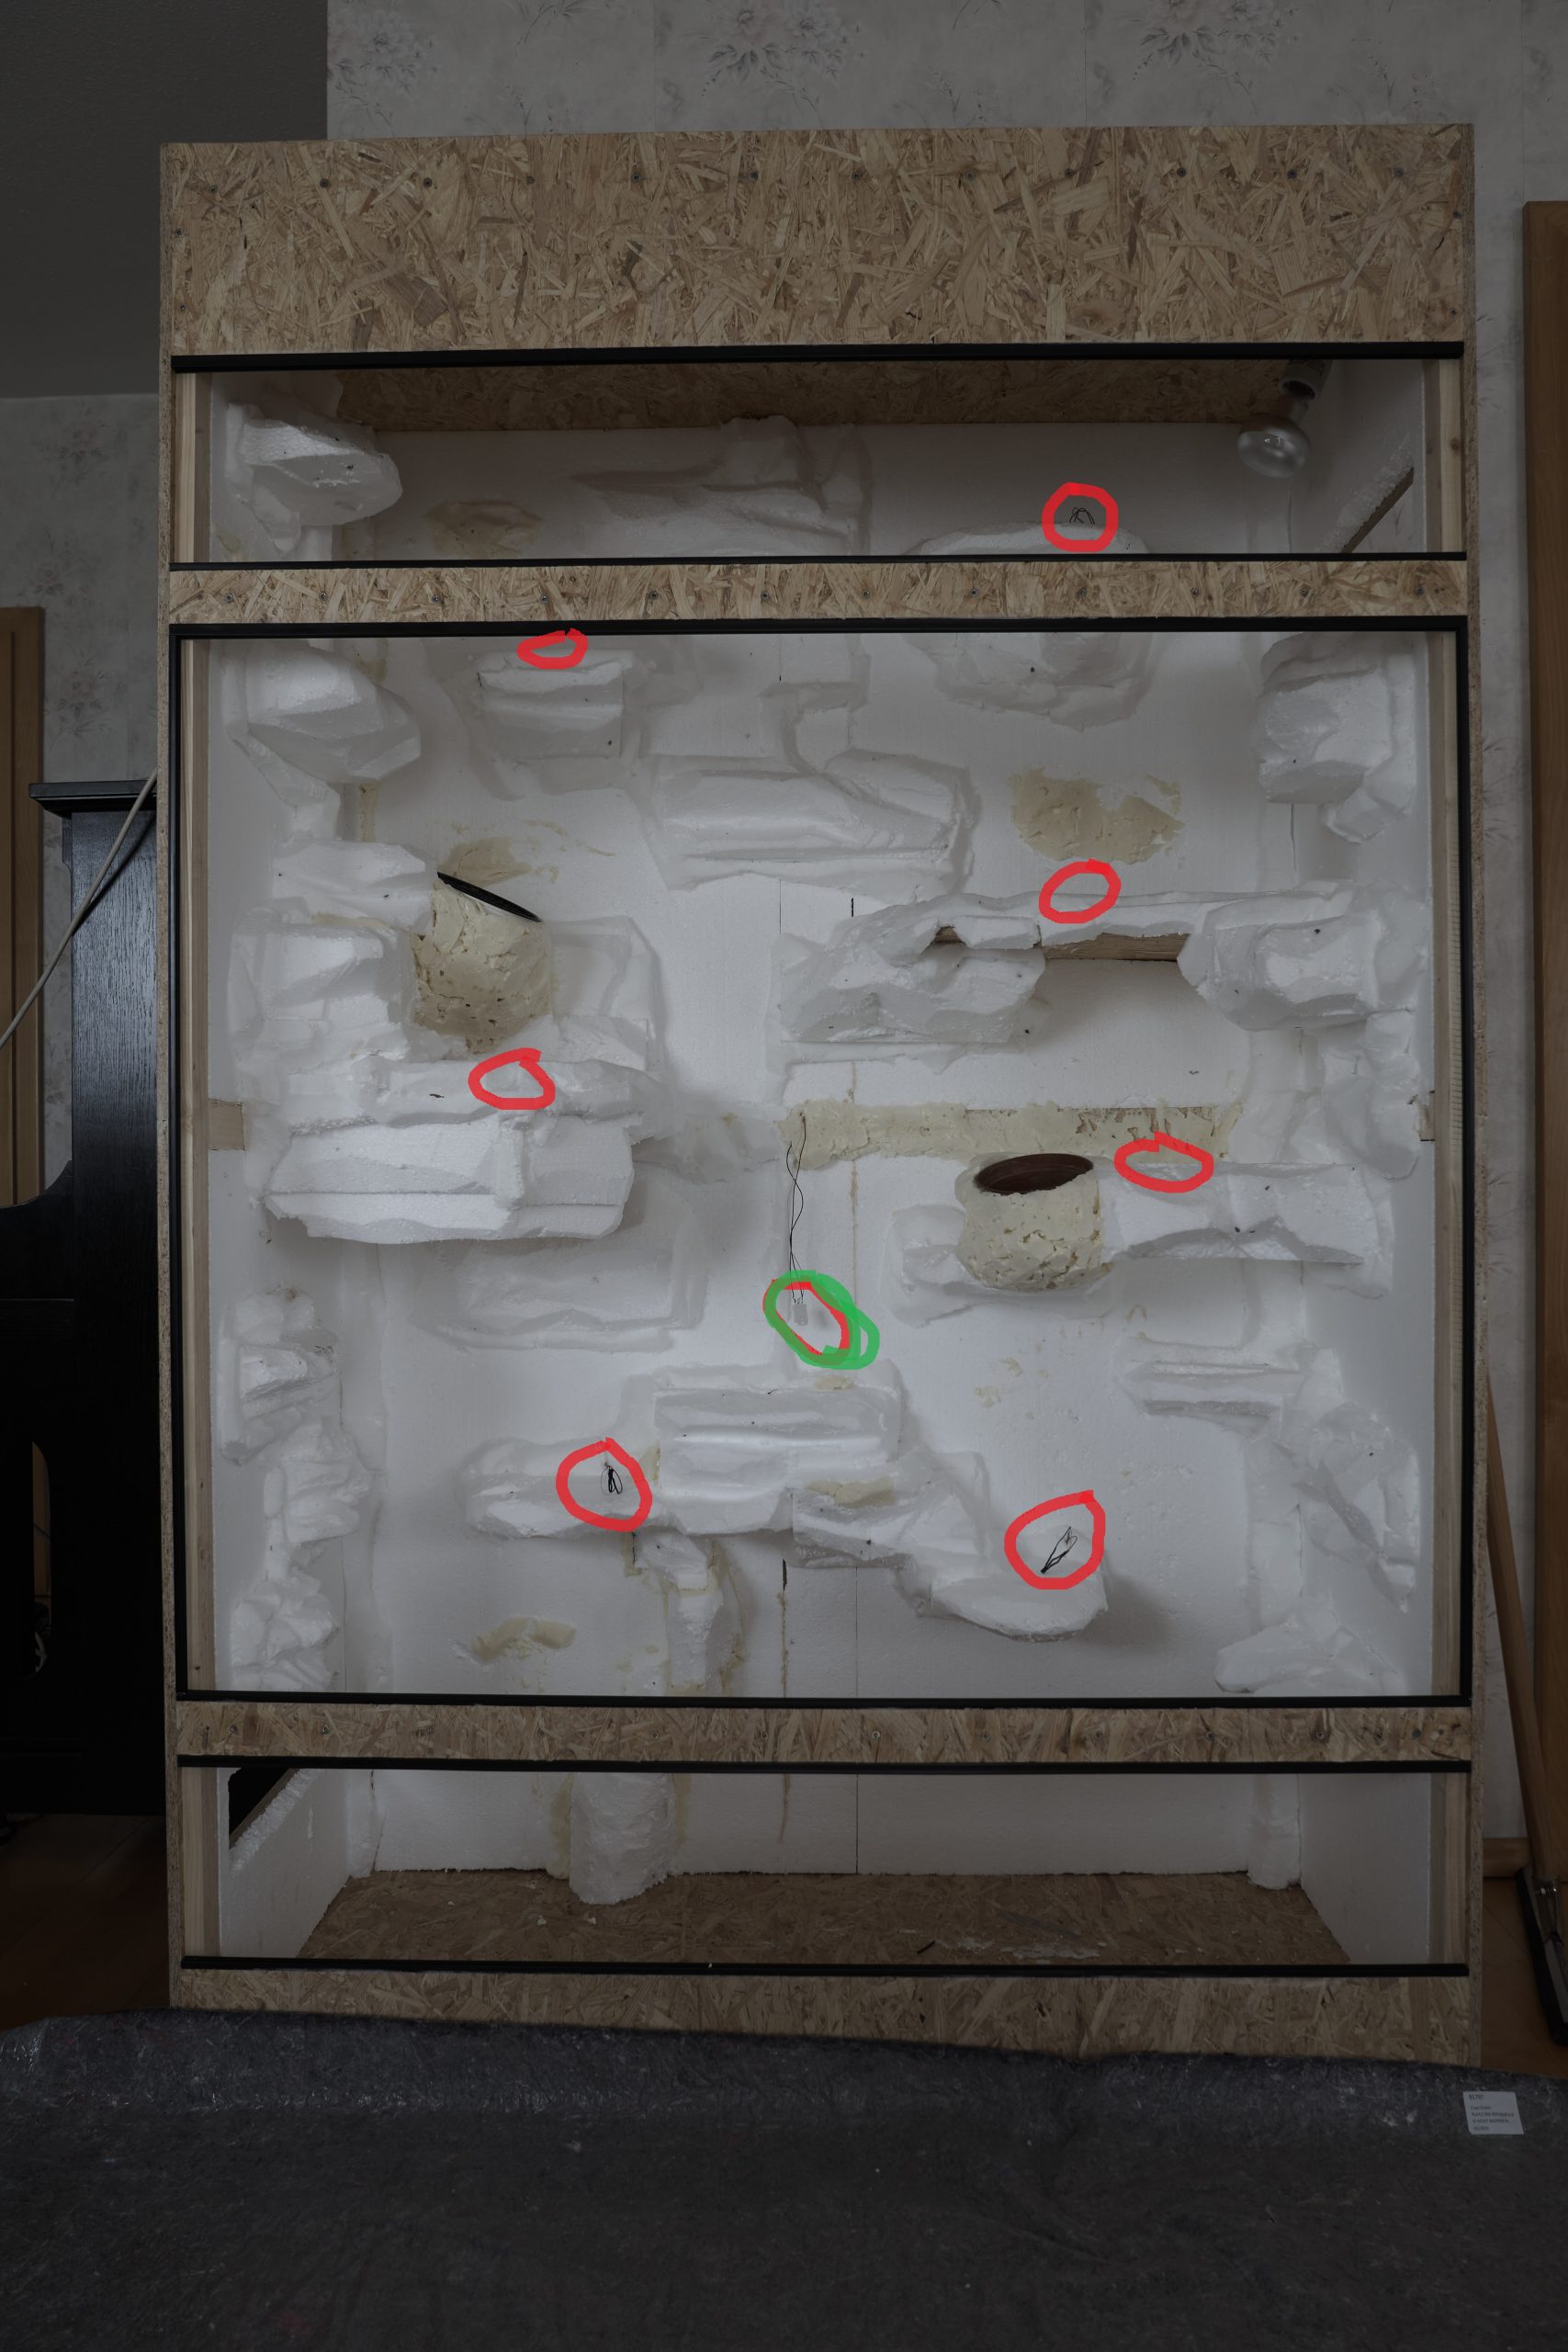
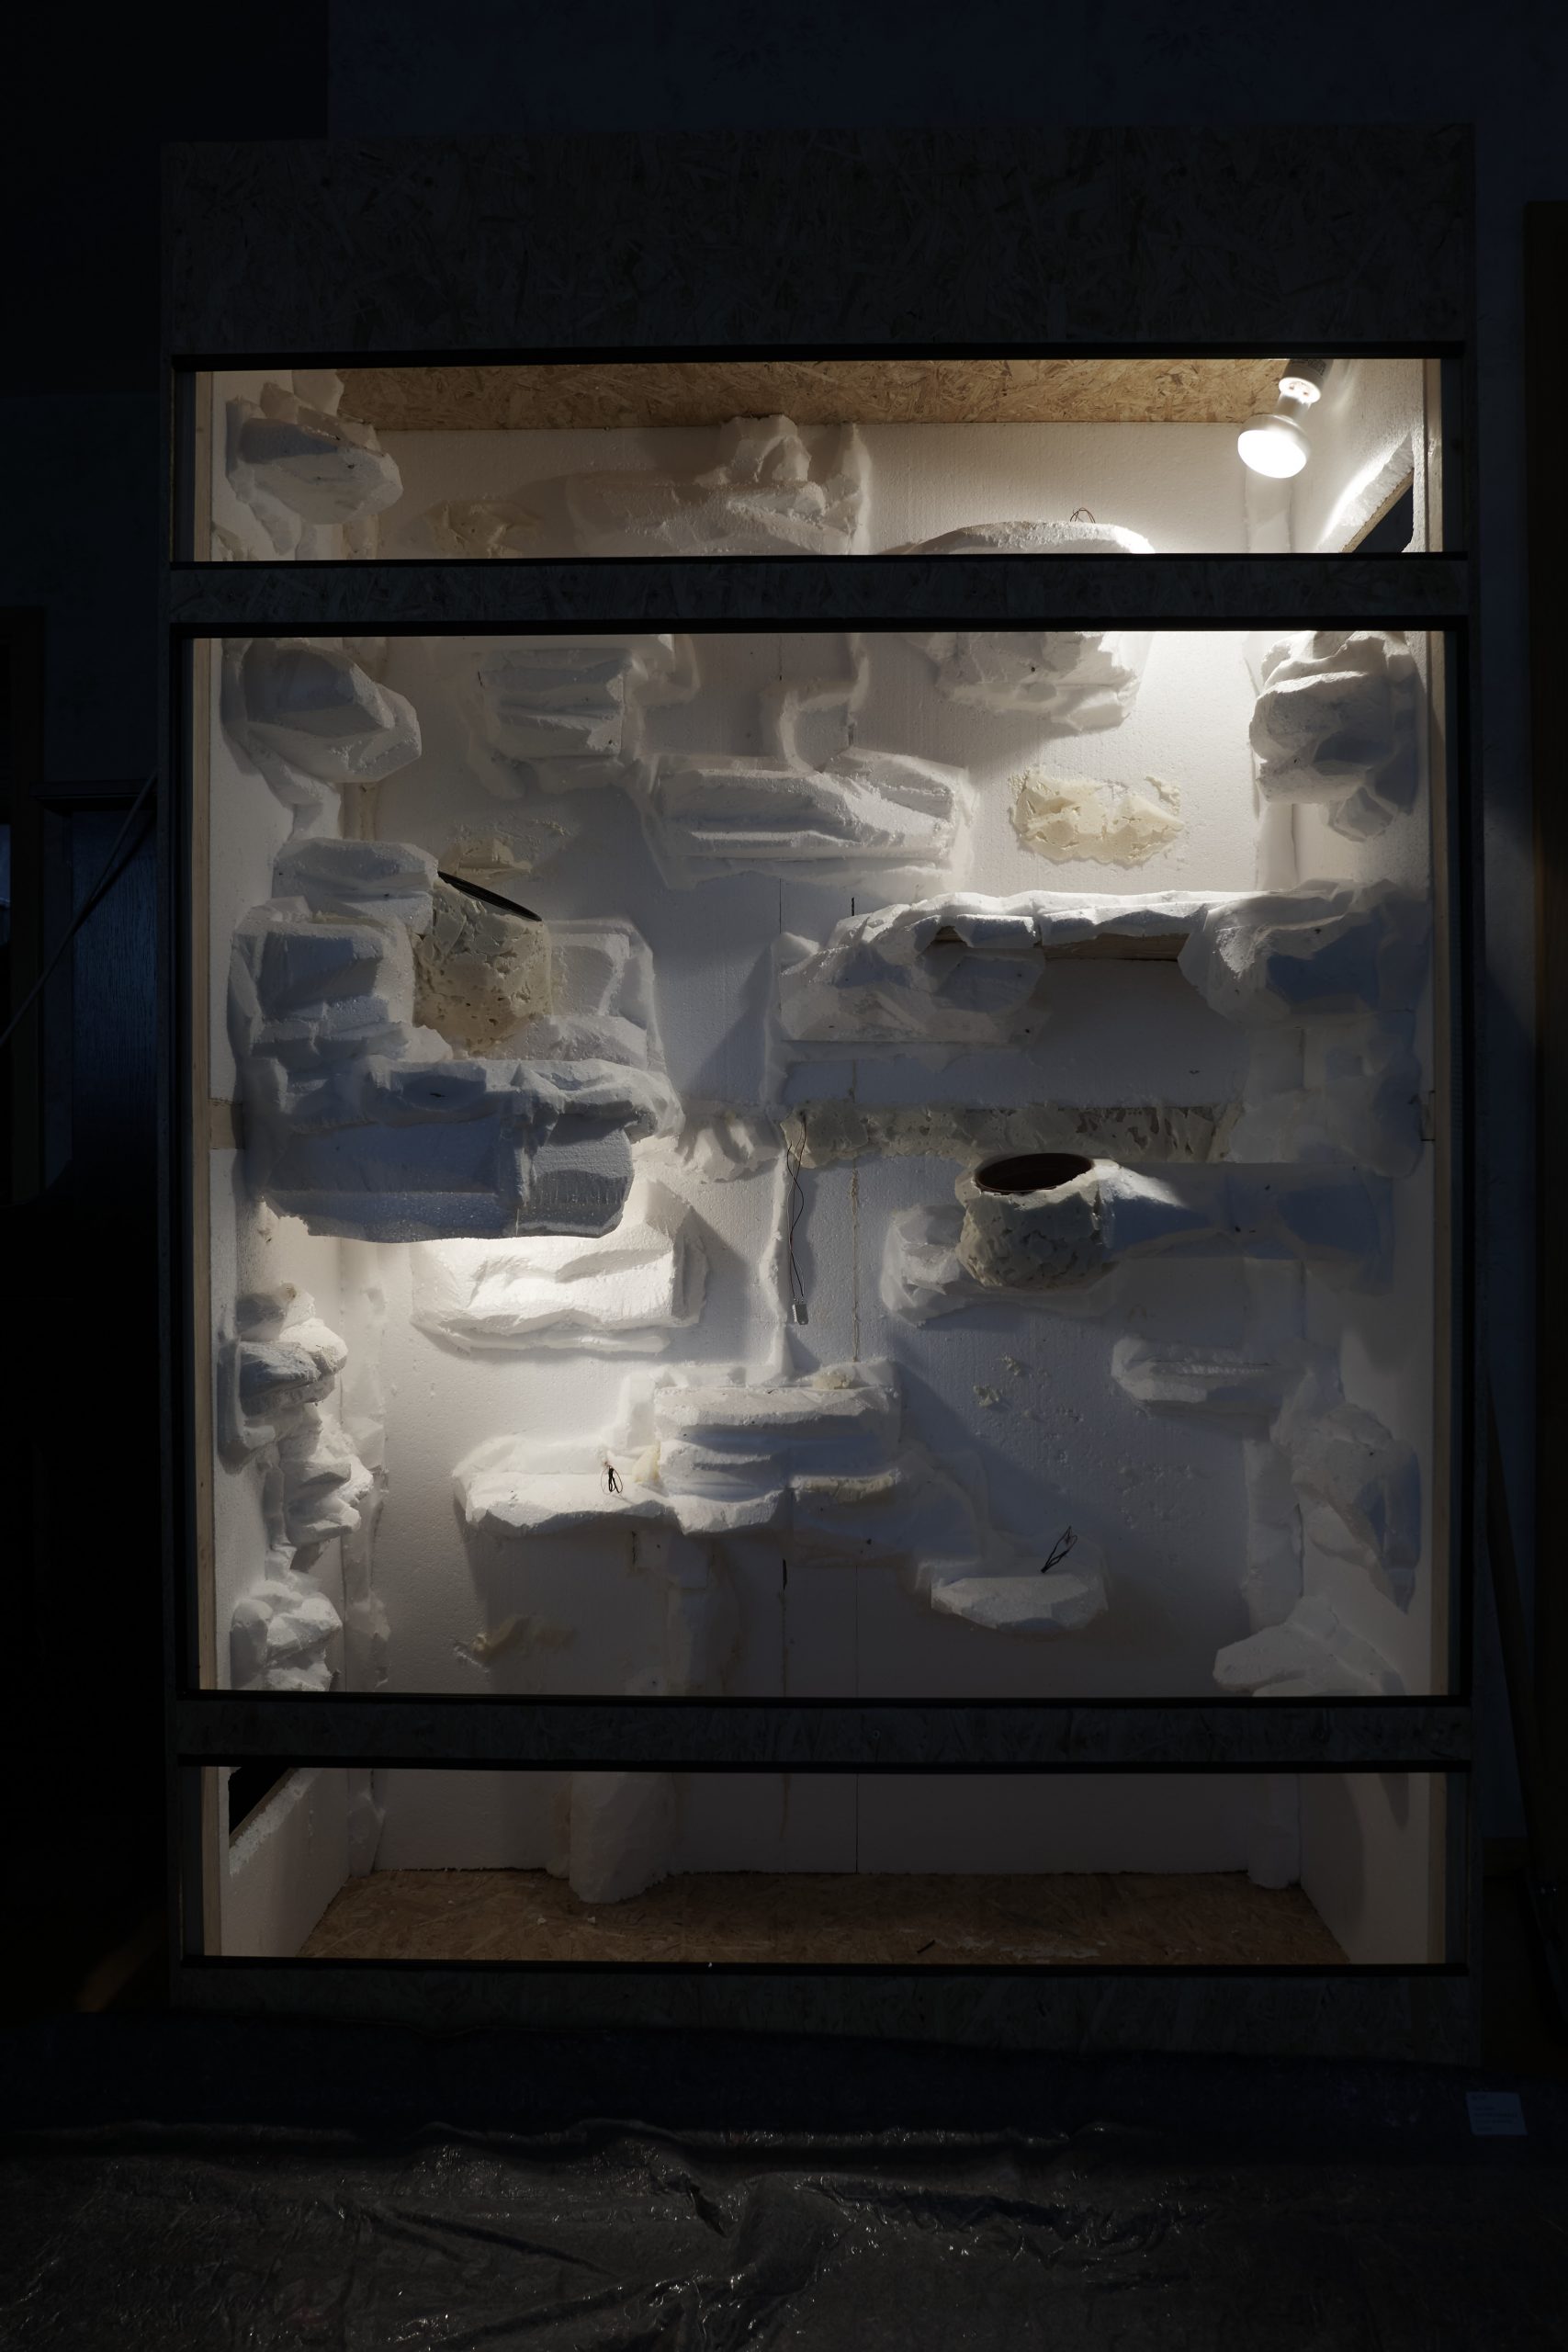
Styrofoam
for thermal insulation and later still the interior construction. In 5 cm thickness for the sides for insulation, thicker for interior decoration.

PU-Foam
is used for the interior construction and moulds and thus better holds the polystyrene pieces on the back wall. Depending on how the size of the terrarium and how detailed the interior should be.

Mounting adhesive
stick the styrofoam to the wall, you need about 2 pieces. For this you need a cartridge gun (see tools).

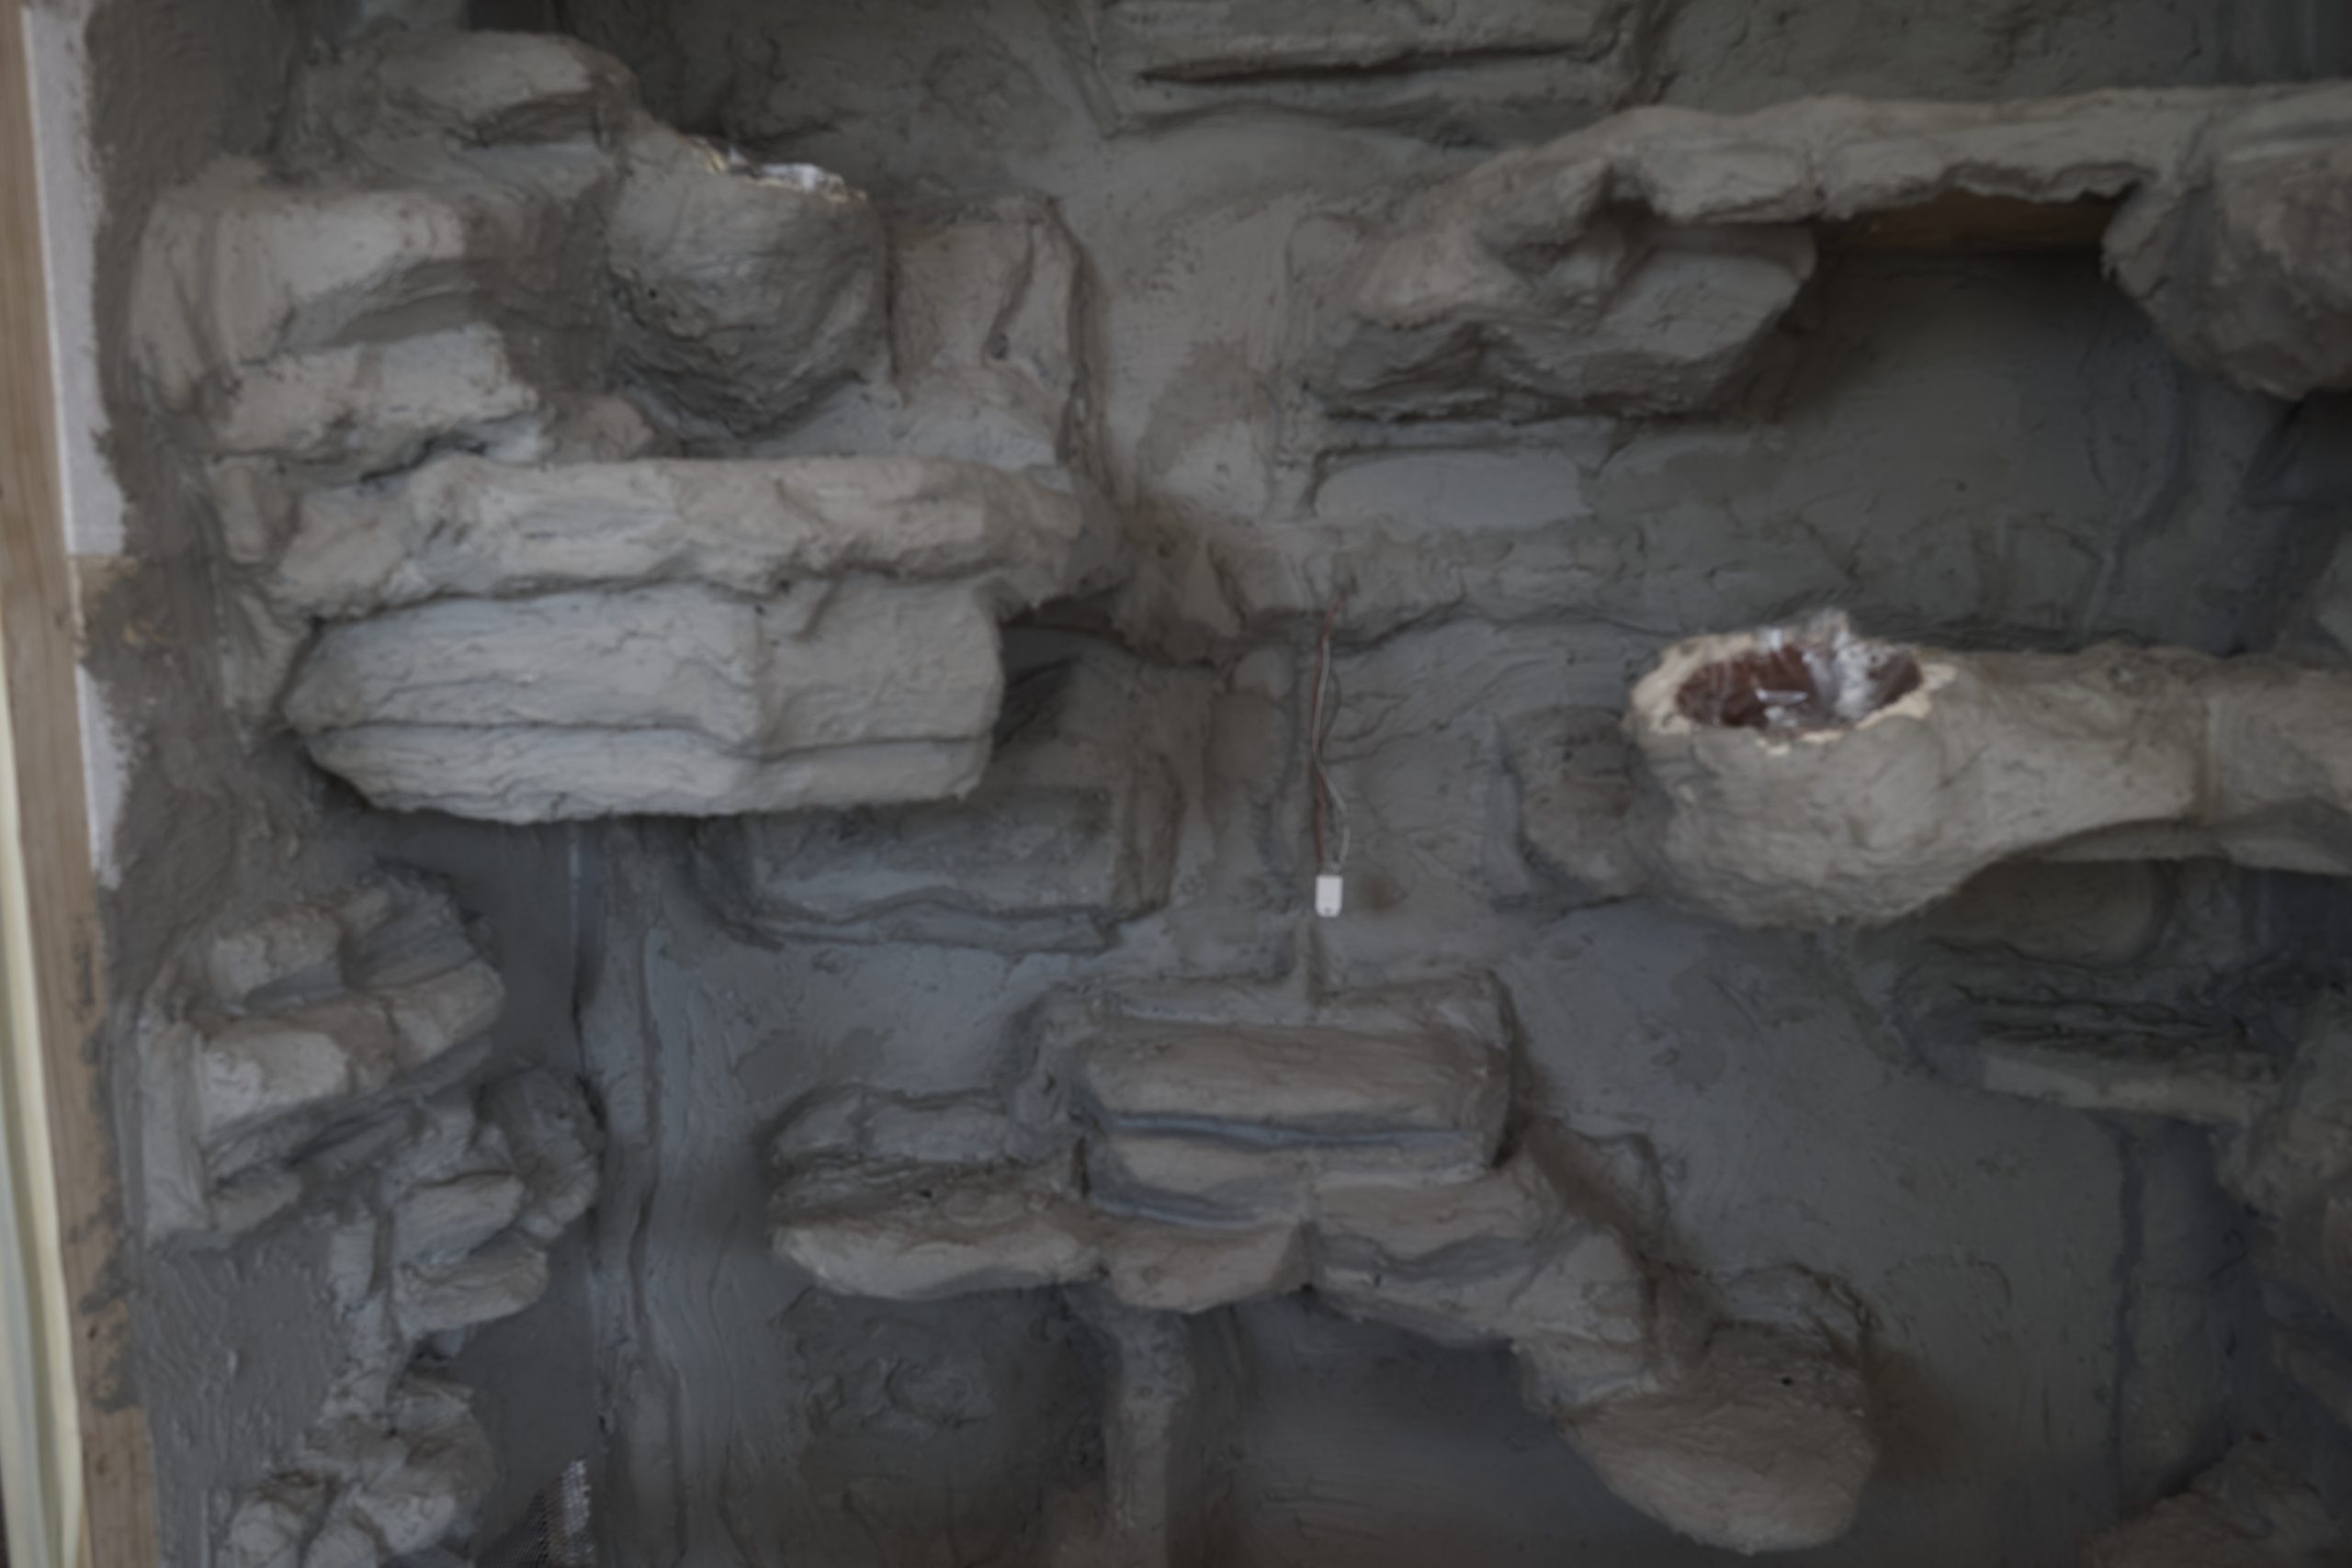
Tile adhesive
forms the structure of the back wall, 5kg should be enough here - otherwise you can do the whole thing on 2 times.

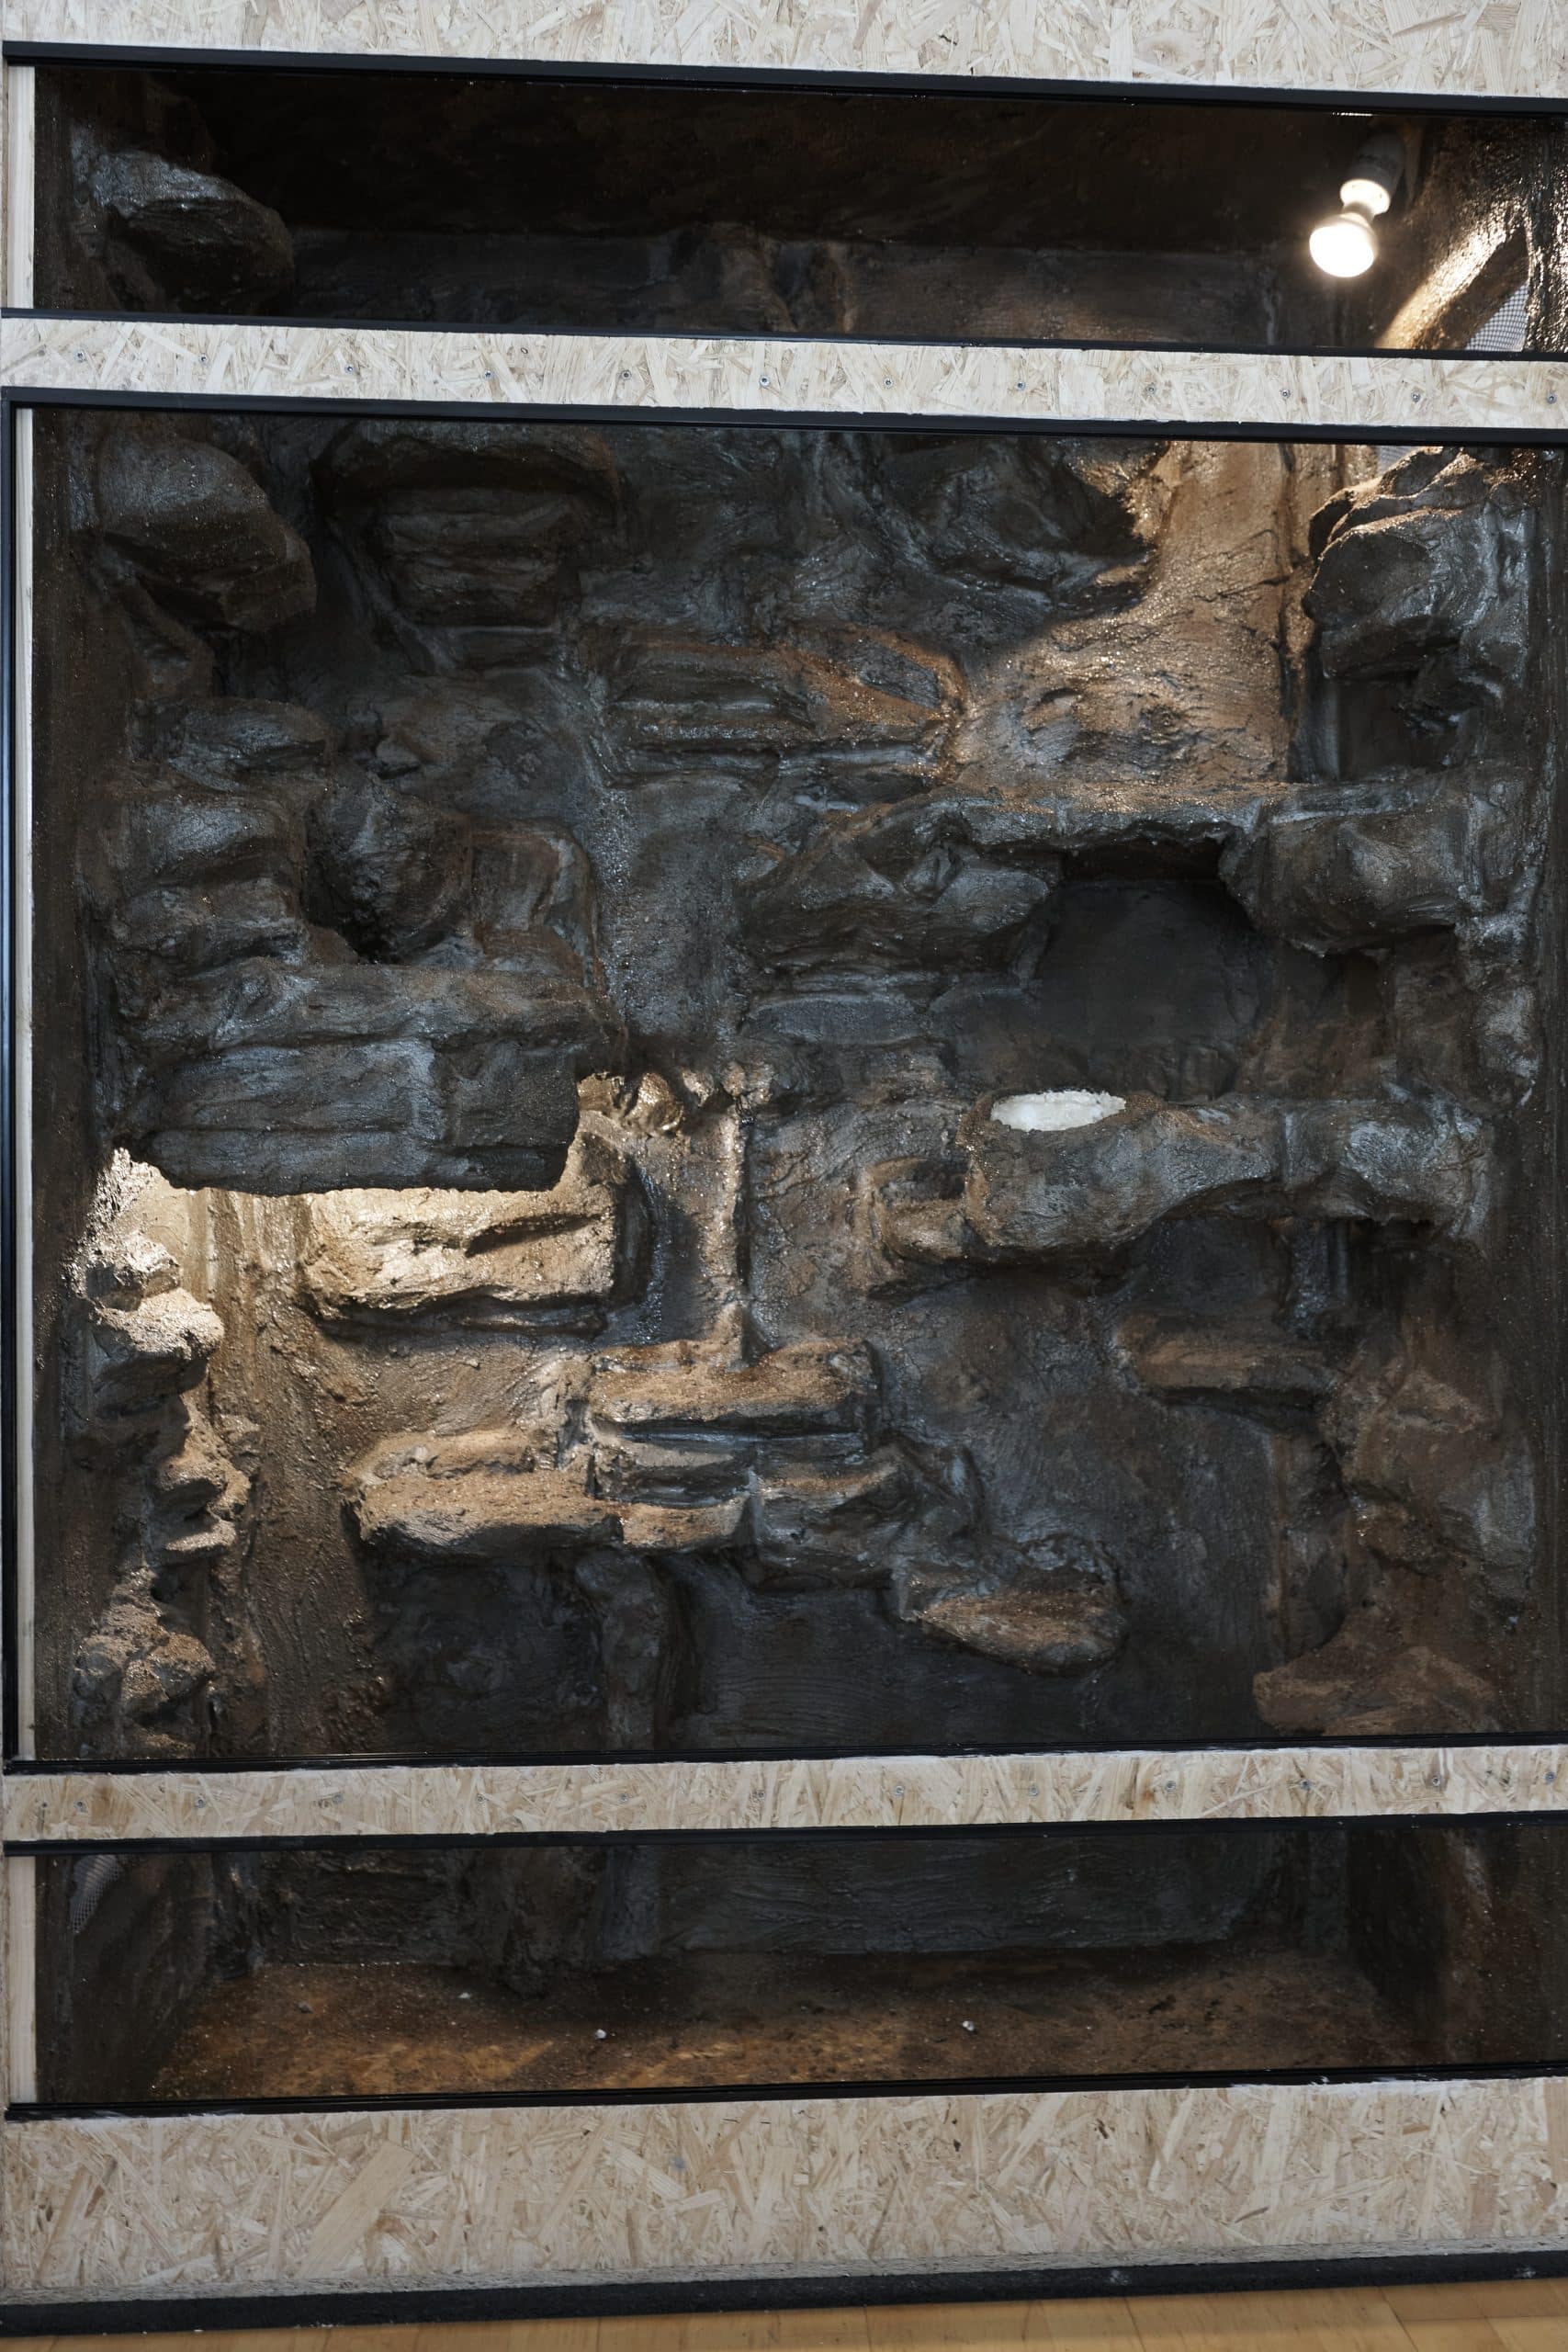
Epoxy resin with hardener
about 5kg was used by me. This makes everything waterproof, both the floor and the tile adhesive. As an alternative for the floor there would also be liquid film.

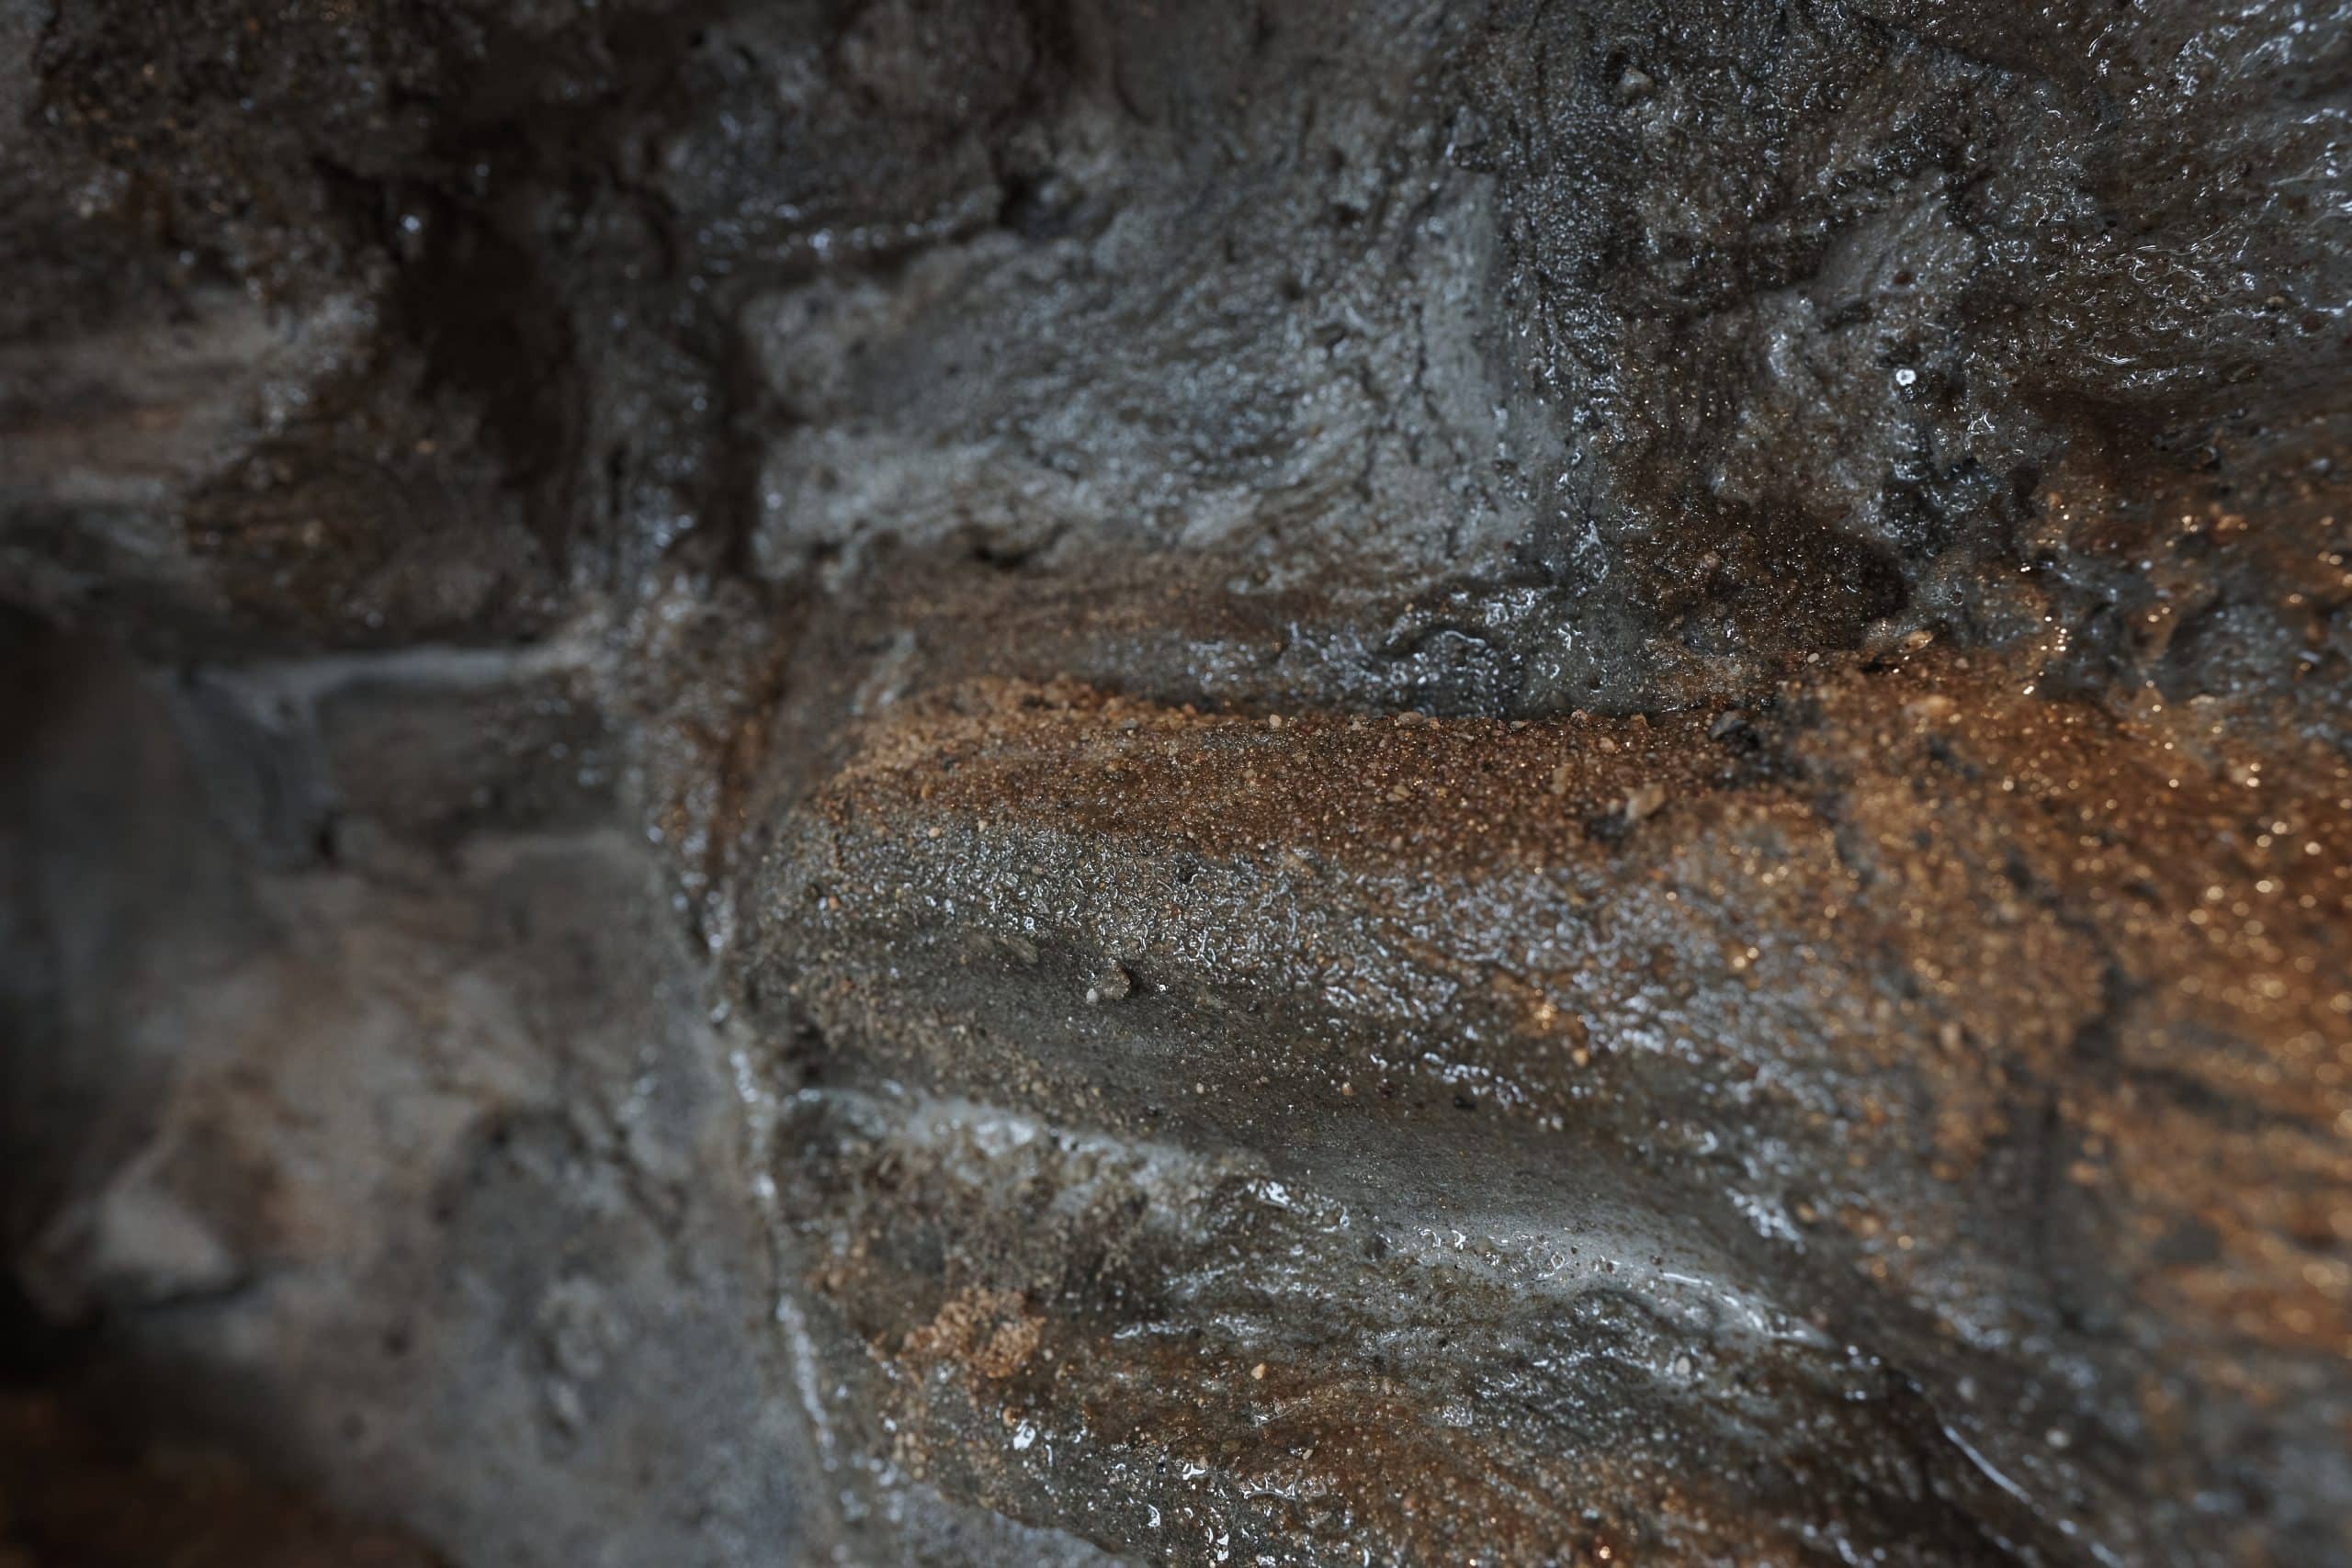
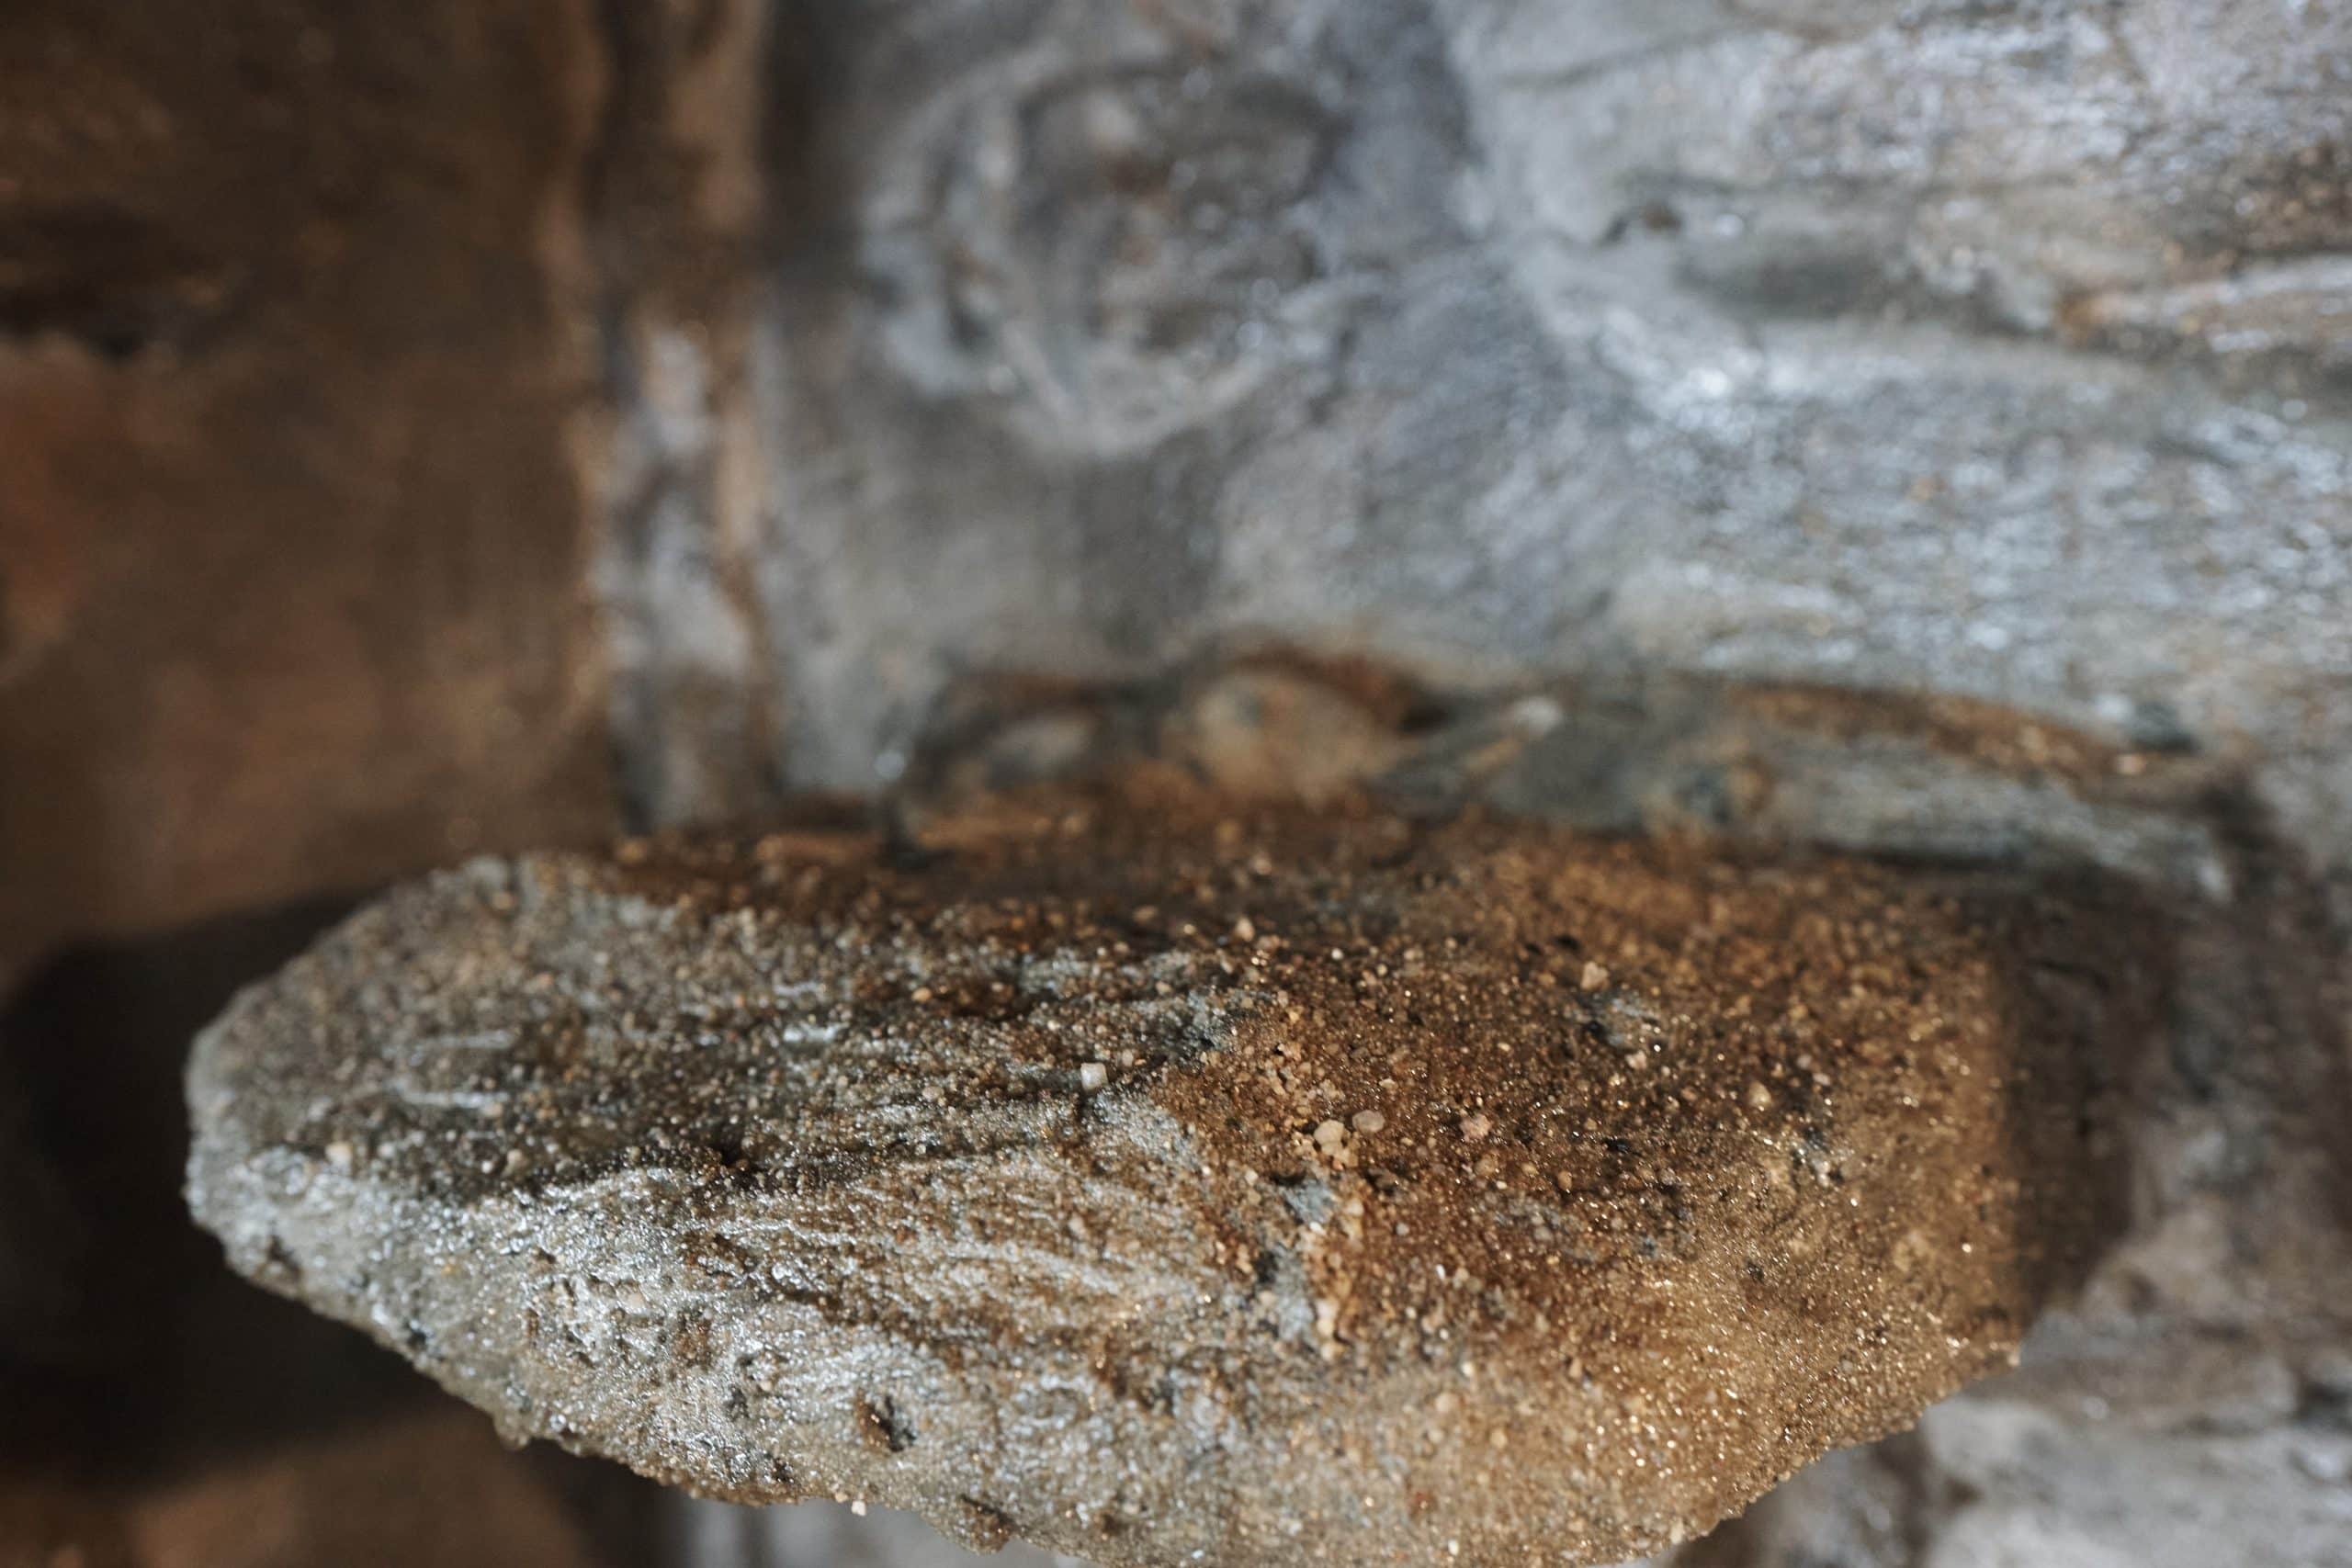
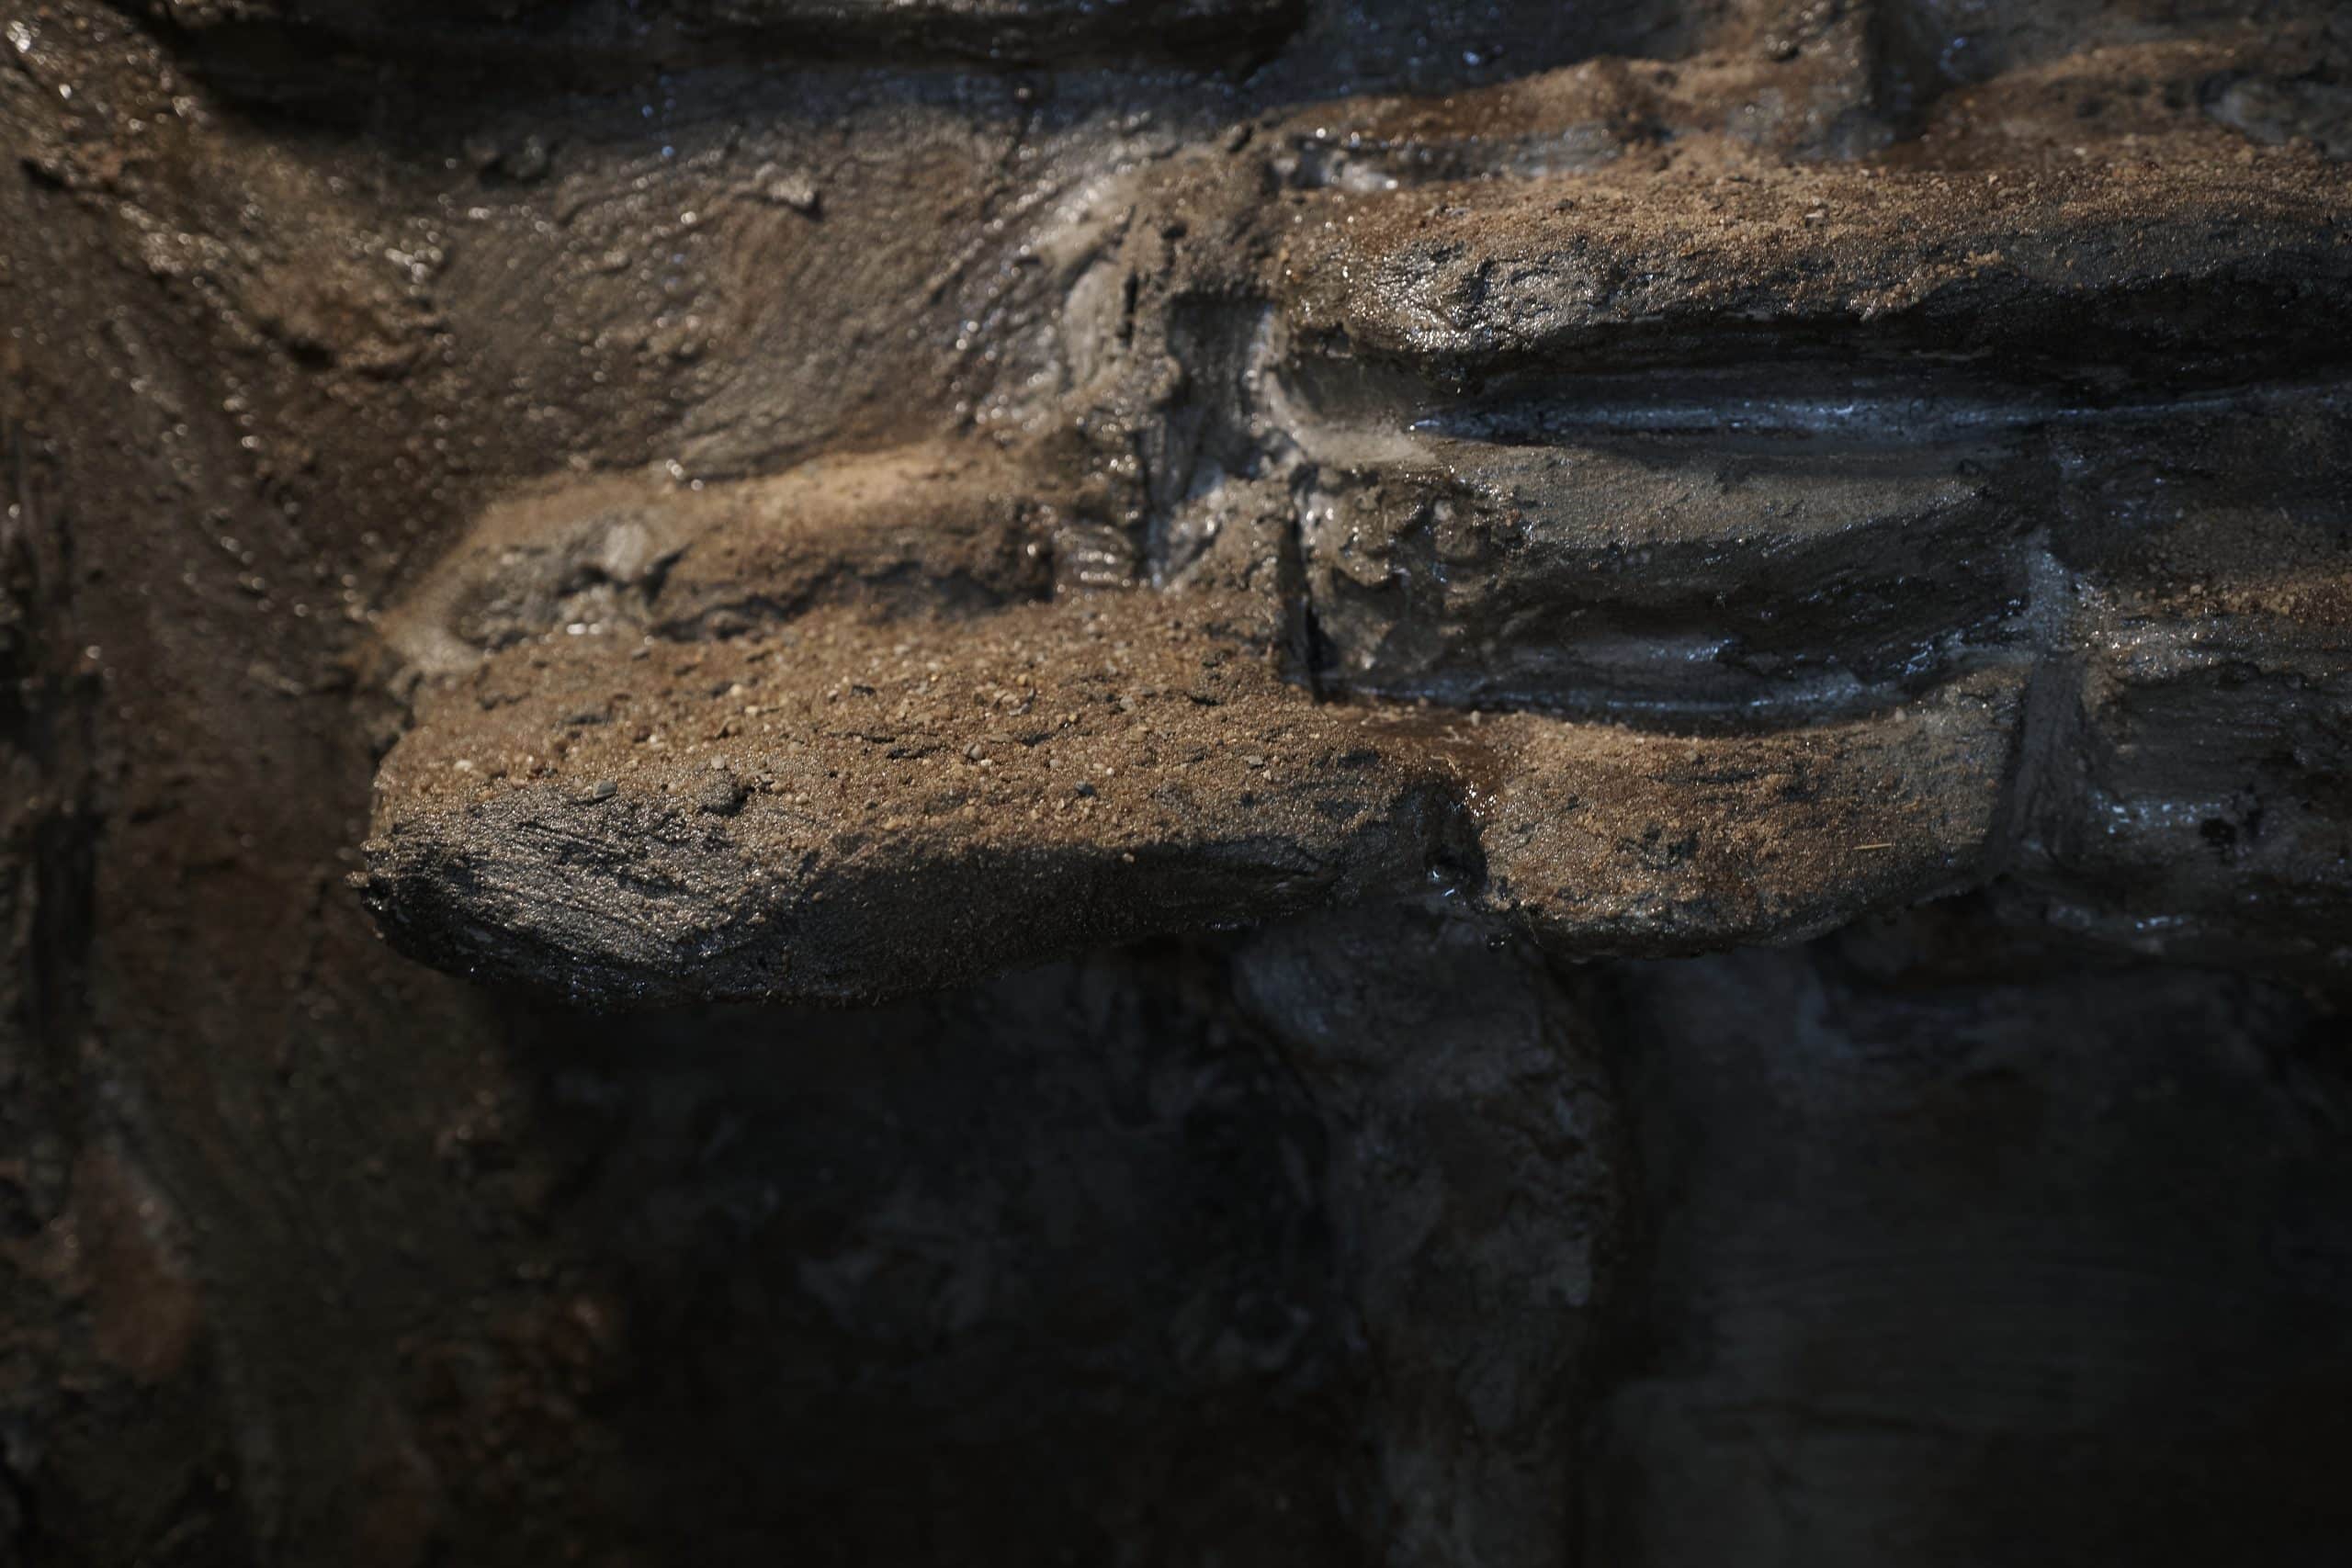
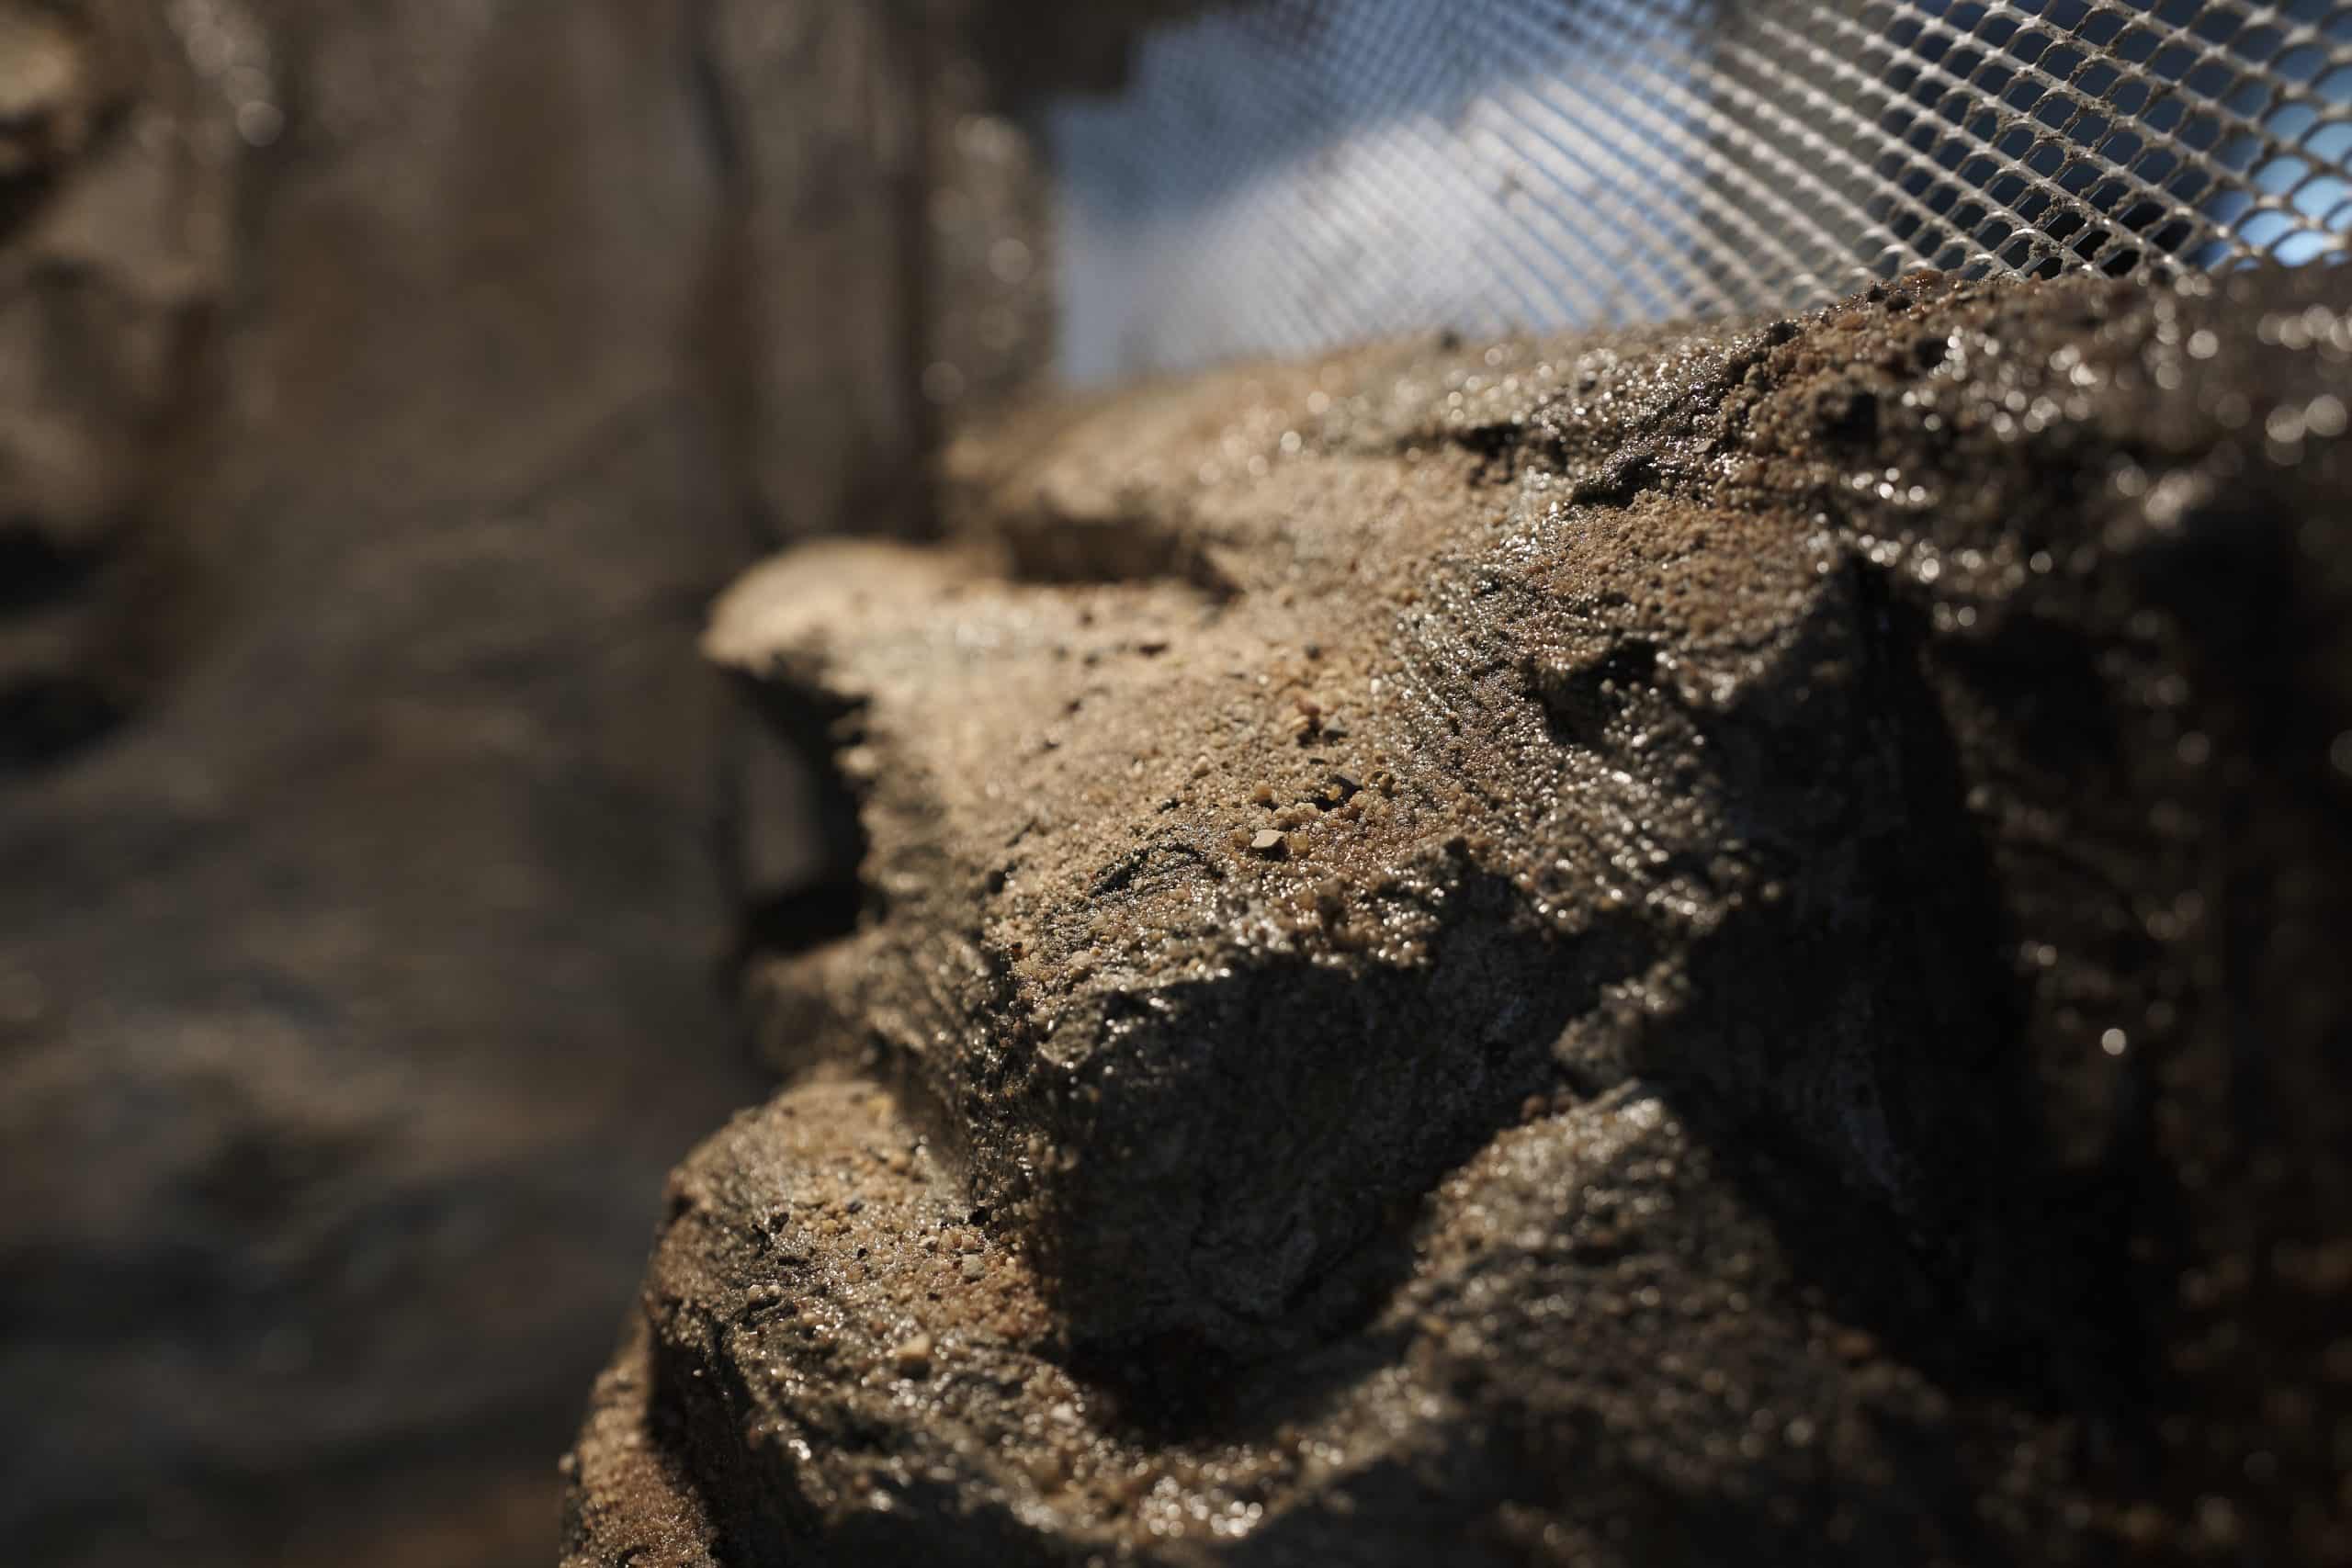
Sand
e.g. play box sand is thrown on the not yet dried epoxy resin, this makes the wall nice and rough, so that the snake can climb well later.

Glass Guide
here the upper rails are a bit lower, because the glass is lifted to the top. You need
- 4* 117,6 cm (top)
- 4* 117,6 cm (bottom)
- 2* 97 cm (sides)

Glas
is preferable instead of plexiglass in any case, because plexiglass discolors and can bend. It should be safety glass, in case it breaks. Esg Glas is a safety glass, which is very shock resistant and copes well with temperature changes (Source).4mm thick ESG glass (with polished edges) is used by me, too thick glasses could be too heavy for the glass guide.
- 2* 97,5 x 61 cm
- 2* 1175 x 19 cm


Rubber mat (floor protection)
is also called building protection mat, the linked fits very well in size with 125x80cm.

Suction lifter
suction lifter glass insert & move

Soldering station
for soldering on the sensors.

Solder
for soldering of course...

Hair dryer
for shrinking the heat shrinkable tubing

Screws
the one from lamp protection basket possibly a little small

Heat shrinkable tubing
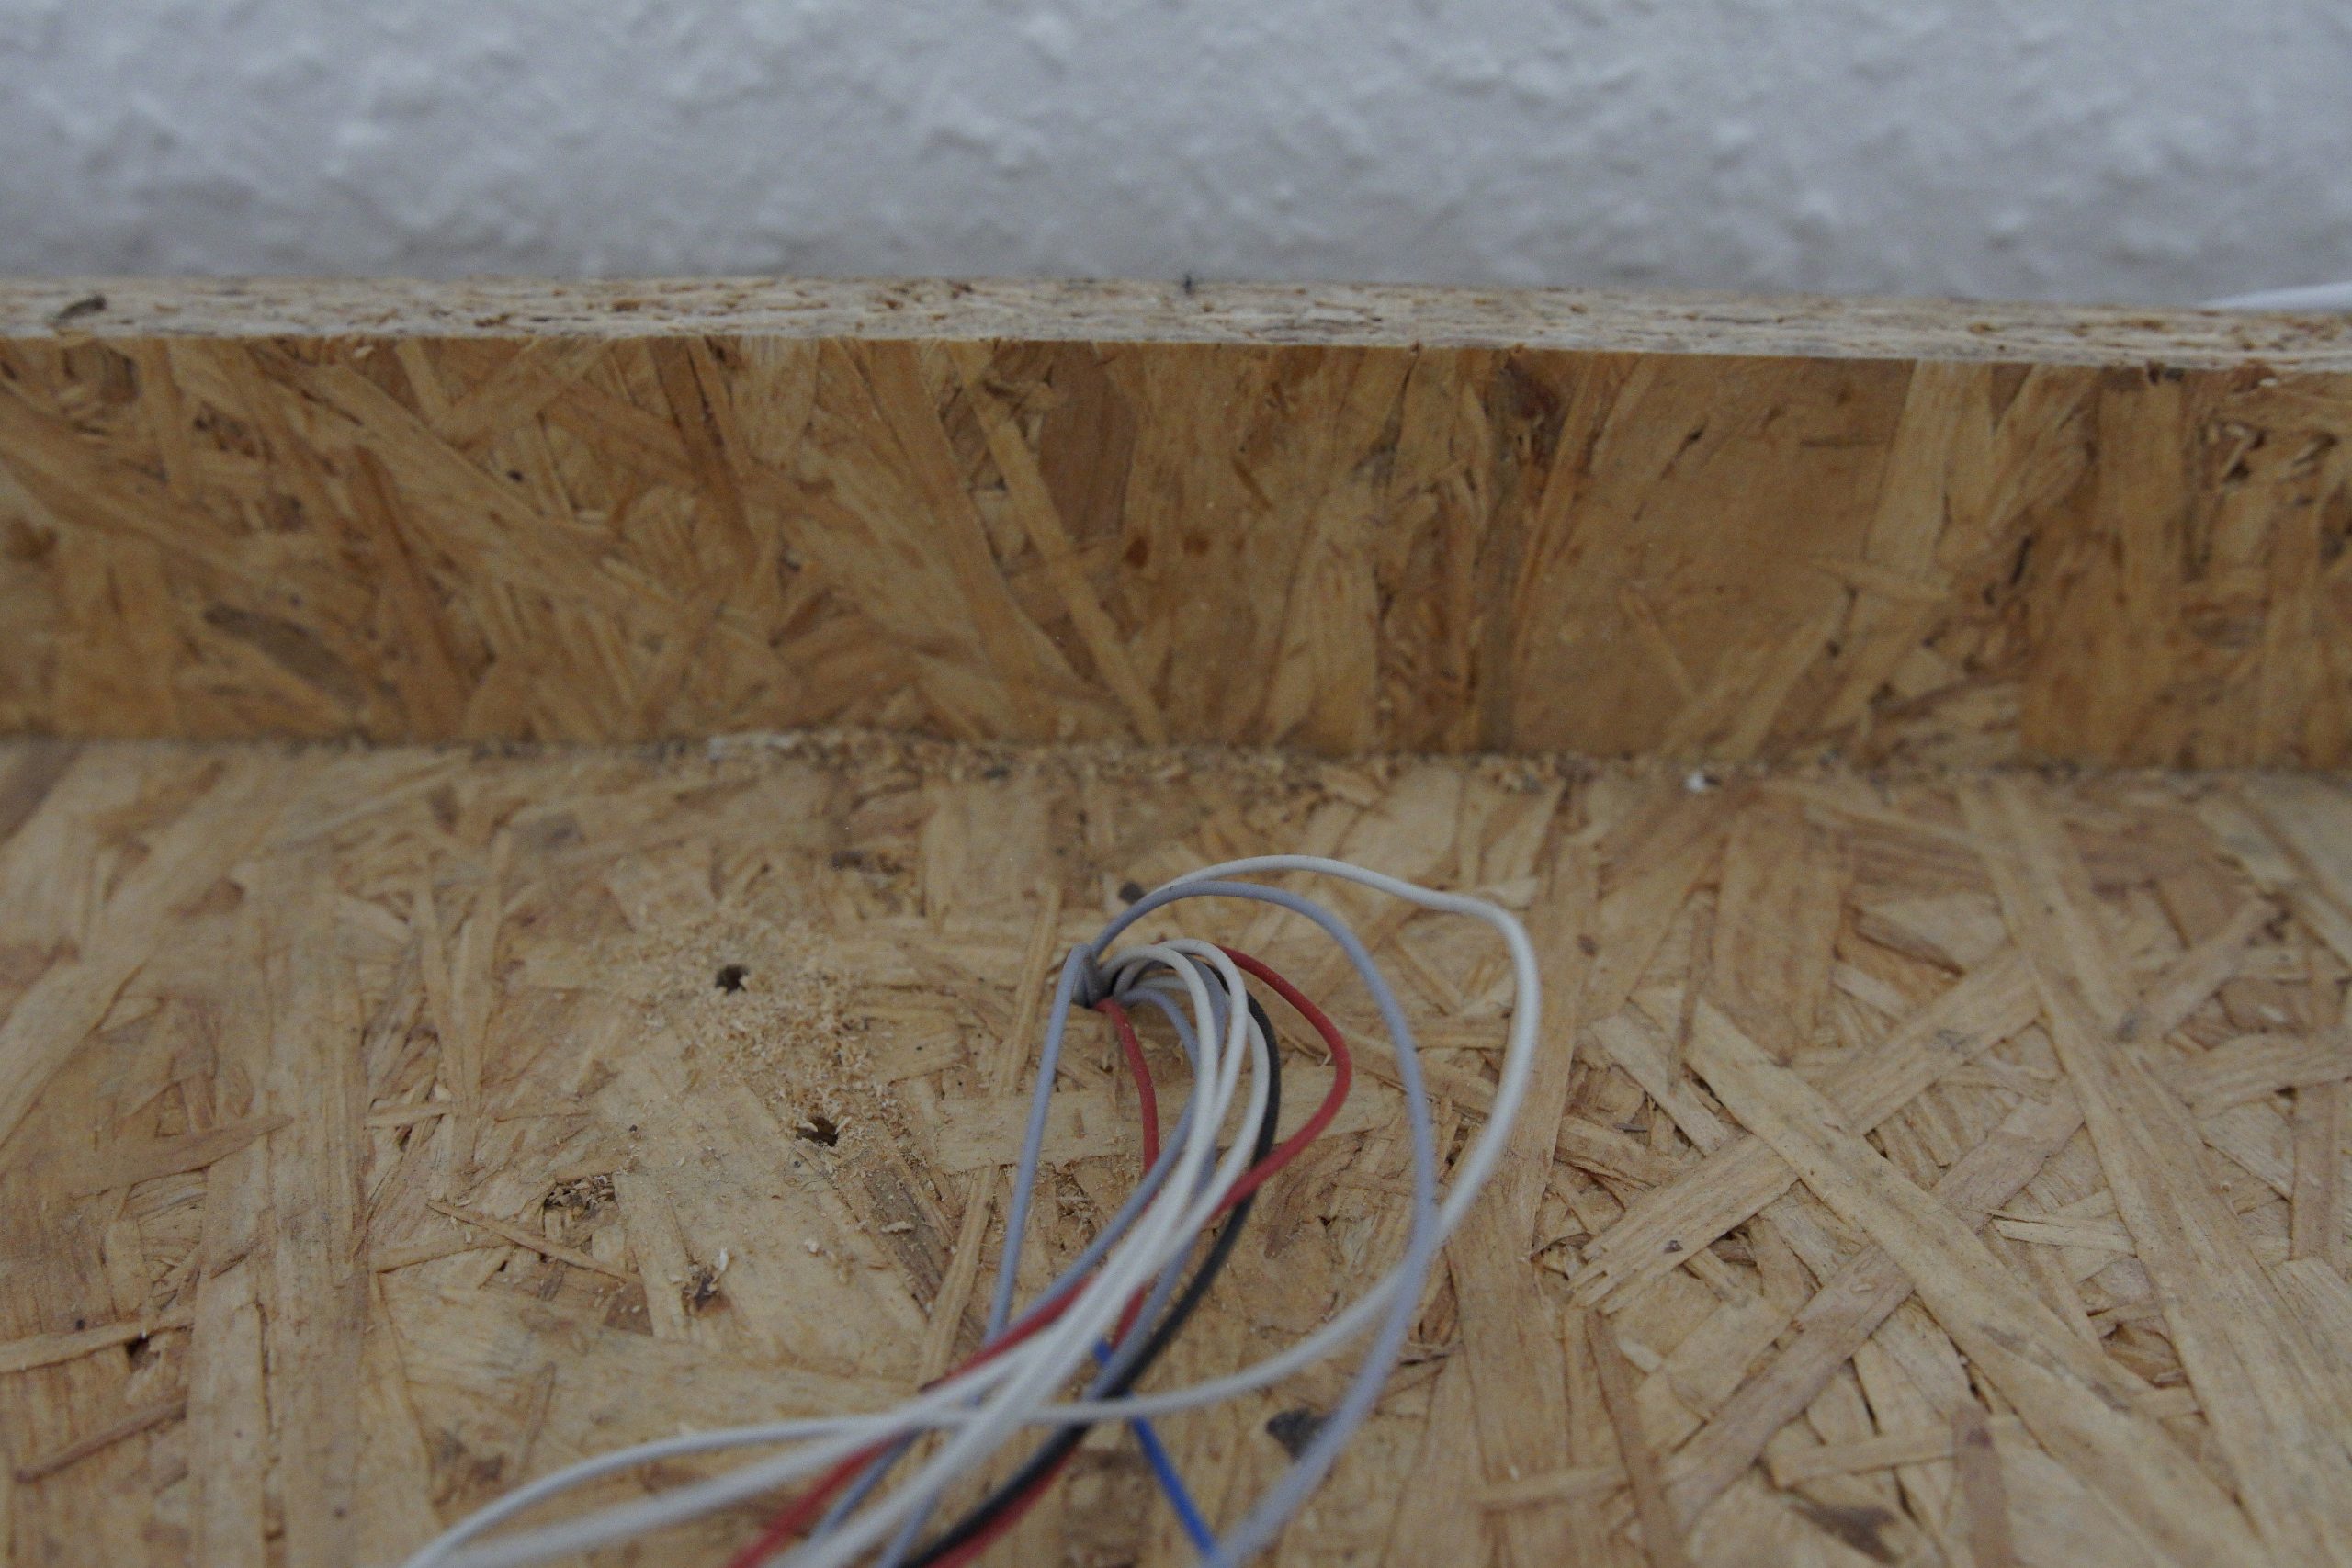
I use them to protect the connection point directly at the sensor (even after 2 years I have not had a water problem because of this)

Copper strands
required quantity depends on whether you buy the temperature sensors with or without cable.

Insulating tape
for so that one can protect the connection points, the sensor cables.

Wrench
to screw on the ceramic socket.

Cordless screwdriver
to screw on the lamp protection baskets.

Drill
a 10 mm drill bit for the ceramic sockets.

Screwdriver
is needed to install the kermaic socket, more can be found there in the manual

Full spectrum daylight lamps
2 pieces in 13W and 25W, so that the plants get enough light.

Trixie Neodymium
50w heat spot for heat development.

Trixie ceramic socket
since the lamps can get quite warm, 3 pieces.

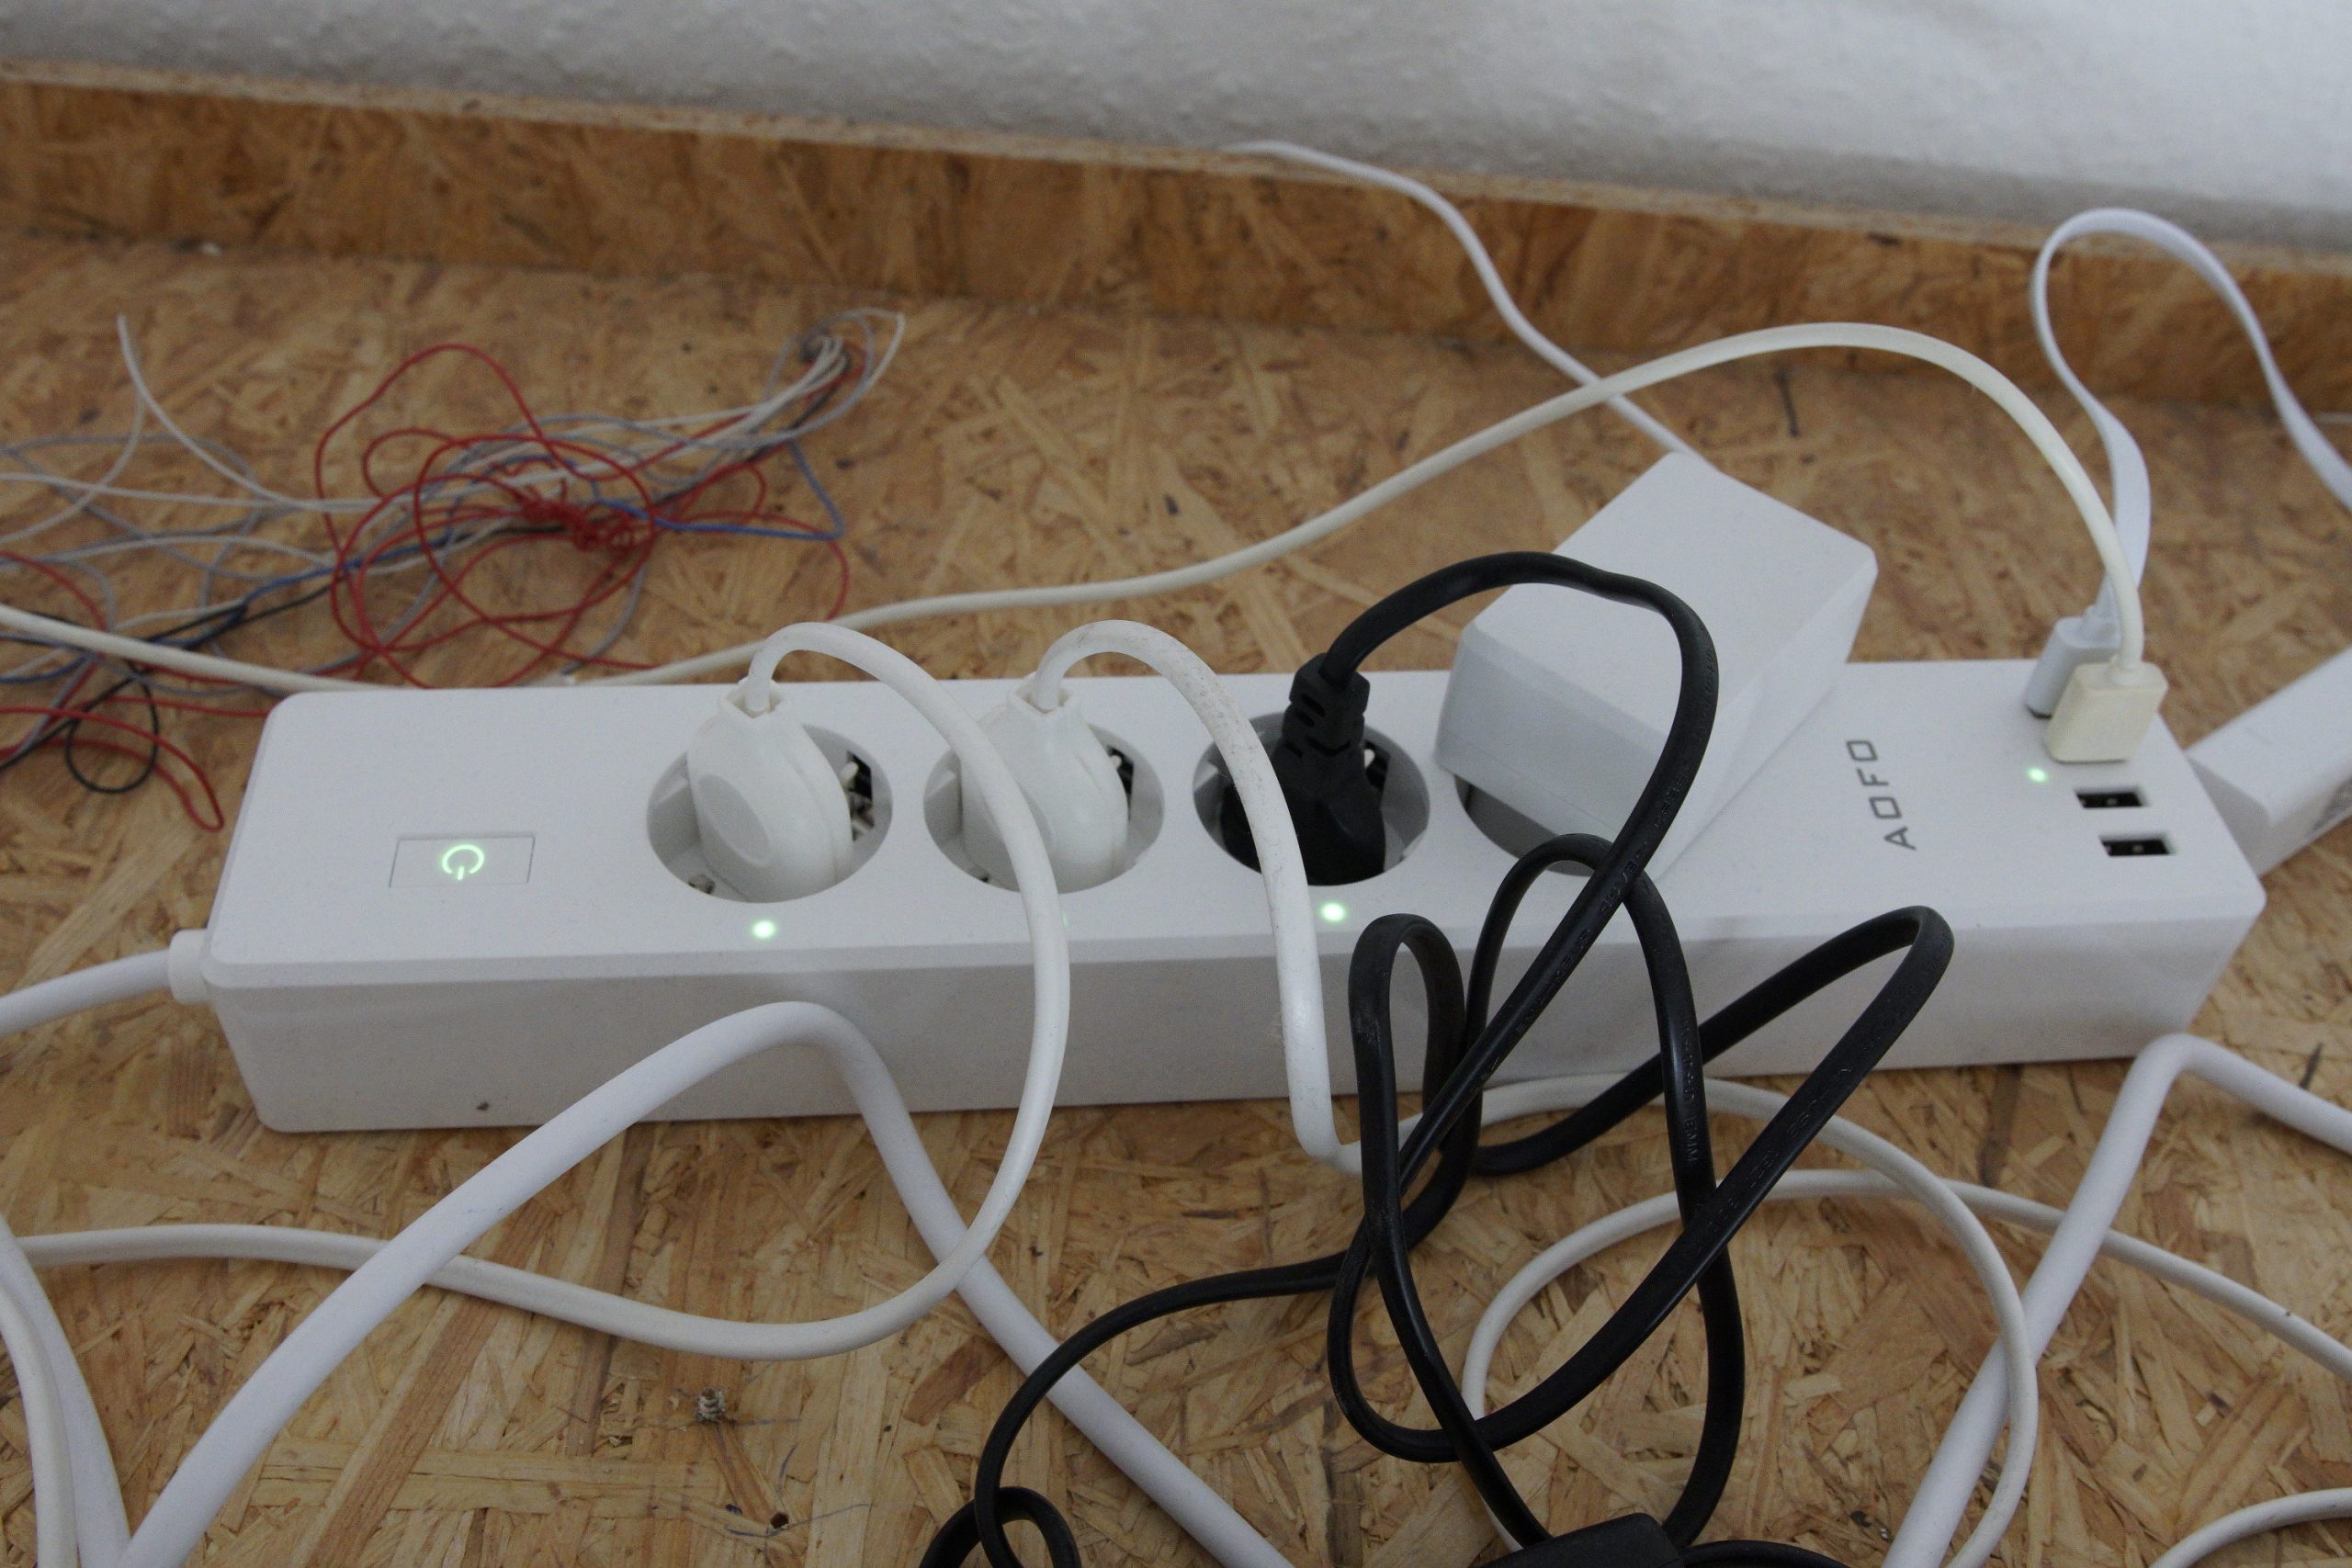
AOFO socket strip
with this the single lamps can be time controlled, the usb connectors are used for the sensors.

Lamp protection basket
of this one for each lamp, otherwise the snake can burn itself. The size depends on whether the lamps are installed at an angle or straight. For the daylight lamps I used the larger, round ones and for the spot the smaller, square one.

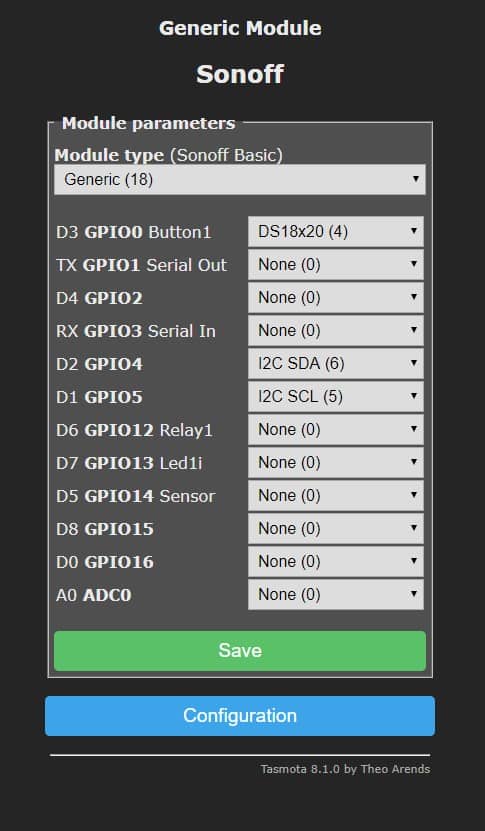
DS18B20 Temperature sensor
these are available with or without cable.
I used 8 pieces, even if that is exaggerated.

Resistance 4.7 - 10kOhm
only one resistor is needed for this circuit, 4.7 - 10kOhm are possible for the DS18B29. I use 10kOhm

Jumper Wire
to connect the sensors to the board.

Adafruit htu21d-f
is used to measure the humidity, as an alternative there is still the DHT22 sensor, but this supplied me after 2 weeks no longer correct values.

NodeMCU ESP8266
this board can be used without programming knowledge and has Wlan directly on the board. Alternative would be a Wemos D1 (mini).

Breadboard
on it the sensors are linked with the board, is worthwhile itself very well for testing, since one can change simply. Later you could also solder the sensors to the board.


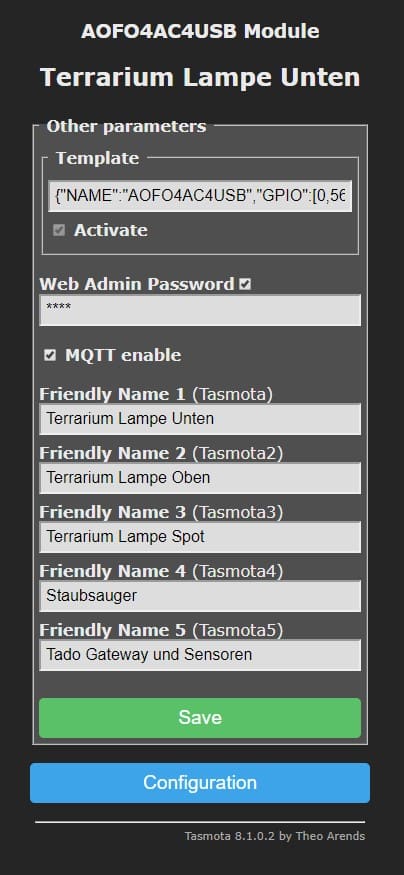
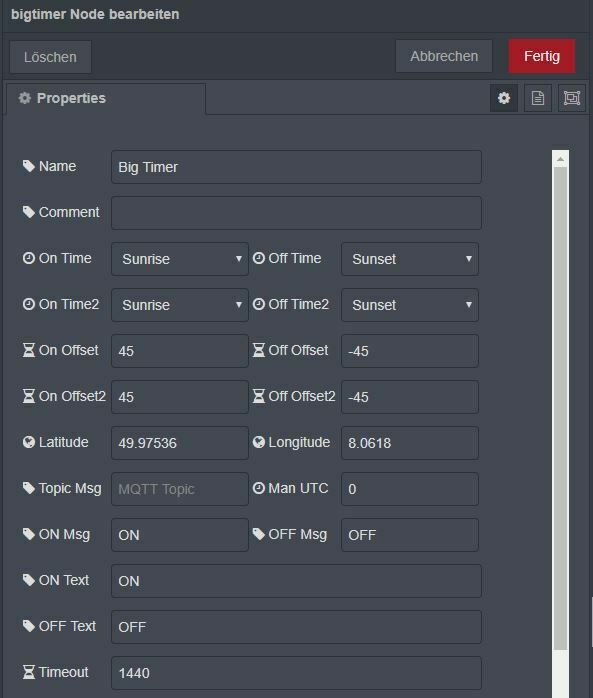
Diese Einstellung findet man in der Weboberfläche der Steckdose unter Configuration - Timer.Um Sunrise und Sunset richtig zu nutzen, muss man die eigene Position Einstellen, mehr Information in der Dokumentation unter Timer.
- Enabled Timers: schaltet alle Timer an/aus
- 1-10: verschiedene Timer
- Ouput: Nummer der Steckdose (Achtung: nicht die Sensoren ausschalten)
- Action: On/Off/Toggle - Veränderung des Lichts
- Arm: dieser Timer wird ausgeführt
- Repeat: Wiederholung an den Ausgewählten tagen
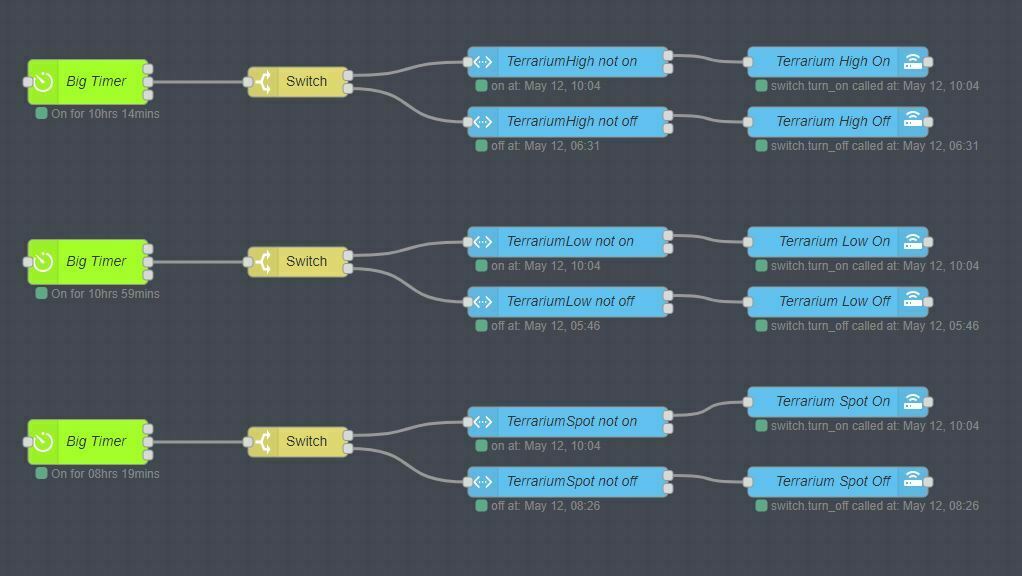
- Time/Sunrise/Sunset: hier kann man zusätzlich noch einen Delay einbauen, meine EInstellungen seht ihr im Abschnitt zu Node-Red
- Sun-Sat: Wochentage zum wiederholen
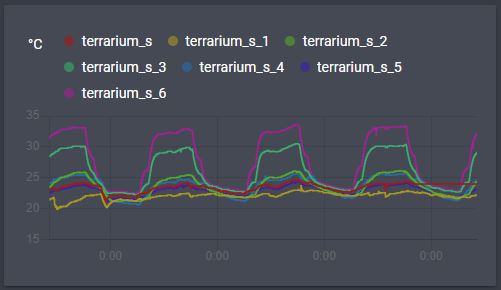
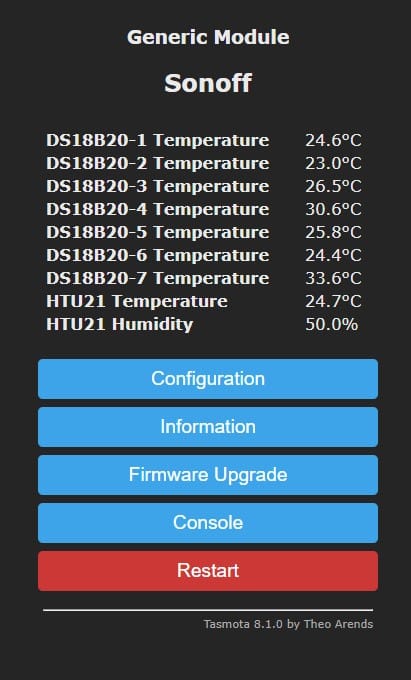
Die Daten der Sensoren können entweder über deren Weboberfläche angesehen werden, oder über eine Zusatzssoftware dargestellt werden. Wie man an den Werten schön sehen kann gibt es ein gutes Temperaturgefälle im Terrarium, wodurch die Schlange sich Ihre gewünschte Temperatur aussuchen kann.
- Bodentemperaturen zwischen 20-22 °C
- Mehrere Stellen mit 25-26 °C
- Einen Platz mit 25-26 °C oder 29-30 °C
- Unter dem Wärmespot 32-33.5 °C
Also deine Seite ist ja mal Klasse! Gefällt mir richtig gut, wie du alles genau beschrieben hast zum Terrabau, werde ich auf jeden Fall weiterempfehlen!
Habe eine Frage zur Steckdose/Software.
Mit deiner beschriebenen Software und Steckdose ist es möglich jede einzelne Steckdose nach Zeit zu schalten und so hoch und runter zu dimmen, wie man es selbst einstellt?
Gruß, Luca
Zeitschalten ist möglich, dimmen leider nicht. Ich kenne soweit auch keine Mehrfachsteckdose bei der dimmen Möglich ist.
Ich versuche die Helligkeit einfach so zu steuern, in dem Ich die Hellste Lampe Abends zuerst ausschalte und dann Schrittweise die anderen, dadurch wird es “langsam” dunkel.