
Soldering iron
A thin soldering tip is advantageous

1.3 and 2 mm hexagonal
It depends somewhat on which screw heads the selected screws have.

3D printer with 0.2mm nozzle
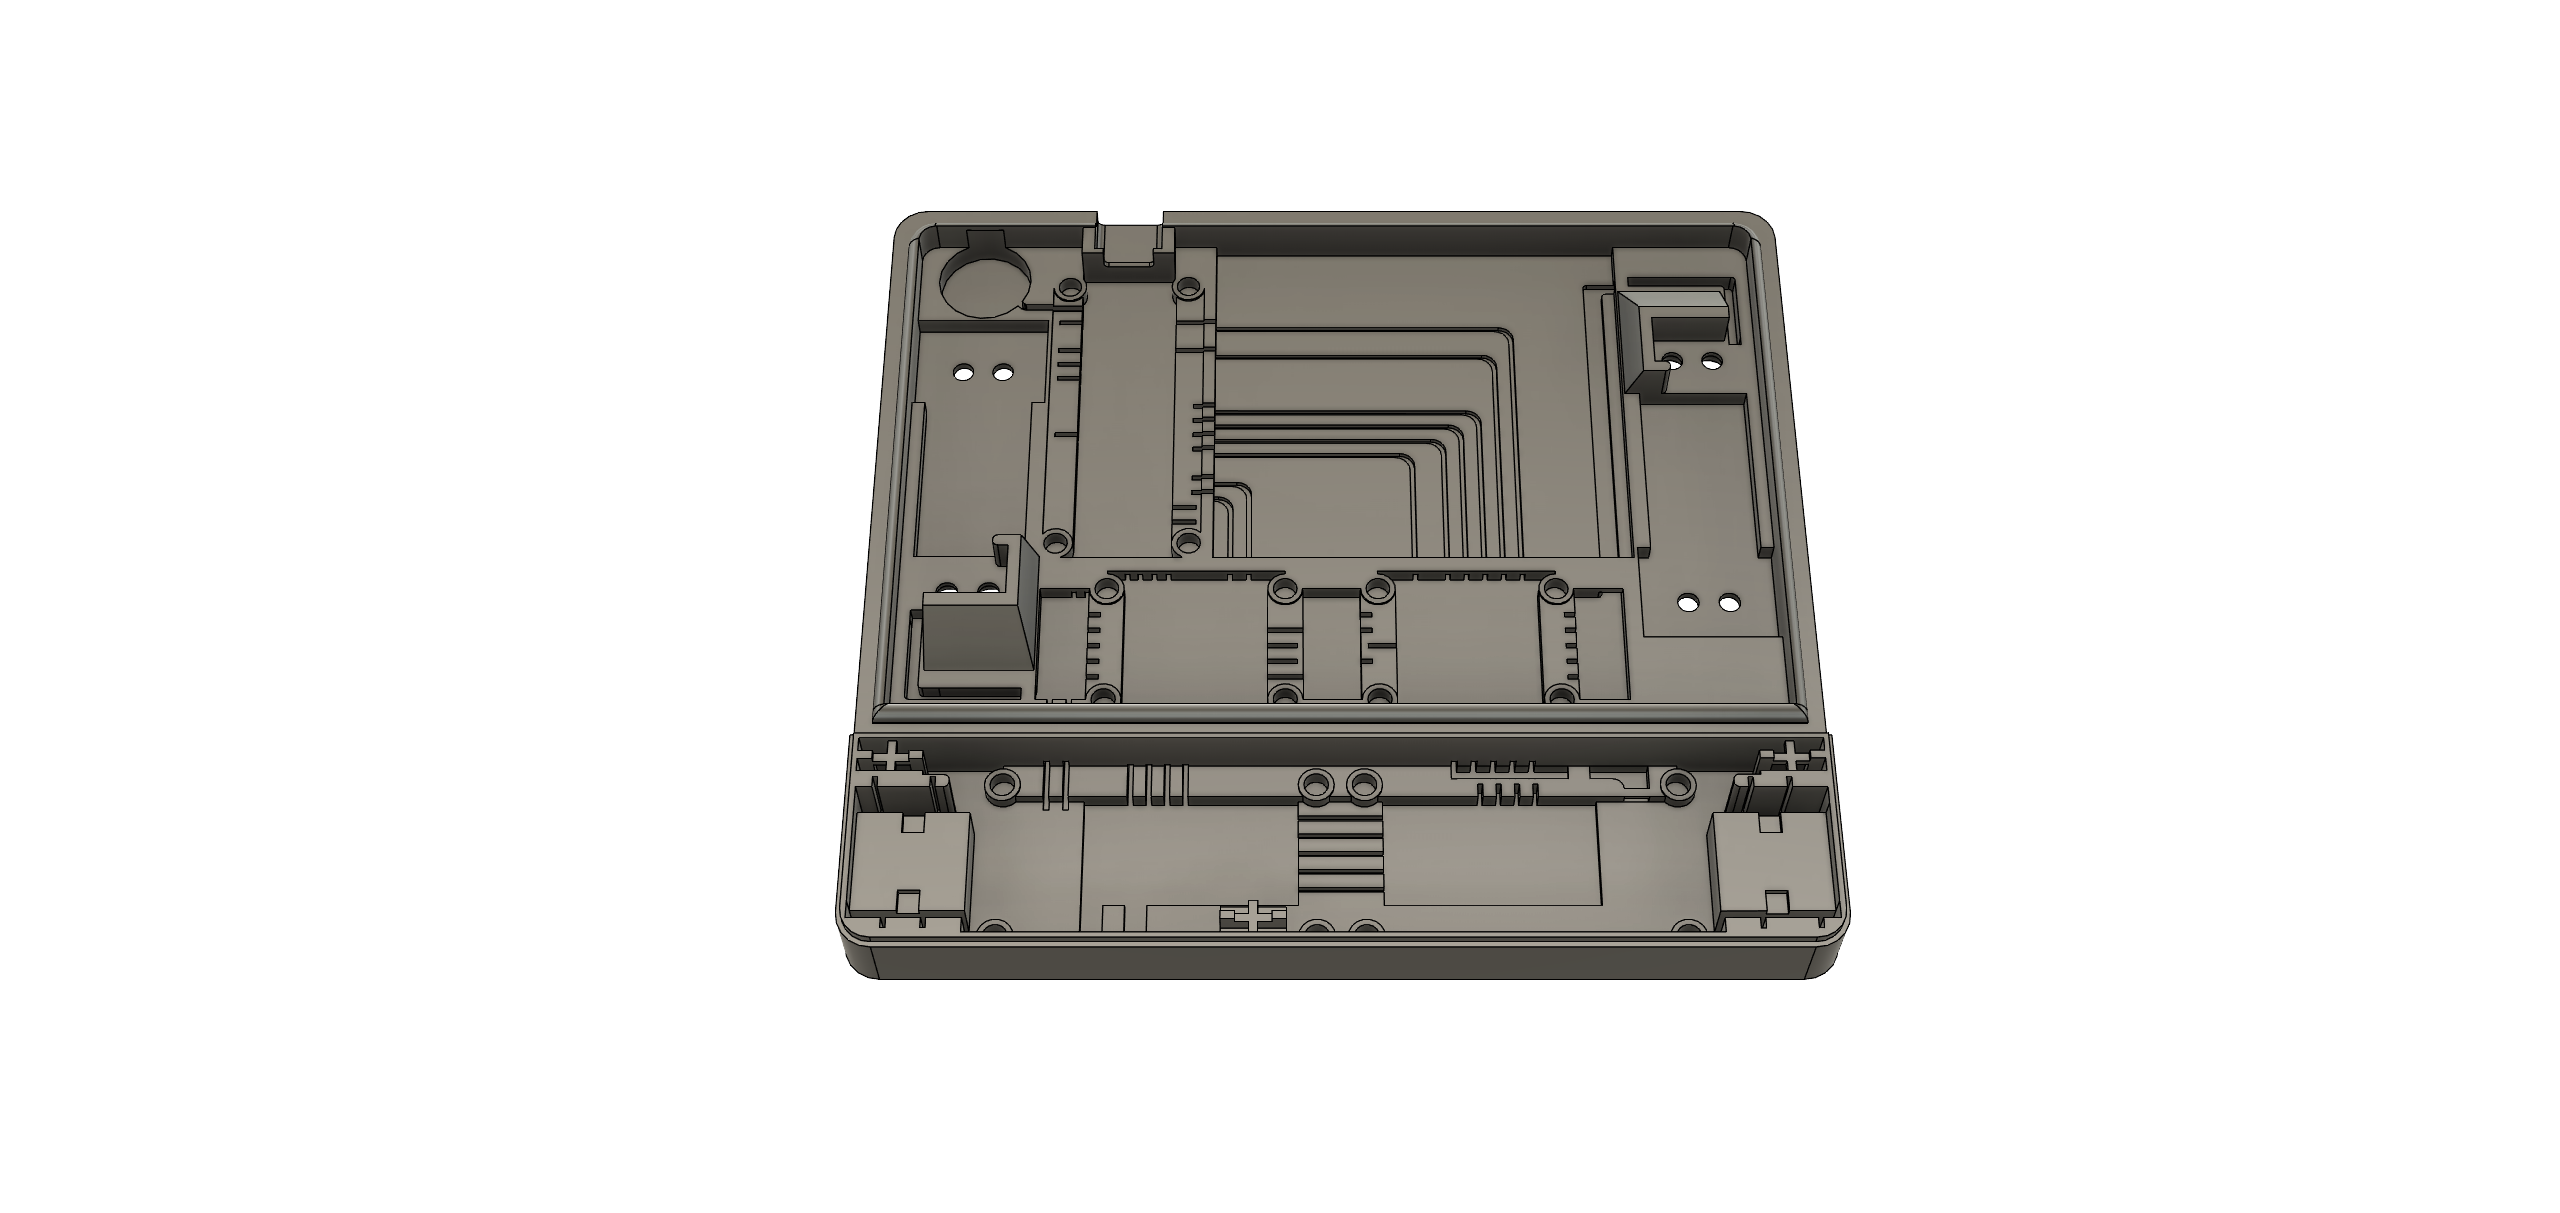
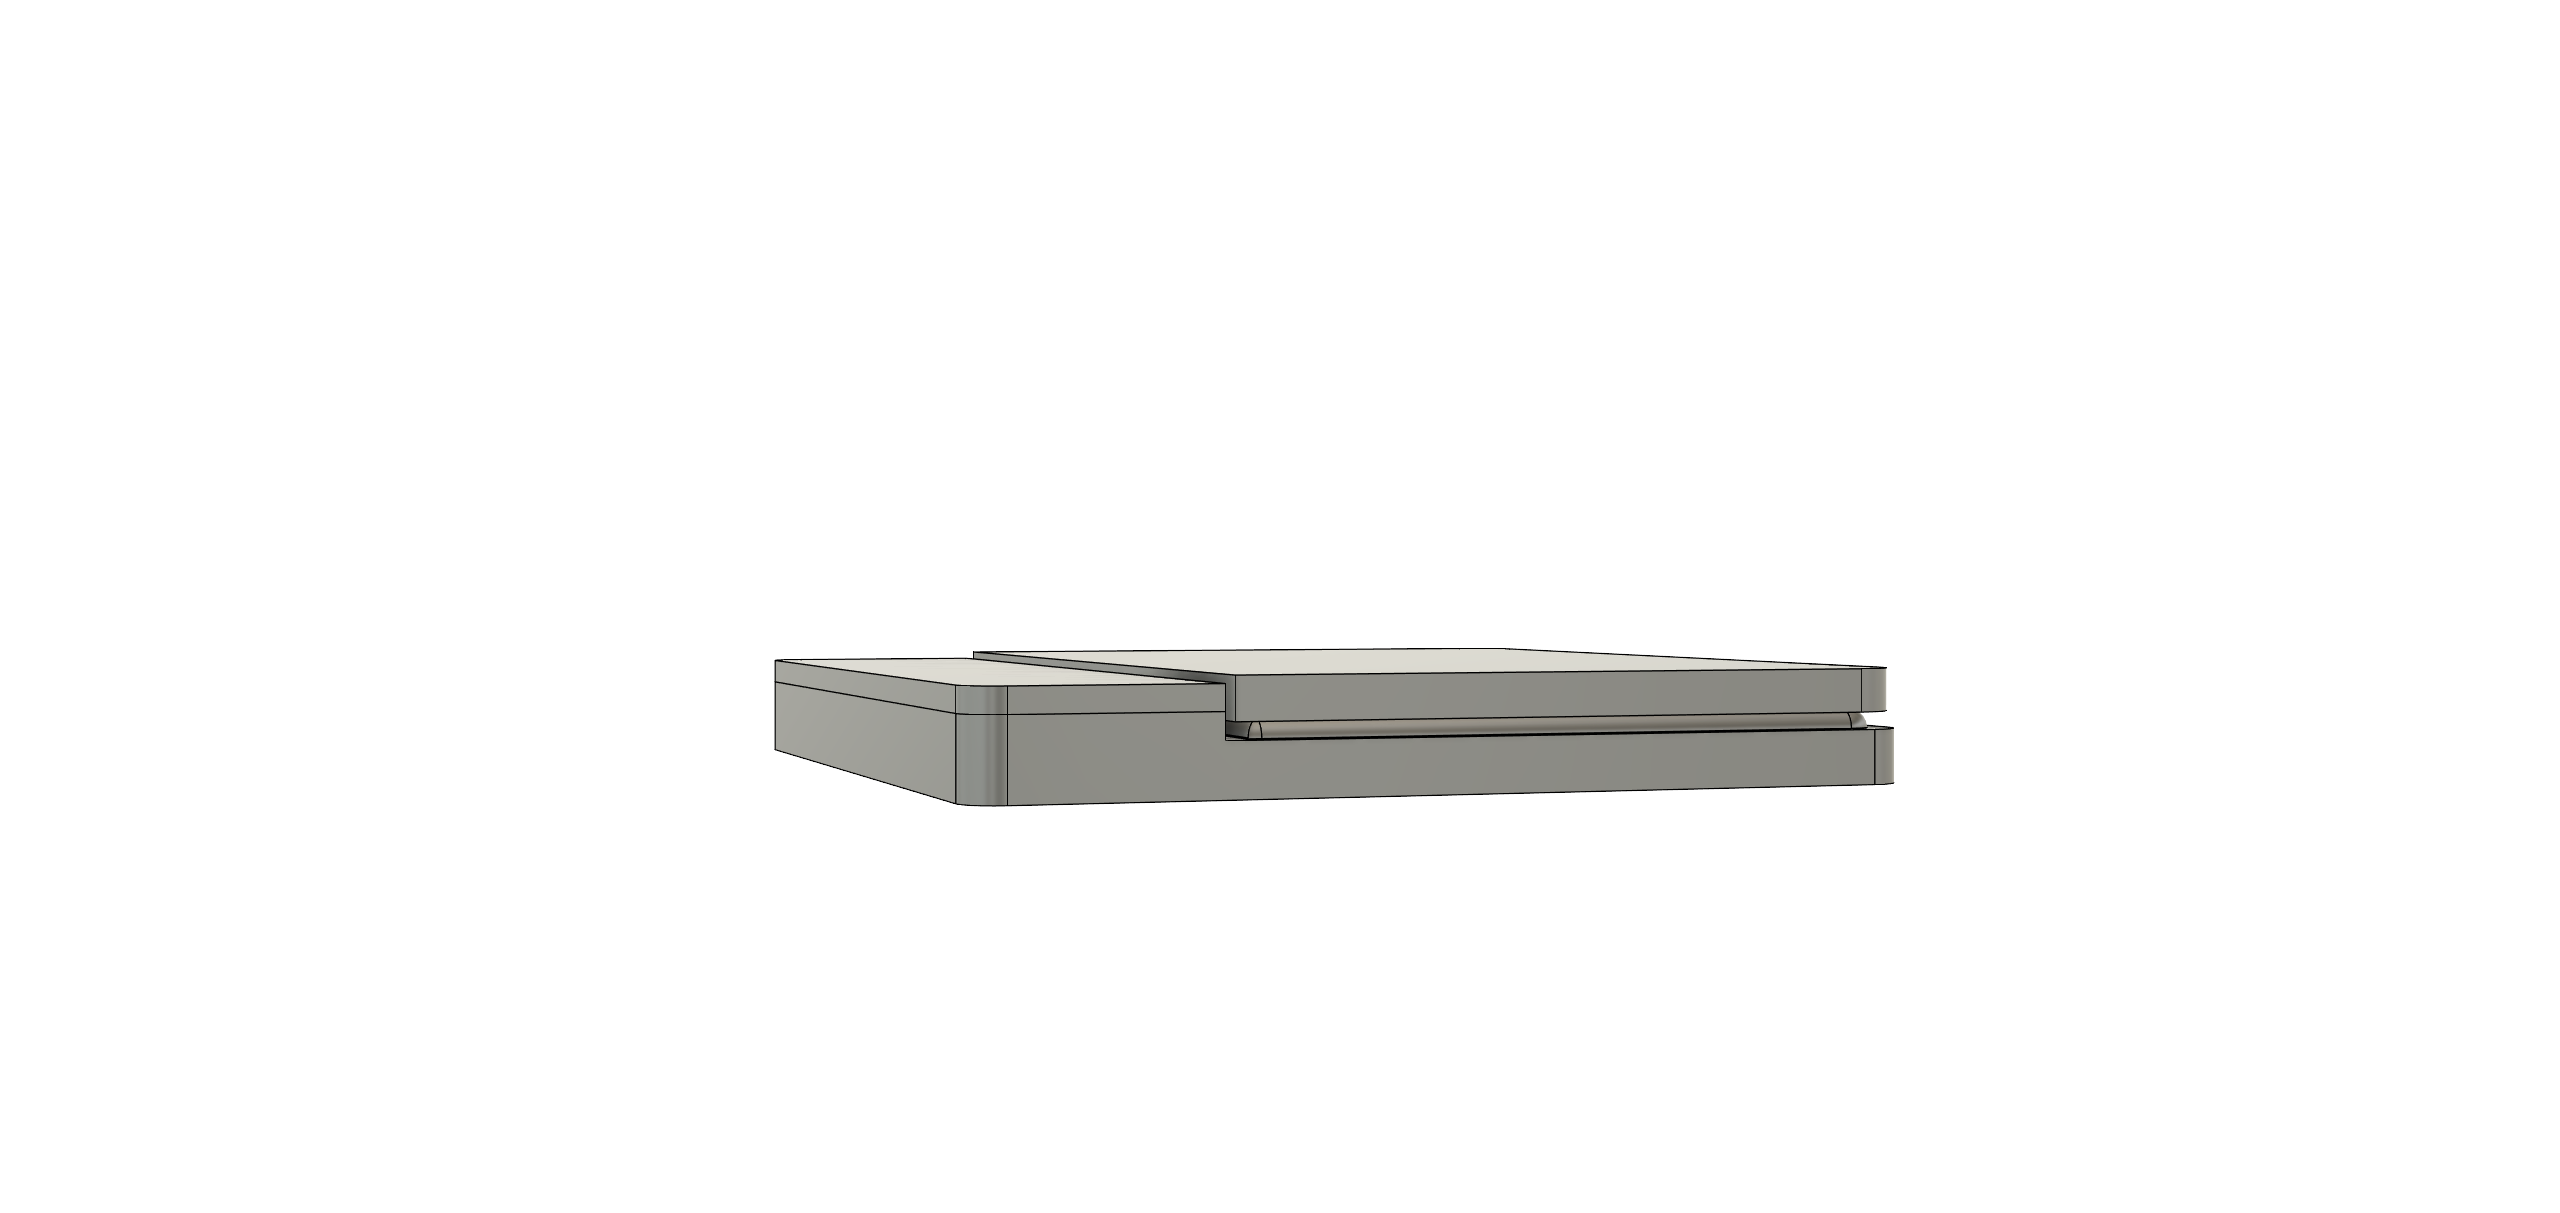
The print space must be at least 135 x 125 x 13 mm. An SLA printer probably offers more details but printing is also possible with FDM.

Tweezers
I recommend tweezers, because the scale contains a lot of tiny parts
(Optional).

Cutting pliers
A small pair of pliers to shorten the cables, a pair of scissors is actually also sufficient.
(Optional)

Abisolierzange
Stripping the thin cables is also possible with fingernails, but much more convenient with a tool.
(Optional).

PLA / ASA
PLA or ASA, for example, can be taken as the printing material.

24x threaded insert (2.5mm M2)
The threads are melted into the plastic with heat. The 3d models are designed for 2.5mm height and 3.2mm diameter.

Screws
- (20x) 4 mm M2 screws
- (4x) 10 mm M2 screws
- (4x) 10 mm M3 screws

Solder
Thin solder is best, as not much is needed.

Insulating tape / heat shrink tubing
Thin heat shrink tubing is advantageous to protect the solder points.

Mikrousb Cable
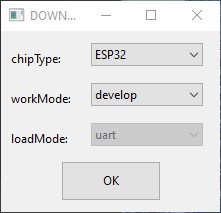
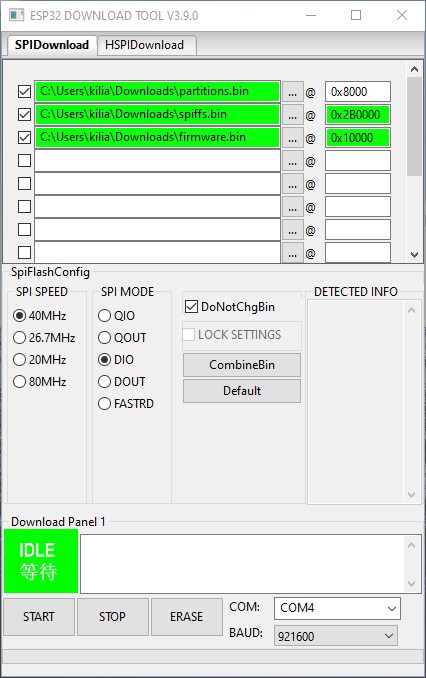
To load the scale and to initially install the software.

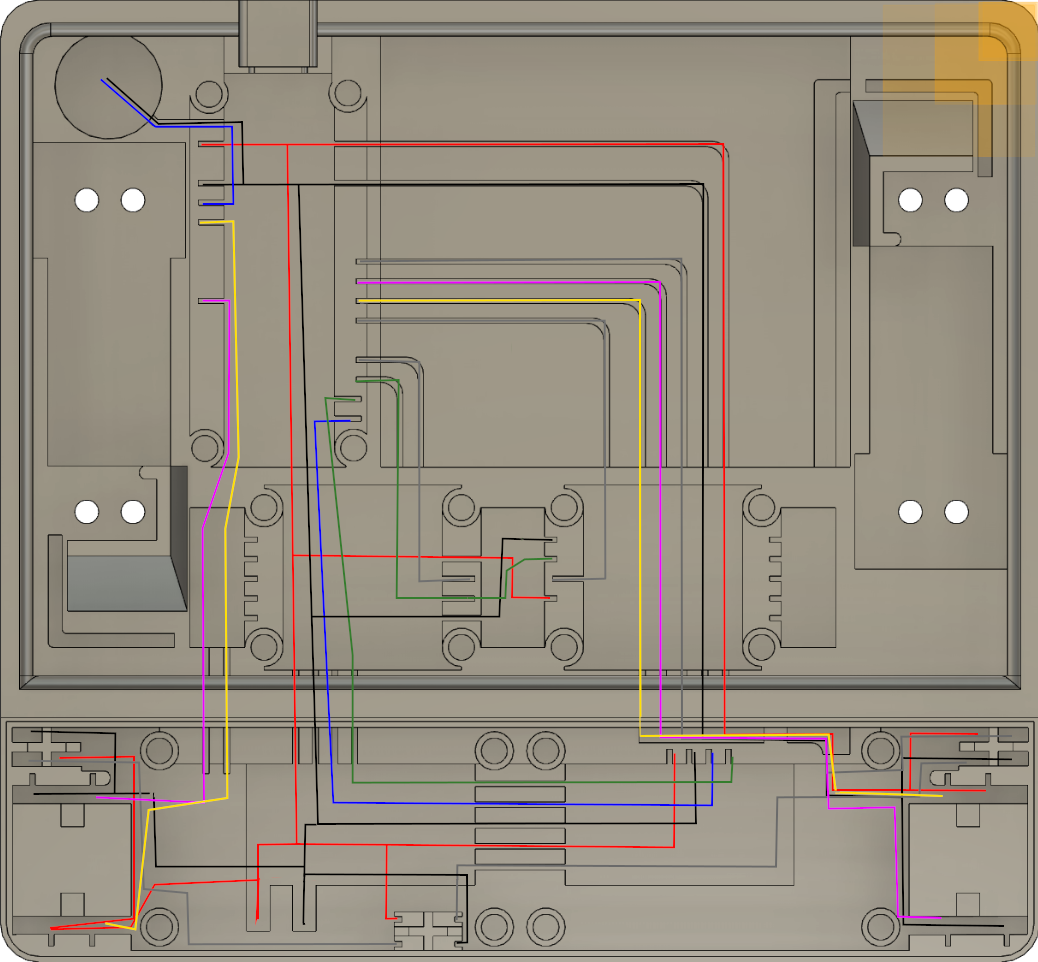
0.6 mm Cable (30 AWG)
- Red
- Black
- Green
- Blue
- Yellow
- White
- Gray

(2x) Battery adhesive strip
To attach the battery, two adhesive strips are used, which are usually sold in pairs for cell phones.

(1x) Jst PH 2.0 2-pin connector
Needed to connect the battery to the board. May not be needed with a new board or different battery.

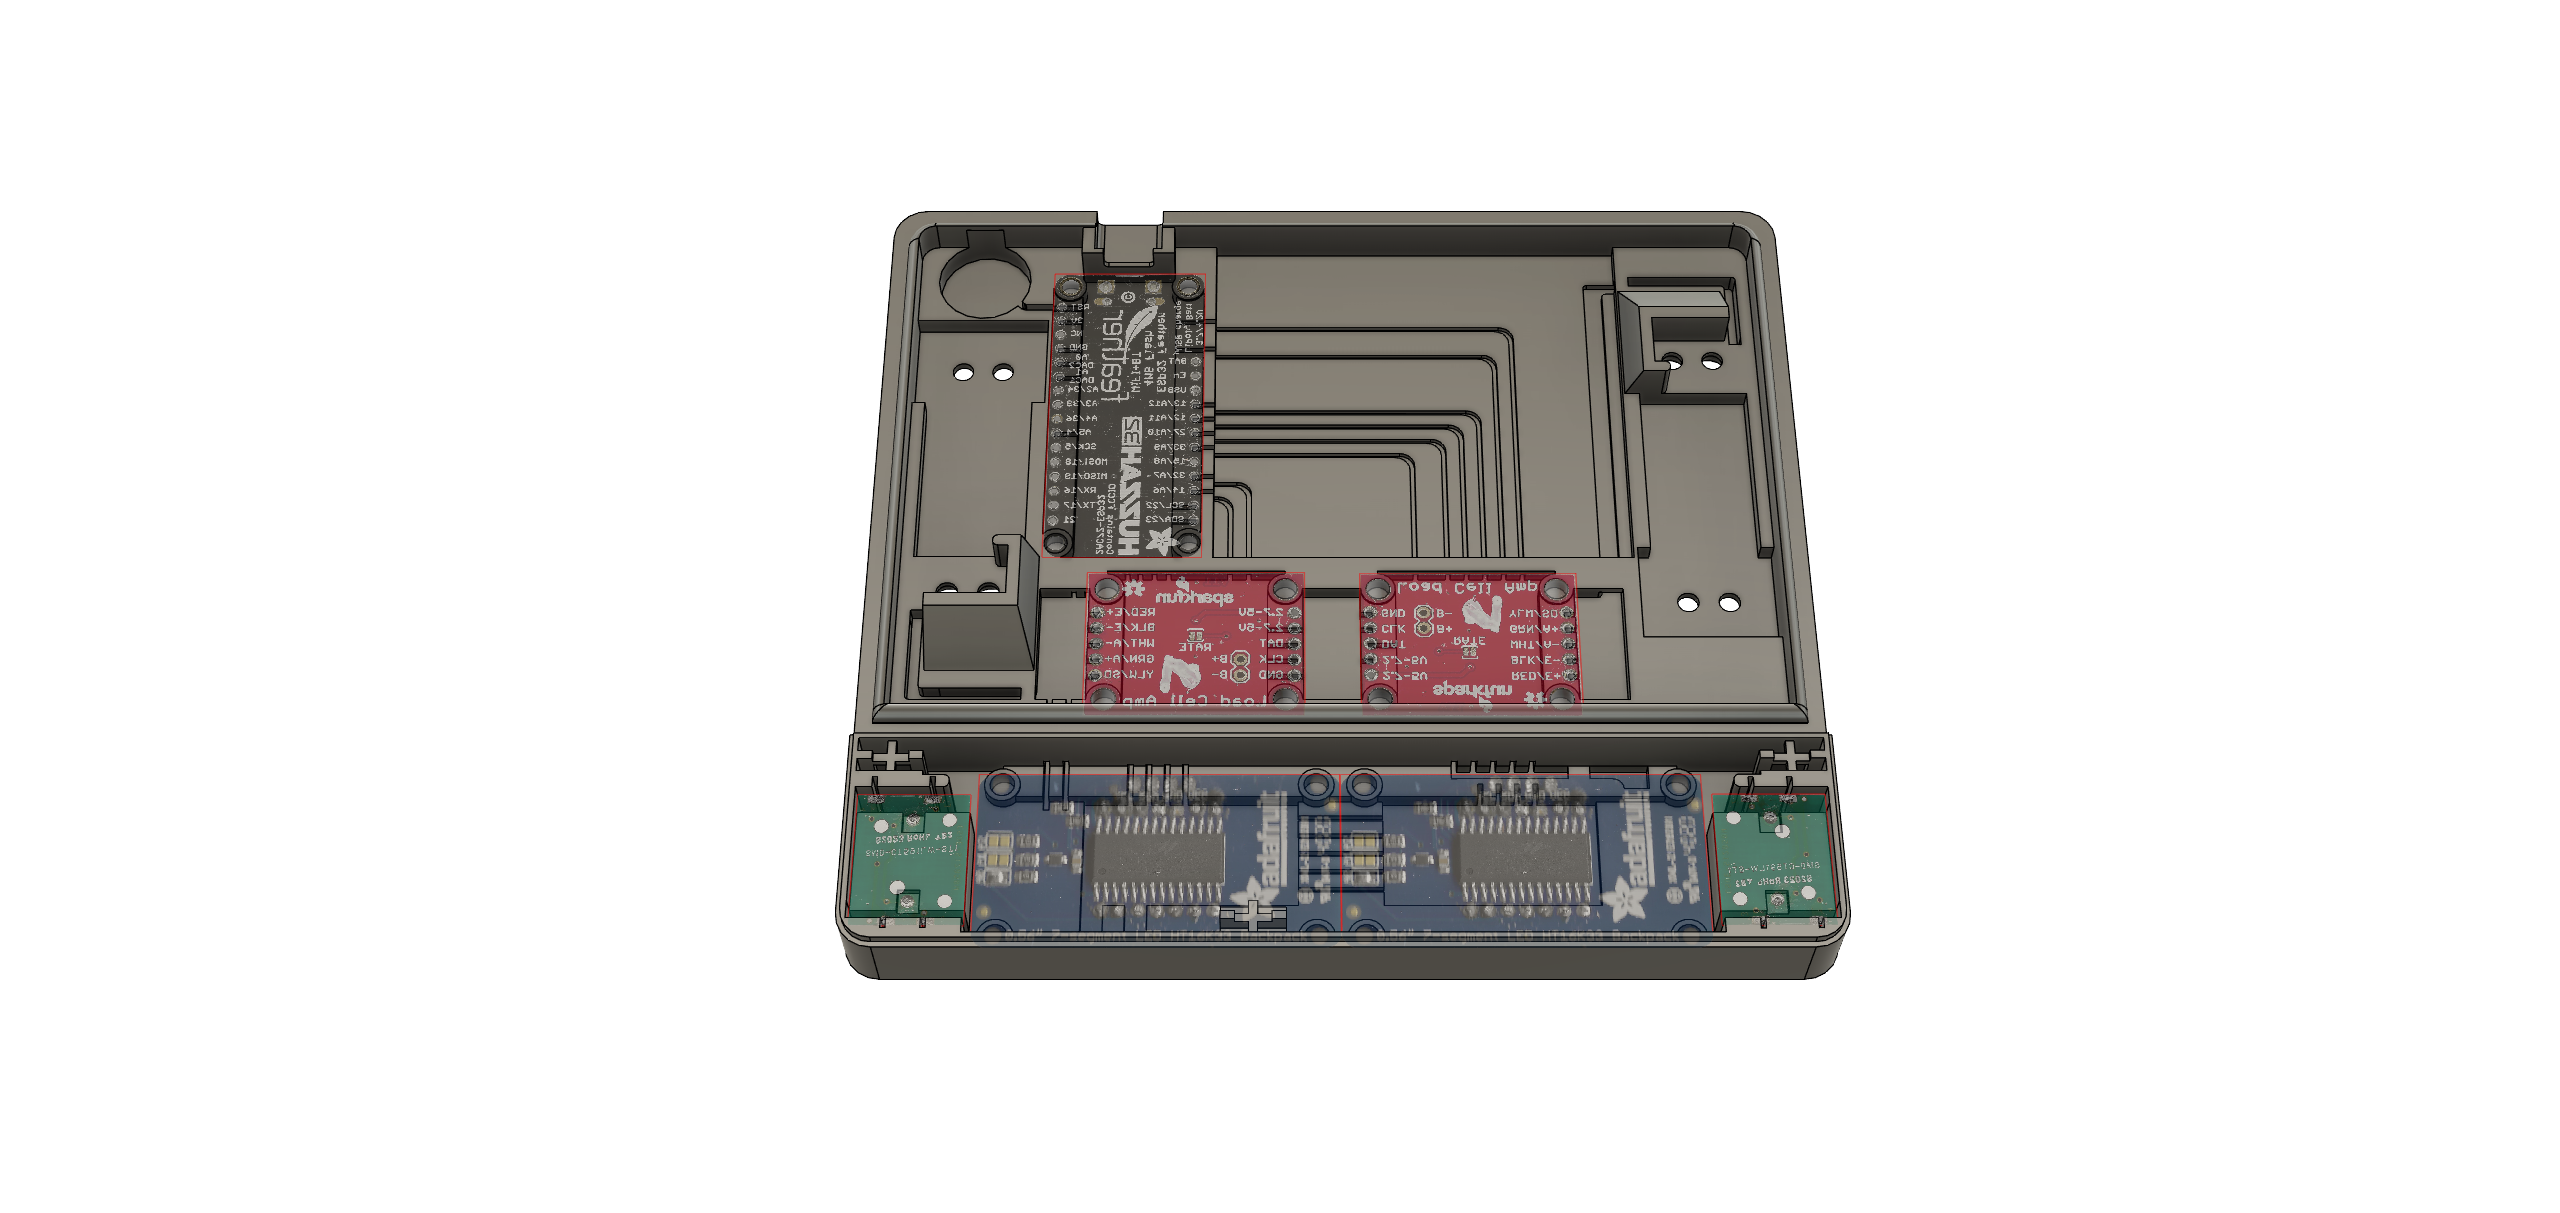
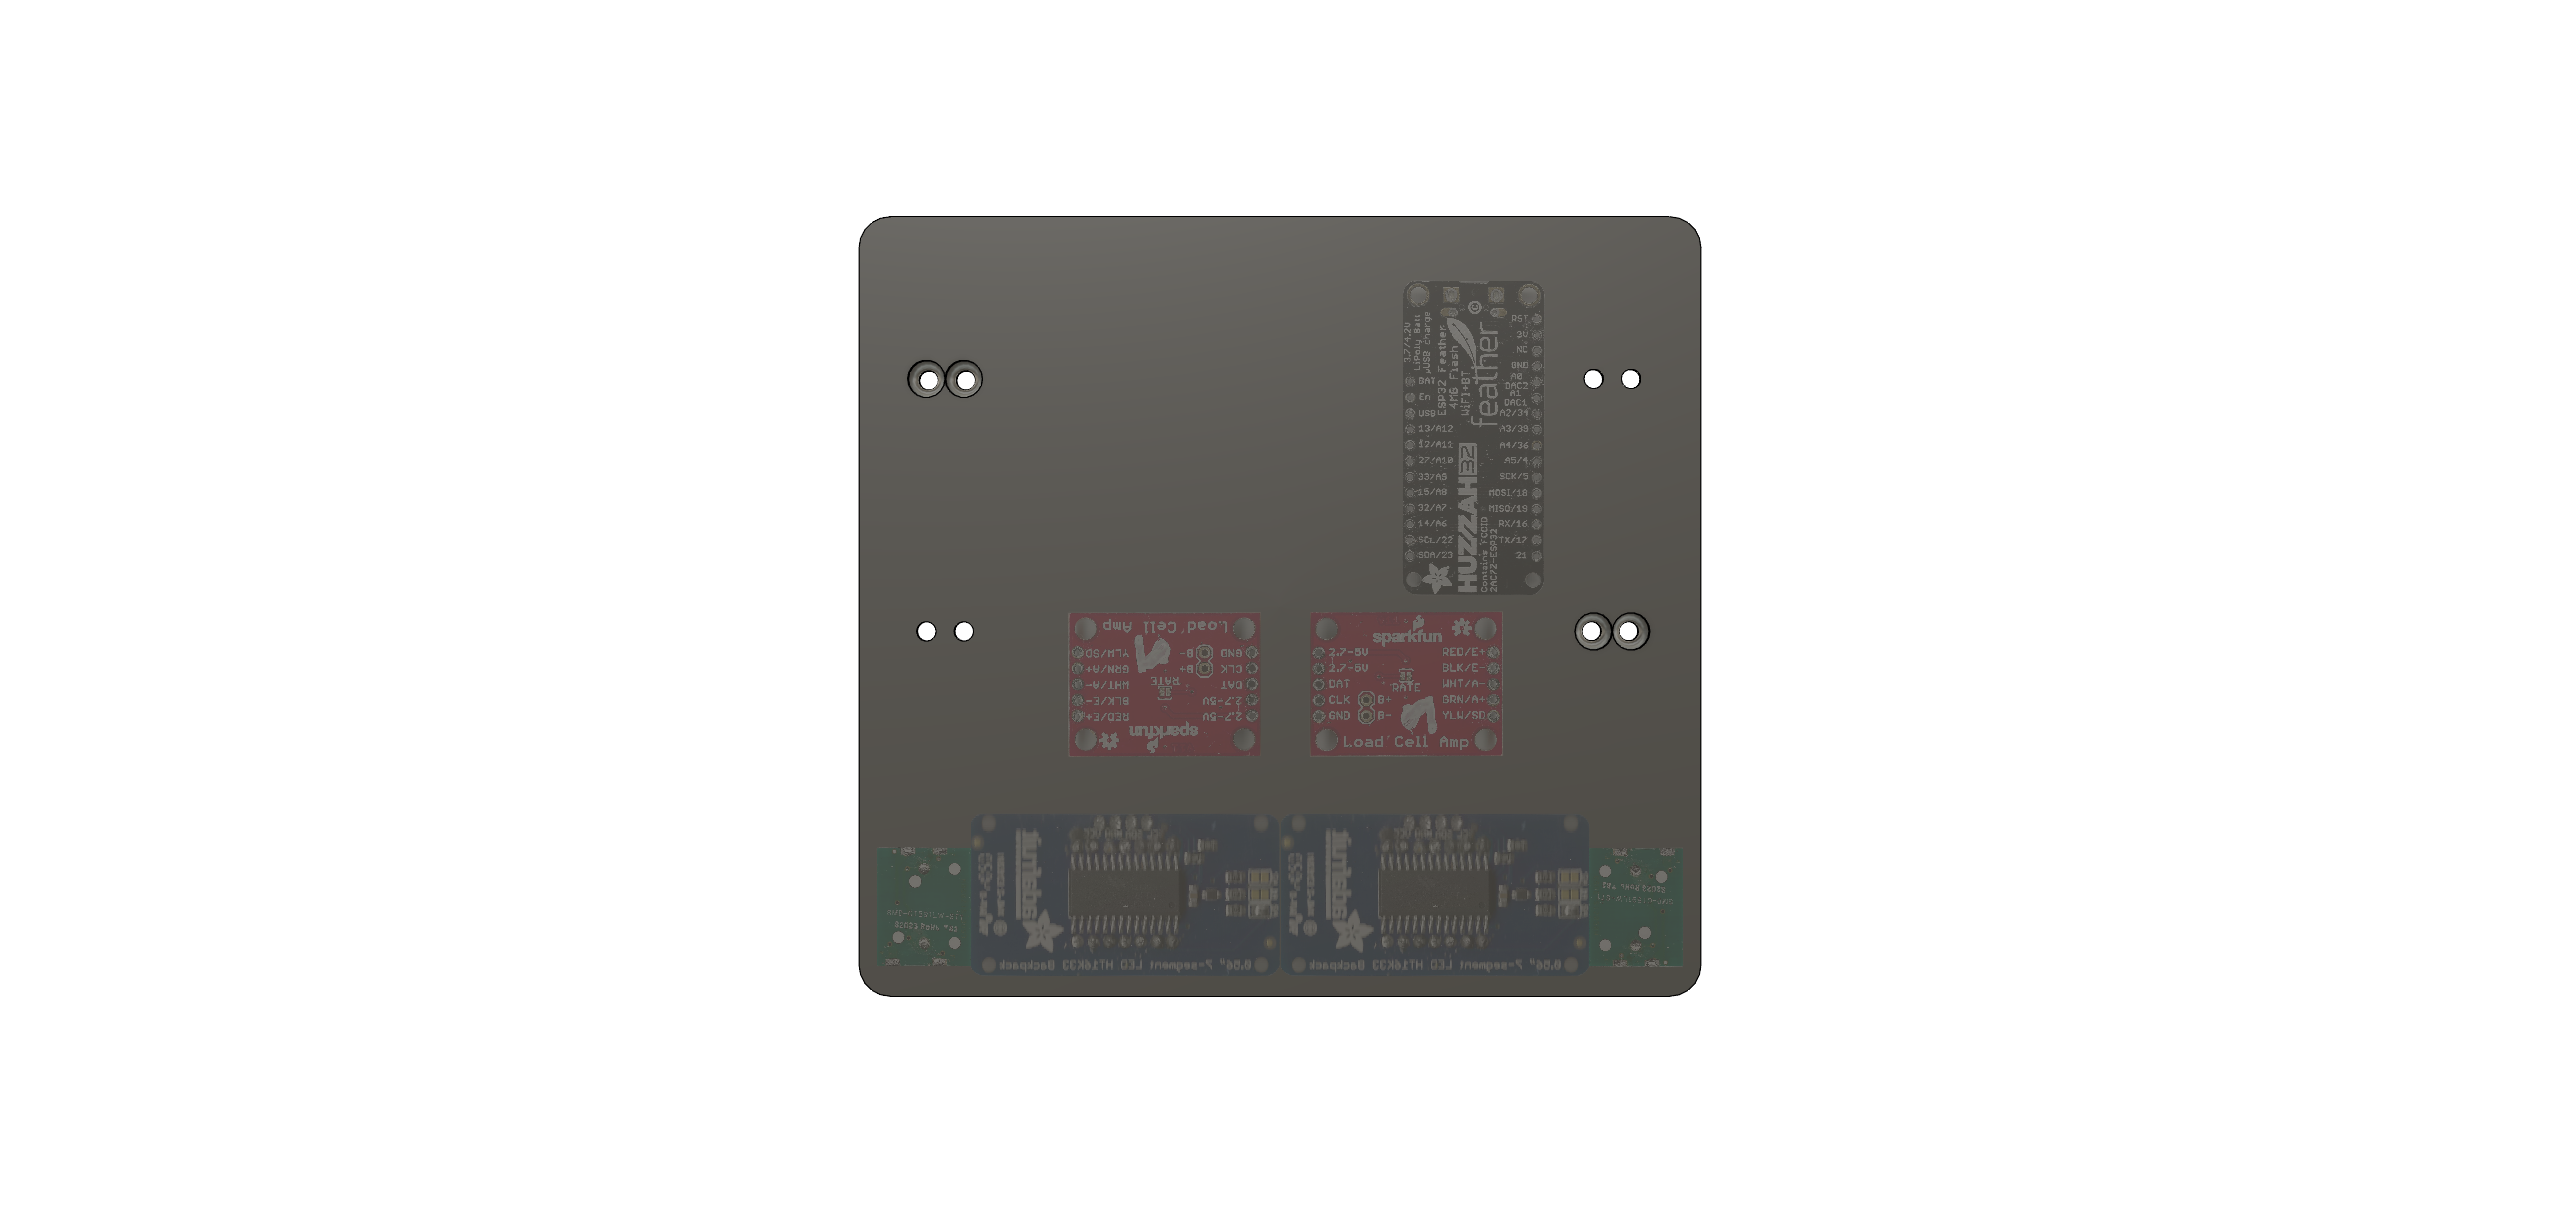
(1x) Huzzah 32 Feather Board
The advantage of this board is a LiPo charger, which means that no additional board is needed. Currently, however, an alternative is being sought, which consumes less power.

(2x) Sparkfun TAL 221 - 500 G
These load cells were chosen for their low height.

(2x) Sparkfun HX711
These boards convert the analog signal of the load cells into a digital signal. Possibly this is still changed into a board or an ADS1231 is used.

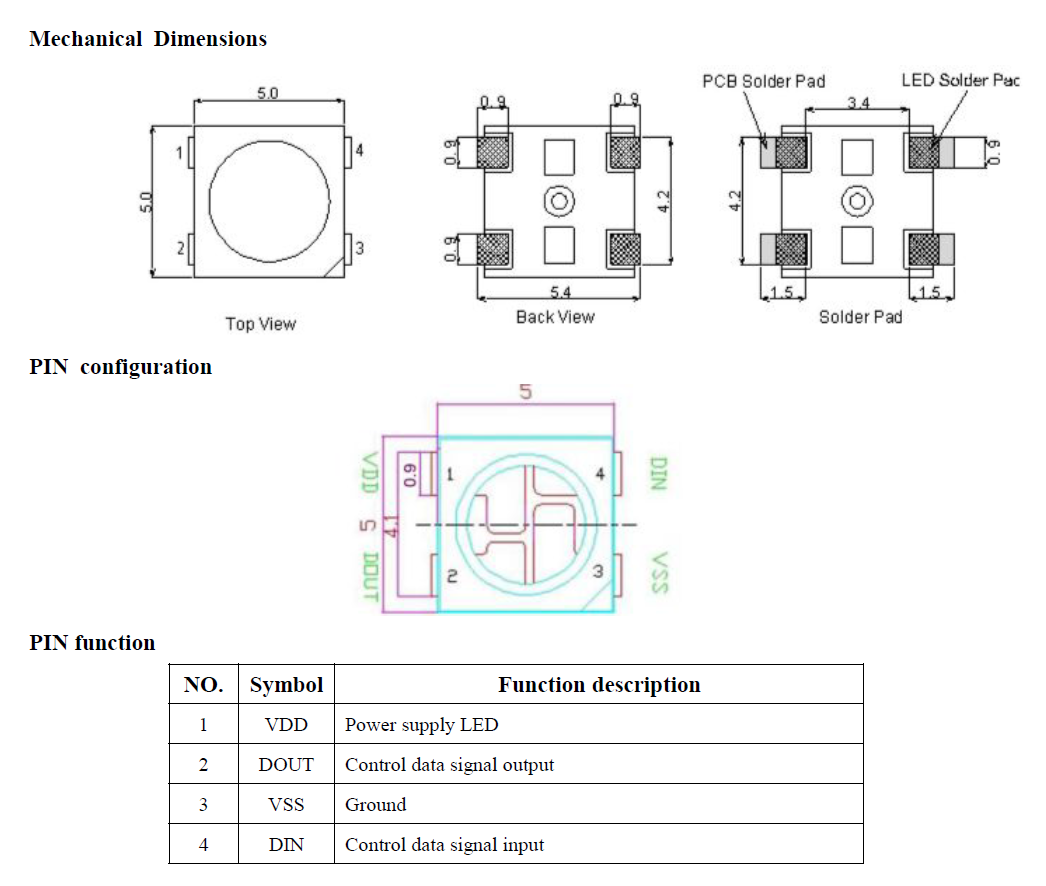
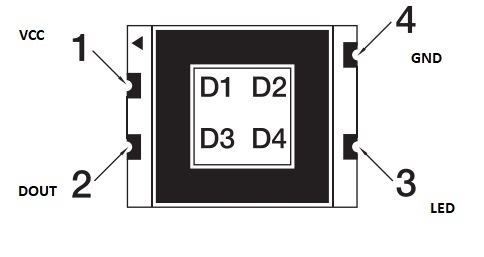
(3x) WS2812B LED
The LEDs are used as status indicators.

(2x) Adafruit 7 Segment Display & Backpack
2 displays are needed to show larger negative numbers (e.g. -123.5) and a timer is also shown.

(1x) Piezo Summer (optional)
A piezo buzzer is used for sound feedback when pressing keys.

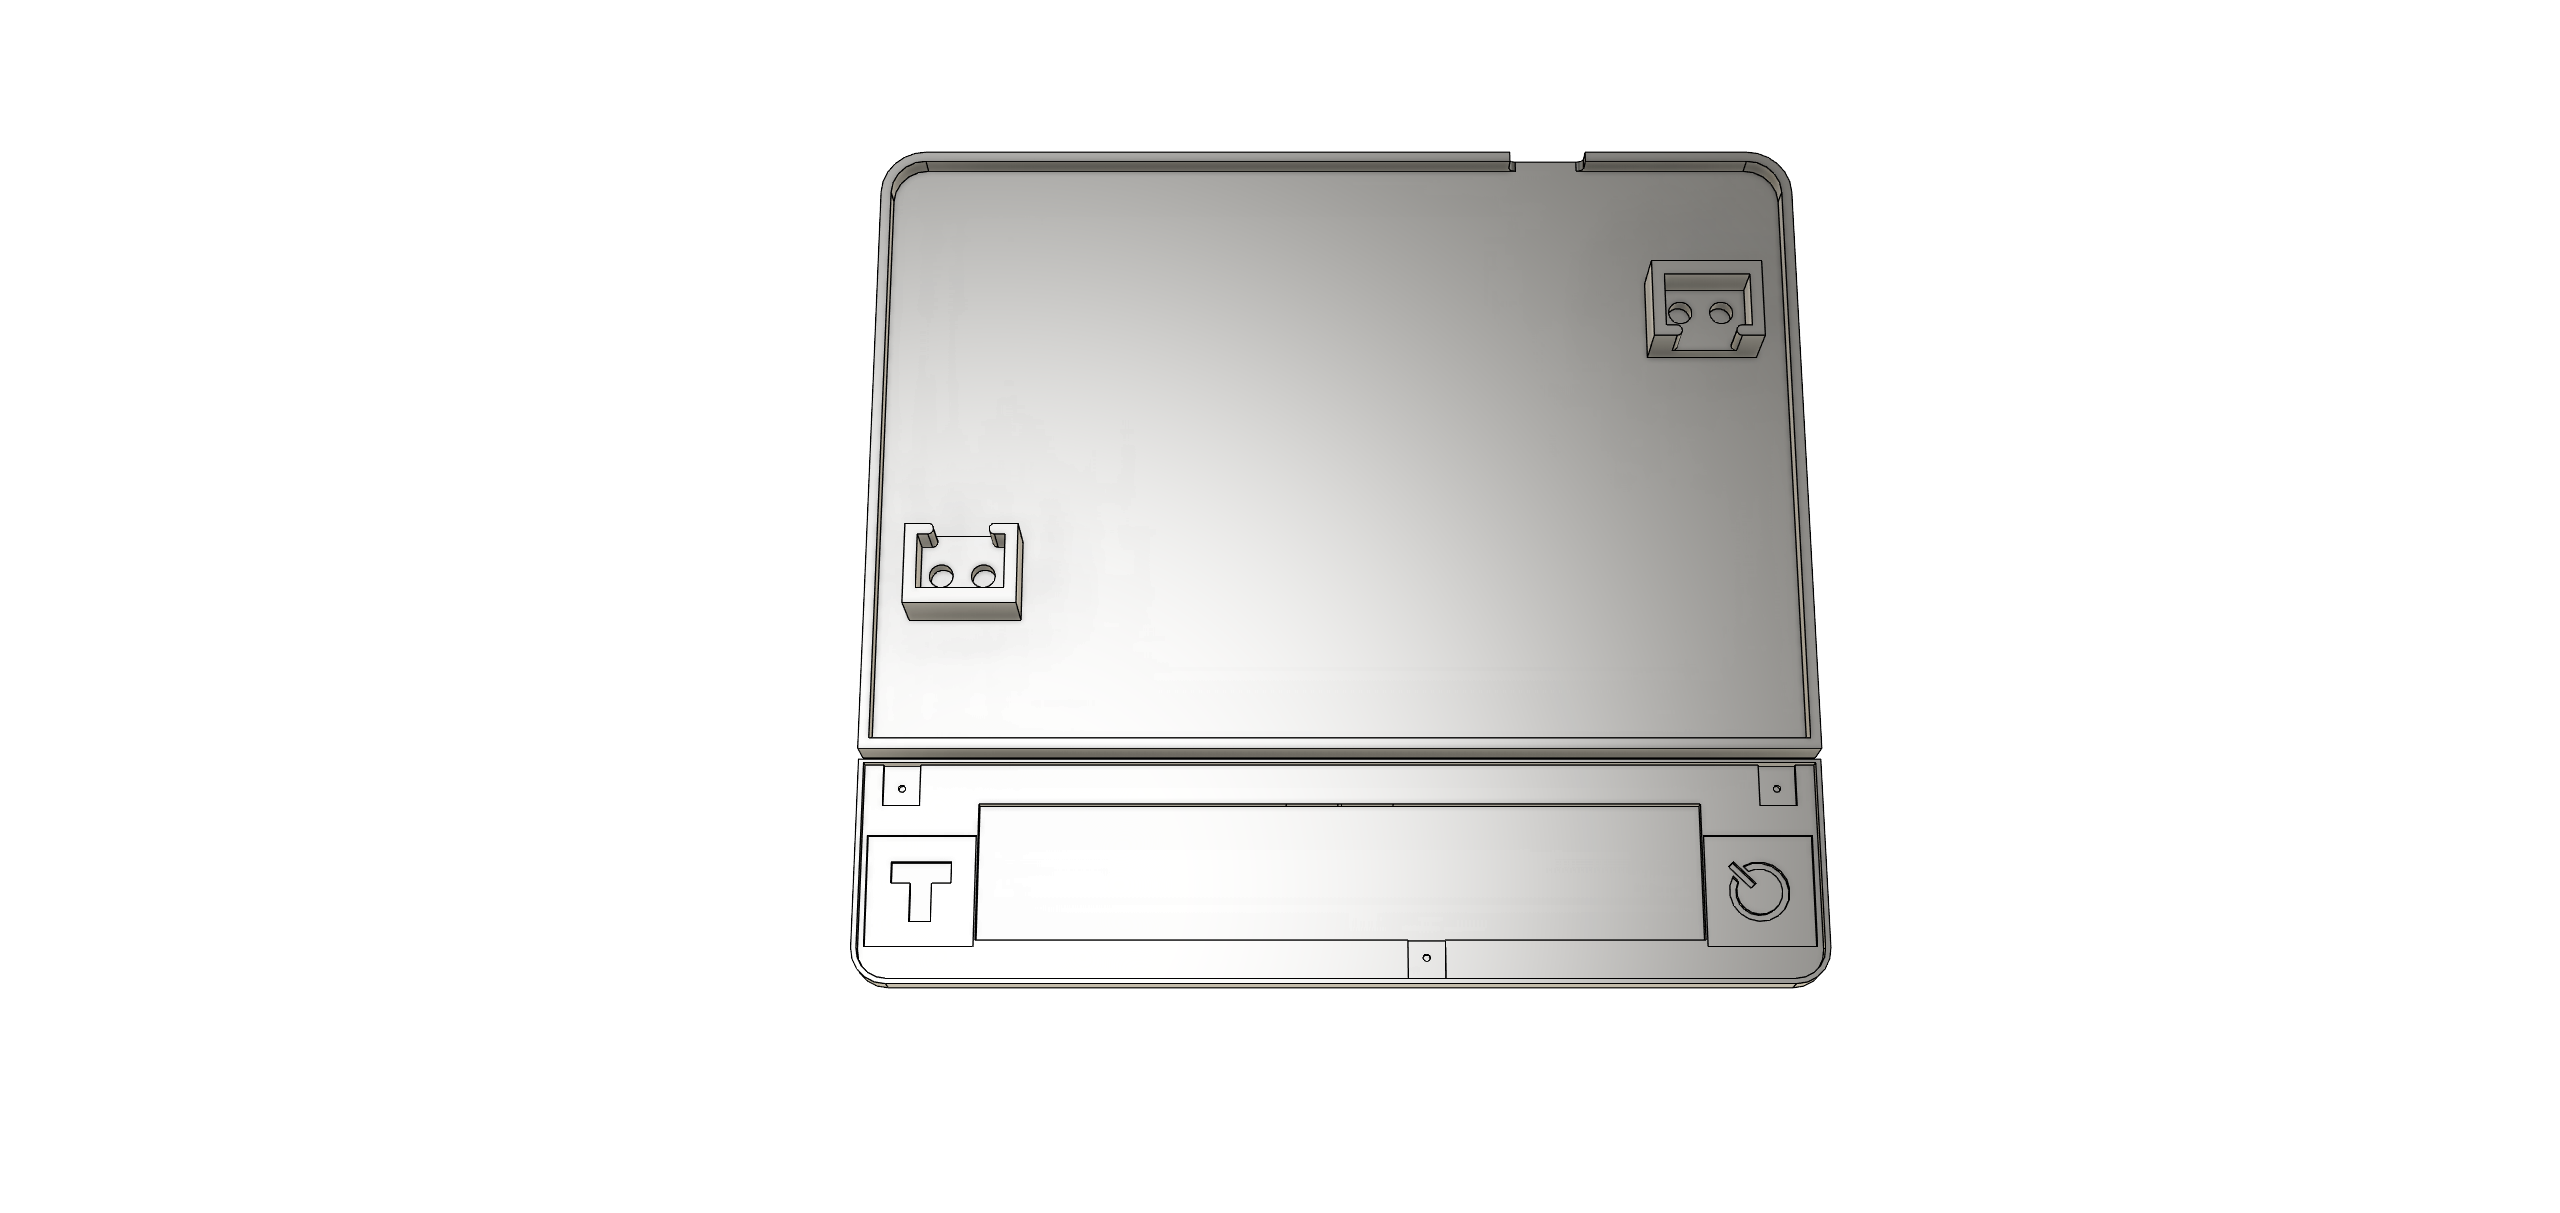
(2x) Touch Button
Illuminated touch buttons are used for input, so the hardware can be completely protected by the case.

(1x) Mikroe 3000 mAH li-Polymer
A large battery provides the power supply. Currently, the battery lasts about a week with the Huzzah32, which can possibly be greatly improved by a board with better power management.
